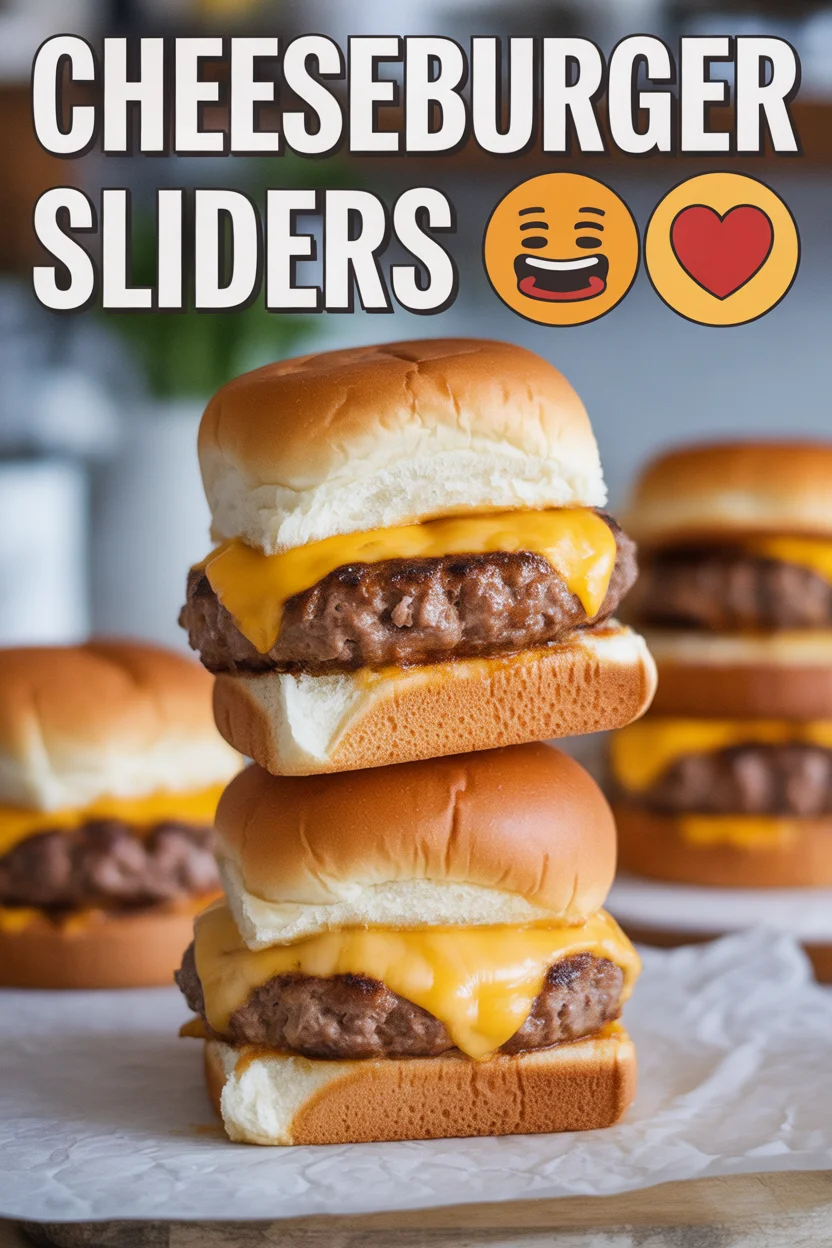
Cheeseburger Sliders 🍔🧅
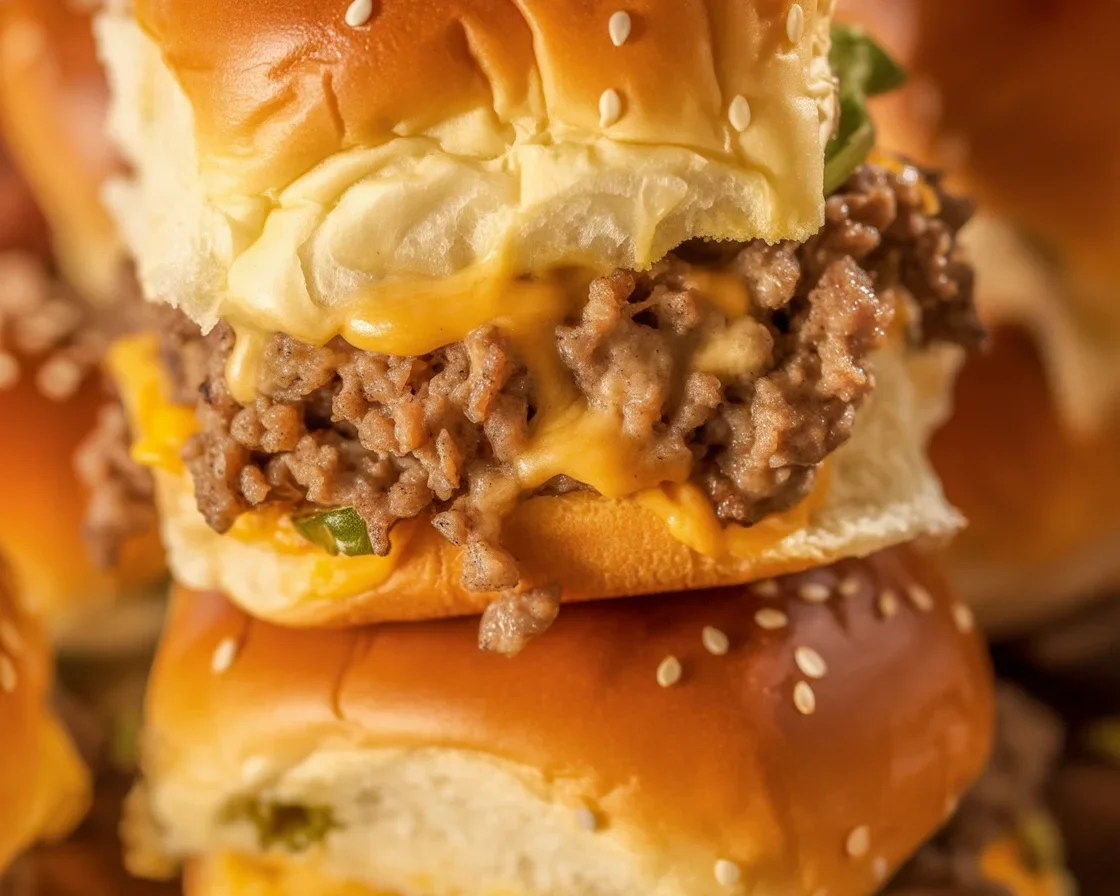
Cheeseburger sliders might just be the most crowd-friendly food ever invented. Let’s be honest: sometimes you want that juicy burger flavor, but you really don’t feel like flipping big patties for a whole group. That’s where these little guys come in. Super simple, crazy quick to make, and the kind of dinner that gets everyone at the table grinning. Oh, before you ask, this is one of those {easy slider recipes} that never lets me down. Speaking of party food, if you’re into bite-sized fun, check out my {simple chicken sliders} ‘cause those are winners too.
The Best Rolls for Sliders
Let’s talk about buns for a sec. Not all rolls are created equal, and trust me, your cheeseburger sliders are only as good as the bread holding them together. I’ve tried everything from potato rolls to dinner rolls, but let me cut to the chase: Hawaiian rolls are like a secret weapon. They’re soft, slightly sweet, and honestly, who can be mad at that golden top?
Tried slider buns that were too crusty and ended up with a crumby disaster, yikes. You want rolls that squish just enough so the fillings don’t shoot out the side with the first bite (been there, got the shirt sticky). I’d steer clear of anything too dense too. Brioche isn’t bad, but it’s easy to overpower that “slider” vibe. If you get even half-decent bakery rolls, you’ll thank yourself. Family members will thank you. People will ask you for your ‘slider secret’ as if it’s a five-star restaurant recipe. Don’t tell them—just smile and nod.
Key Ingredients in Cheeseburger Sliders
These little sandwiches keep things simple—no need for a shopping spree. Start with good-quality ground beef. Something like 80/20 (that’s eighty percent meat, twenty percent fat if you’re new to the numbers game). You’ll get flavor and no one likes a dry slider, right?
Cheese? I swear by classic American cheese. It melts perfectly and hugs every corner of the patty. Of course, cheddar is fantastic if you want more tang. Pickles—those are non-negotiable in my book, but hey, you do you. Toss in finely chopped onions (for a subtle crunch and flavor burst) and don’t skip the slider sauce. Even just mixing ketchup and mayo does the trick. If you want to spice it up, a squirt of mustard or a dash of hot sauce isn’t going to hurt a bit. Lastly, don’t forget the butter you’ll brush on top of those rolls. Literally takes these cheeseburger sliders from “good” to “wait, can I have another?”
“I made these for my daughter’s sleepover and they were gone in seconds. The rolls made them so soft and delicious. I barely had time to grab one for myself!”
— Stacey R., neighbor & cheeseburger enthusiast
Tips for Making Hamburger Sliders
Here’s what I’ve learned (sometimes the hard way): Don’t overwork the beef or you’ll end up with hockey pucks. Just press it flat in a baking dish (think a sheet pan) and let it do its thing. Tossing a layer of seasoning on before they cook is smart—just salt, a bit of pepper, and, if you’re bold, some garlic powder. No need to get fancy unless you’re feeling it.
Watch the cheese! Once the patties are cooked, slap that cheese on and let it melt for a minute or two. Trust me, the way it oozes over the edge will make anyone drool. When you slice the meat and rolls together, use a serrated knife. There’s nothing worse than squishing half your sliders ‘cause you used the wrong knife. And, yeah, brush that melted butter on top and throw a few sesame seeds for a food-magazine look (totally optional, but fun).
Patience isn’t my strongest point, but let them rest a couple minutes before cutting—saves your fingertips and keeps everything less messy too. Oh, and you can prep the meat layer ahead and stash it in the fridge for a bit.
Make-Ahead and Storage Tips
Okay, real talk: cheeseburger sliders actually handle being made ahead pretty well. If you’ve got a party coming up or just want to avoid last-minute chaos (been there, not fun), you can prep almost everything a day in advance.
Don’t bake the full sliders until right before you’re ready to eat. Assemble the meat, cheese, and rolls, cover, and keep in the fridge. When you need ‘em, pop the whole tray in the oven and let that cheese bubble up again. Leftovers (if you somehow get any) are great the next day. Just wrap them in foil and heat in the oven so the rolls stay soft and not weirdly chewy. Skip the microwave unless you like disappointment.
Oh, and sliders freeze okay, but eat within a month for the best flavor. Label them with the date so you aren’t playing freezer mystery dinner in a couple weeks.
What to Serve with Cheeseburger Sliders
Wanna make this meal pop? Here’s my go-to lineup for slider night:
- Crisp kettle chips or classic fries (either way, nobody complains).
- Tangy coleslaw or a crisp side salad, if you need some green in your life.
- Don’t forget fresh pickles—‘cause sliders without a briny bite just aren’t the same.
- For parties, I’ll even throw in some sweet potato fries for the “fancy” crowd.
Mix and match, serve with toothpicks for easy grabbing, and watch the sliders disappear. If you love easy party food, try pairing these with {crispy chicken wings} for a spread that’ll get everyone talking.
Ready to Wow Everyone with the Best Sliders?
Alright, now that we’ve covered it all, you’re pretty much set to whip up what might become your go-to sliders. They’re tasty, fun, and honestly, way easier than people think. Try this with family, or break ‘em out for your next get-together—either way, you won’t be left with many leftovers. If you’re looking for another take, check out this brilliant guide for Cheeseburger Sliders or this recipe for cheeseburger sliders with Hawaiian rolls, both packed with even more clever tricks and inspiration. Go on, grab those rolls and fire up the oven. You’ve got a slider night to conquer.
