Milk Chocolate 🍫🥛 – Smooth, creamy chocolate made with cocoa solids, sugar, and milk powder. Sweet, velvety, and melt-in-the-mouth, it’s one of the most popular forms of chocolate worldwide.
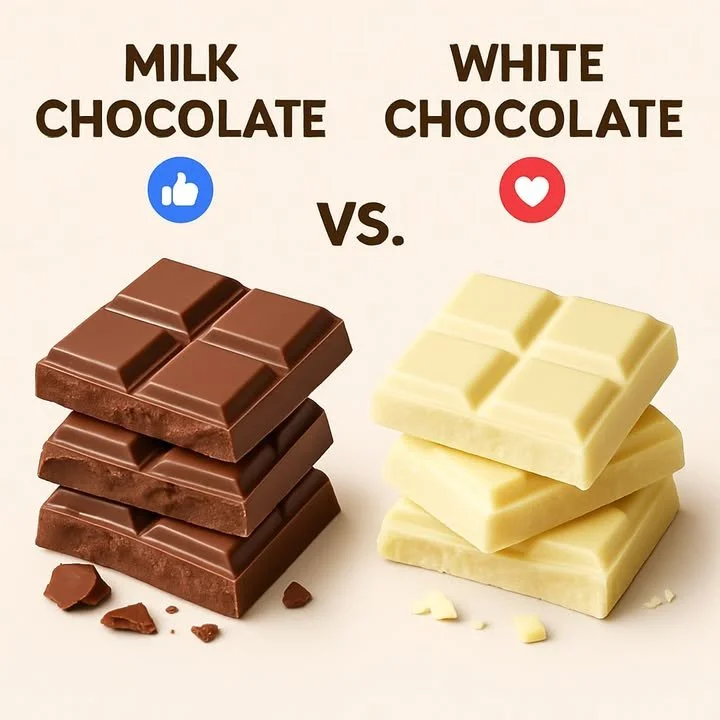
The Most Comforting Milk Chocolate Memory
Can I tell you a secret? I’ve always believed that life’s little joys often arrive in the simplest forms—a favorite song, the smell of fresh laundry, or, for me, a piece of creamy milk chocolate melting gently on the tongue. Growing up, milk chocolate wasn’t just a treat; it was a love language. I remember rainy afternoons spent in the kitchen with my mom, crafting homemade milk chocolate from scratch—a ritual involving sticky fingers, giggles, and that unmistakable sweet aroma filling every corner of our house. To this day, when I crave comfort, all it takes is a taste of that smooth, velvety chocolate to bring me right back to those moments.
If you’re searching for the easiest milk chocolate recipe or wondering how to make creamy chocolate at home, you’re in luck! Let’s create that melt-in-your-mouth magic together, one sweet step at a time.
Why You’ll Adore This Milk Chocolate
I could write an essay on why homemade milk chocolate is a must-try, but let’s keep it real—here are my top reasons:
- Irresistible Creaminess: Nothing beats the luxurious, buttery texture of freshly made chocolate. Seriously, it melts in your mouth like a dream!
- Customizable Sweetness: Prefer your chocolate less sweet or extra rich? This recipe lets you dial it in to your taste.
- Simple Ingredients: You don’t need a candy-making diploma or fancy gadgets (I promise). With just a handful of basic cocoa solids, sugar, and milk powder, you’re set.
- Pure Nostalgic Comfort: Eating milk chocolate always feels like a warm hug—perfect for celebrations, late-night cravings, or just a little me-time.
Ingredients You’ll Need for Milk Chocolate
You only need a few pantry staples to whip up this classic treat. Here’s what to gather:
- Cocoa solids: These bring in rich, chocolatey depth (I like to use unsweetened cocoa powder for accessible homemade chocolate).
- Powdered sugar: For that unmistakable sweetness—powdered blends easiest.
- Dry milk powder: The heart of milk chocolate! Opt for whole milk powder for creaminess, but nonfat works in a pinch.
- Coconut oil or cocoa butter: Each adds a glossy smoothness (coconut oil gives a hint of flavor; cocoa butter is more traditional).
- A pinch of salt: Trust me, a little salt deepens the chocolate flavor.
Tip: Check that your milk powder is fresh—old milk powder can have a stale aftertaste that lingers in your finished chocolate.
Step-by-Step Guide: Making the Perfect Milk Chocolate
Ready to get started? I’ll walk you through my foolproof, cozy method:
- Melt the fat: In a small saucepan (or double boiler for peace of mind), gently melt your coconut oil or cocoa butter over low heat until just liquid (don’t fry it!).
- Sift the powders: While your fat melts, sift cocoa powder, powdered sugar, and milk powder into a bowl to banish any lumps.
- Combine: Pour the melted fat slowly into the dry mix, stirring gently as you go. It’ll come together as a glossy, thick batter.
- Heat gently: Place the bowl over a pot of barely simmering water (double boiler style) and stir constantly until everything is silky smooth.
- Salt and taste: Sprinkle in a pinch of salt, taste, and adjust sugar if needed (my favorite part).
- Pour and set: Pour the chocolate into a silicone mold (or a parchment-lined tray) and tap gently to pop air bubbles.
- Chill: Slide it into the fridge for 1–2 hours, or until set.
- Break, share, and savor: Pop out your beautiful homemade chocolate and enjoy with someone you love. Or, you know, stash it for yourself. I won’t judge!
Pro tip: If your chocolate seems too thick, a teaspoon of extra melted coconut oil will loosen things right up.
My Secret Tips and Tricks for Milk Chocolate Success
I’ve made a lot of milk chocolate (testing these “easy chocolate recipes” is basically my love language). Here’s what I’ve learned:
- Blend well: Sifting dry ingredients and stirring slowly ensures your chocolate is lump-free and super smooth.
- Low heat is key: High temps can scorch the milk powder or seize your chocolate. Take it slow and loving.
- Customize: Trying vegan milk chocolate or looking to lower the sugar? Swap in coconut milk powder or reduce the sugar to taste.
- Storage hack: Homemade chocolate melts faster than store-bought due to fewer stabilizers. Store in a cool, dark spot for a firmer snap.
Don’t forget: patience is your friend—good chocolate is always worth the wait.
Creative Variations and Ingredient Swaps
Wanna play with flavors? Me too! Here’s how I like to mix things up with this creamy chocolate base:
- White chocolate vibes: Use only milk powder and skip cocoa powder for a sweet, ivory treat.
- Nutty crunch: Stir in roasted chopped hazelnuts, almonds, or even rice crisps before chilling.
- Dairy-free option: Replace milk powder with coconut or soy milk powder for mouthwatering vegan chocolate.
- Spice things up: Add ground cinnamon, espresso powder, or even cayenne for a surprising twist.
Homemade chocolate is all about making it yours—have fun with it!
How to Serve and Store Your Milk Chocolate
Milk chocolate is best served straight from the fridge, especially on warmer days (prevents gooey-finger syndrome!). Slice it into bars, use it for s’mores, or chop it up for the ultimate chocolate chunk cookies.
Storing tips:
- Airtight container in a cool, dark cupboard = perfect for up to 2 weeks.
- Fridge-friendly: If your kitchen’s warm, keep your chocolate bars chilled.
- Freezer smart: For longer storage, wrap tightly and freeze—just thaw before biting in for smooth texture.
FAQs: Your Top Questions About Milk Chocolate Answered
Q: Can I make milk chocolate without cocoa butter?
A: Absolutely! Coconut oil works well and is much easier to find, but it does bring a subtle coconut taste.
Q: Can I use regular granulated sugar?
A: I recommend powdered sugar for a silky finish—it dissolves better and keeps your chocolate velvety smooth.
Q: How do I make my chocolate shinier?
A: Melt your fat completely and stir steadily for that glossy, professional finish (it’s all about patience and gentle heat).
Q: Is this recipe gluten-free?
A: Yes! All the basic ingredients in homemade milk chocolate are naturally gluten-free—just double-check your milk powder.
Q: Can I double (or triple!) this recipe?
A: 100%. Just keep the ratios the same, and maybe call a friend or two to help you eat it!
Homemade milk chocolate is more than just a sweet treat—it’s a celebration of simplicity, warmth, and sharing. If you try this recipe, let me know how it brought a little extra joy to your day. Thanks for joining me in this chocolatey adventure! 🍫🥰
