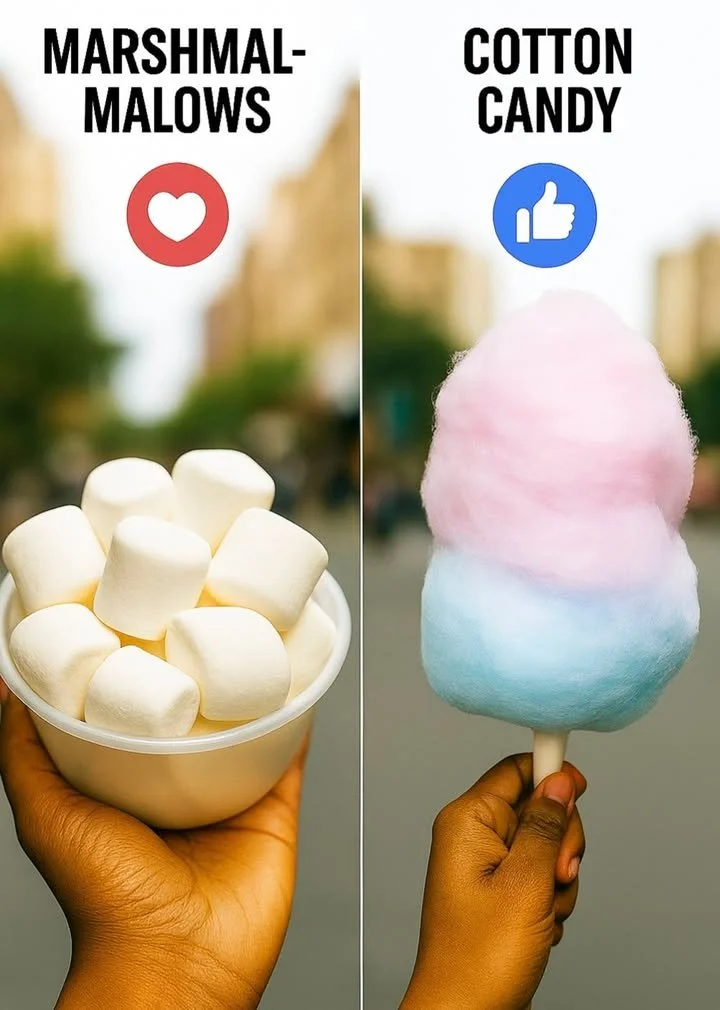
Marshmallows are soft, fluffy confections made from sugar, water, and gelatin, whipped to a light, airy texture. Sweet and pillowy, they’re perfect for roasting over a fire, adding to hot chocolate, o…

Marshmallows: Fluffy Memories and Cozy Nights
I can still remember the first time I made marshmallows from scratch. It was a chilly autumn evening, and the scent of vanilla and sugar wafted through the kitchen as my kids—faces pressed eagerly to the glass bowl—watched clouds of fluff take shape. If you’ve ever wondered what it’s like to turn just a few simple ingredients into the perfect, pillowy marshmallow, you’re in for a treat! Classic homemade marshmallows aren’t just a sweet dessert; they’re the warm embrace of a cozy evening, the soft center of childhood nostalgia, and the star of every hot chocolate mug. You’re not just making candy; you’re making memories.
Why You’ll Adore These Homemade Marshmallows
Trust me, once you make marshmallows at home, you’ll never look at store-bought versions the same way! Here’s why I think you’ll fall head over heels for these fluffy confections:
- Incredibly Light and Airy: Homemade marshmallows have a melt-in-your-mouth texture—so much softer and fluffier than the bagged kind.
- Customizable Flavors: Add your favorite extracts (think vanilla, peppermint, or even almond!) or tint them with natural food coloring for a personal twist.
- Simple Joys: There’s something magical about watching sugar, water, and gelatin transform into sweet clouds!
- Perfect for Sharing: Whether you’re roasting marshmallows over a crackling campfire or topping your homemade hot cocoa, these get everyone smiling.
Ingredients You’ll Need for Fluffy Marshmallows
Don’t worry—you only need a handful of basic ingredients to unlock marshmallow heaven! Here’s what you’ll need (with my favorite tips thrown in):
- Granulated Sugar (2 cups): Provides the marshmallows’ signature sweetness and structure. I always use classic white sugar for best results.
- Light Corn Syrup (1/2 cup): Helps prevent crystallization and keeps your marshmallows smooth and chewy.
- Unflavored Gelatin (3 packages, about 3 tablespoons): The key to achieving that airy, springy texture. Ensure yours is fresh—the packet should have no funky smells (trust me!).
- Cold Water (1/2 cup for blooming gelatin, plus 1/2 cup for syrup): Be sure to measure accurately; too much or too little water changes the texture.
- Vanilla Extract (1 tablespoon): For that classic flavor—feel free to use homemade or high-quality real vanilla.
- Powdered Sugar/Cornstarch Mixture (about 1 cup, equal parts): Essential for dusting and preventing stickiness.
(Optional: Pinches of salt or other extracts—think peppermint or almond—for creative flavor boosts!)
Step-by-Step Guide: Making the Perfect Homemade Marshmallows
Ready to whip up some marshmallow magic? Here’s how we do it, step by easy step.
-
Bloom the Gelatin:
Sprinkle the gelatin over 1/2 cup cold water in your mixer’s bowl. Let it soak (or “bloom”) for about 10 minutes. This little bit of patience pays off! -
Make the Syrup:
Combine sugar, corn syrup, and remaining 1/2 cup water in a saucepan over medium heat. Stir just until combined, then let it bubble away—no stirring required—from this point on. -
Cook the Syrup:
Bring syrups to a boil, then cook until it reaches 240°F (soft ball stage) on a candy thermometer. (Don’t have one? Drop a bit into cold water—it should form a soft, flexible ball.) -
Whip It Good:
Carefully pour the hot syrup into the gelatin (watch out—it’s super hot!), start your mixer on low, and gradually increase to high speed. Whip for 10-15 minutes until the mixture is thick, shiny, and almost tripled in volume.
(Personal tip: Kids love watching this step—it turns from clear, gloopy syrup to fluffy magic right before your eyes!) -
Add Flavor & Pour:
Mix in the vanilla (or your chosen flavoring) during the last minute of whipping. Grease a baking dish, dust the bottom with powdered sugar/cornstarch, and spread the marshmallow mixture evenly. Dust the top generously. -
Let Them Set:
Let them rest at room temperature for at least 6 hours (overnight is best for a perfect pillowy bite). -
Cut & Enjoy:
Dust a sharp knife with powdered sugar/cornstarch. Cut marshmallows into squares, toss them gently in more dusting mix to keep them from sticking, and dive in!
My Secret Tips and Tricks for Homemade Marshmallow Success
- Fresh Gelatin Makes a Difference: Old packets can cause lumpy, dense marshmallows (nobody wants that).
- Temperature Accuracy is Key: Use a candy thermometer for best results—240°F is the sweet spot for marshmallow fluffiness.
- Dust With Enthusiasm: Marshmallows are sticky little things! Don’t be shy with that powdered sugar/cornstarch blend (your countertops will thank you).
- Flavor Flexibility: If classic vanilla isn’t your vibe, add a drop or two of peppermint or orange extract, or swirl through natural food coloring (marshmallow art, anyone?).
Creative Variations and Ingredient Swaps
There are so many ways to give your homemade marshmallows a unique spin:
- Chocolate Marshmallows: Whisk in 2 tablespoons cocoa powder before pouring into the pan.
- Vegan Marshmallows: Swap gelatin for agar-agar or a vegan alternative (results vary, but it’s worth a try for plant-based friends).
- Fruit-Flavored Marshmallows: To the hot syrup, add fruit puree (think raspberry or strawberry) for naturally tinted, flavor-packed marshmallows.
- Holiday Swaps: Add pumpkin pie spice in the fall or peppermint extract and red swirl for winter festivities.
How to Serve and Store Your Homemade Marshmallows
Homemade marshmallows are super versatile and incredibly fun to serve!
- Serve Them:
- Toss them into your next mug of hot cocoa.
- Sandwich them between graham crackers and chocolate for the ultimate s’mores.
- Package a batch as heartfelt gifts (who doesn’t love a homemade treat?).
- Store Them:
- Keep marshmallows in an airtight container at room temp for up to 2 weeks.
- Sprinkle extra powdered sugar before storing to keep them from sticking.
- For longer keeping, freeze them in layers separated by parchment paper (perfect for camping adventures later on).
FAQs: Your Top Questions About Homemade Marshmallows Answered
1. Can I make marshmallows without corn syrup?
Absolutely—you can swap in honey or golden syrup (flavor will change slightly, but they’re still amazing).
2. Why are my marshmallows sticky?
Don’t worry! Just add a bit more powdered sugar/cornstarch dusting and they’ll be good as new.
3. How long do homemade marshmallows last?
Stored in an airtight container, they’ll stay fluffy and fresh for about 2 weeks (if you don’t eat them all before then!).
4. Can I use flavored gelatin?
Stick with unflavored for classic marshmallows; flavored gelatin can make them overly sweet and artificially colored (but hey, experiment if you’re feeling adventurous).
5. How do I make them vegan?
Try using agar-agar powder in place of gelatin—texture is a tad different, but they’re deliciously plant-based!
Making homemade marshmallows isn’t just about the treat—it’s about the memories you’ll whip up right alongside them. Whether you’re gathering cozy moments around the fire or simply want a sweet pick-me-up, these fluffy confections are bound to delight. If you try this recipe, I’d love to hear your marshmallow adventures and see your creations. Happy whisking, friend!


