Danish Butter Cookies
Cozy Afternoons and the Magic of Danish Butter Cookies
There’s something about Danish butter cookies that always brings me back to my grandmother’s tiny kitchen. On chilly afternoons, with the wind rattling the old windows, she’d set out a tin of homemade butter cookies and a pot of tea—and suddenly, the world just felt right. The warm, golden aroma of freshly baked cookies would drift from the oven, promising contentment in every swirl. Today, I turn to this classic Danish butter cookie recipe not just for its melt-in-your-mouth flavor, but also for the way it adds a sprinkle of coziness to any day. (And trust me—with just a handful of everyday ingredients and a splash of nostalgia, these cookies are dangerously easy to love!)
Why You’ll Adore This Danish Butter Cookie Recipe
- Buttery Melt-in-Your-Mouth Texture: Every bite is rich, delicate, and just irresistible. If you’re a fan of melt-away cookies, these are dreamy.
- Easy and Approachable: Honestly, making homemade Danish butter cookies is far simpler than it looks—no fancy equipment, just a piping bag and a bit of arm strength.
- Beautifully Elegant: Whether you gift them in a tin or serve them with coffee, these cookies look like they came straight from a bakery.
- Memory-Making Magic: Baking these classic cookies is a lovely tradition. Invite little hands to help pipe the swirls—kids adore shaping them!
I come back to this recipe time and again, especially when I want to give someone a homemade hug (delivered in cookie form).
Ingredients You’ll Need for Danish Butter Cookies
Here’s what you’ll need—and a few tips to get the very best results:
- 1 cup (227g) unsalted butter, room temperature
Use a great-quality, unsalted butter for the true Danish cookie flavor. European butters work wonders here, but any creamy, high-fat butter will do. - 2/3 cup (80g) powdered sugar
Powdered (confectioners’) sugar gives these cookies their signature tenderness. No substitutes here—you want that silky finish! - 1 large egg, room temperature
Bring your egg to room temp for the smoothest, most cohesive dough. - 1 1/2 cups (190g) all-purpose flour
Regular all-purpose flour provides the perfect structure—scoop and level for accuracy. - 1/4 cup (30g) cornstarch
This is the secret to a lighter, melt-in-your-mouth texture. Don’t skip it! - 1 tsp vanilla extract
Pure vanilla extract is a must for warmth and aroma (no imitation, please). - 1/4 tsp salt
Salt balances the sweetness and pops those buttery notes.
Optional: If needed, 1–2 tsp milk to soften the dough for piping. (I often add just a splash—it makes the swirls behave!)
Step-by-Step Guide: Making the Perfect Danish Butter Cookies
Let’s walk through this together—I’ll share a few tricks I’ve picked up along the way!
- Cream the Butter and Sugar
In a mixing bowl, beat the room-temperature butter and powdered sugar together. You’re looking for a pale, fluffy mixture—about 3 minutes. (The airier, the better for light cookies!) - Add the Egg and Vanilla
Beat in the egg and vanilla extract until everything looks smooth and combined. The dough should look creamy at this point. - Sift in Dry Ingredients
Sift the flour, cornstarch, and salt directly into the bowl. I love this part—it keeps everything lump-free. - Mix to a Soft, Pipeable Dough
Mix just until combined—don’t overwork, or the cookies can get tough. If the dough seems too thick, add 1–2 teaspoons of milk to loosen it up. (I usually use the back of a spoon to test the texture before committing to milk.) - Pipe Swirls onto a Tray
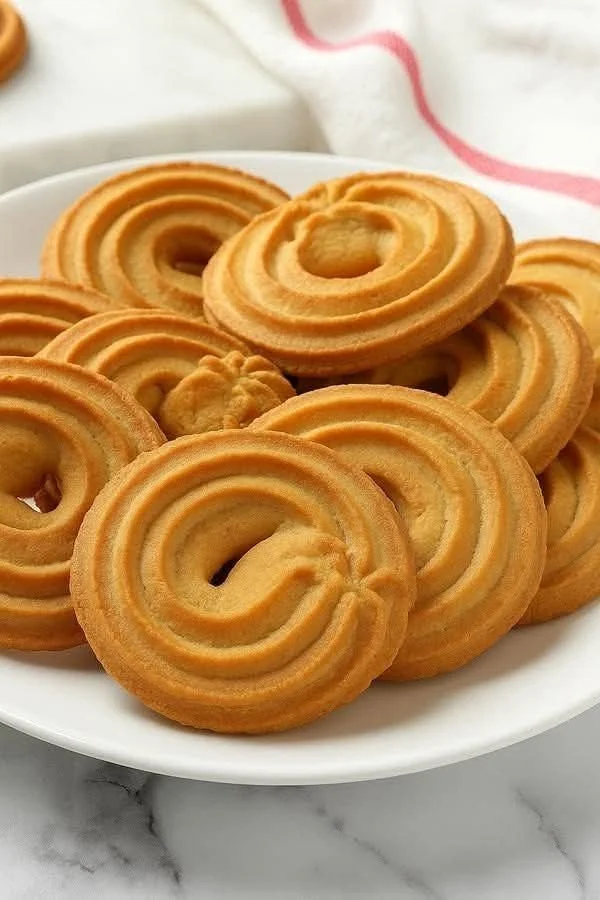
Fit a piping bag with a large star tip and fill with dough. Pipe round swirl shapes onto a baking sheet lined with parchment, spacing them out. (Practice a swirl or two on the side—nobody will know!) - Chill the Cookies
Pop the trays in the fridge for 20–30 minutes. This little pause keeps those pretty shapes defined once they bake. - Bake
Preheat your oven to 170°C (340°F). Bake for 12–15 minutes, or until the cookie edges are gently golden. - Cool Completely
Cool on a wire rack (this is the hardest part!), then store in an airtight container.
And there you have it—stunning homemade Danish butter cookies, ready for sharing (or secret snacking).
My Secret Tips and Tricks for Danish Butter Cookie Success
- Always use room temperature ingredients (it makes creaming a breeze and guarantees the best texture).
- Pipe the cookies right onto the tray—don’t be afraid to use a bit of muscle! If the dough is too stiff, just mix in a teaspoon of milk.
- Don’t skip the chilling step. A brief chill keeps the swirls sharp and helps prevent spreading.
- Rotate your trays halfway through baking for even color. Not all ovens are created equal!
- Store in an airtight tin with a parchment sheet between layers (classic cookie tins work wonders, just like the store-bought ones).
I learned early on that these small details (especially chilling and quality butter) transform average butter cookies into unforgettable Danish treats.
Creative Variations and Ingredient Swaps
Want to mix things up with your Danish butter cookies? Here are a few variations I love:
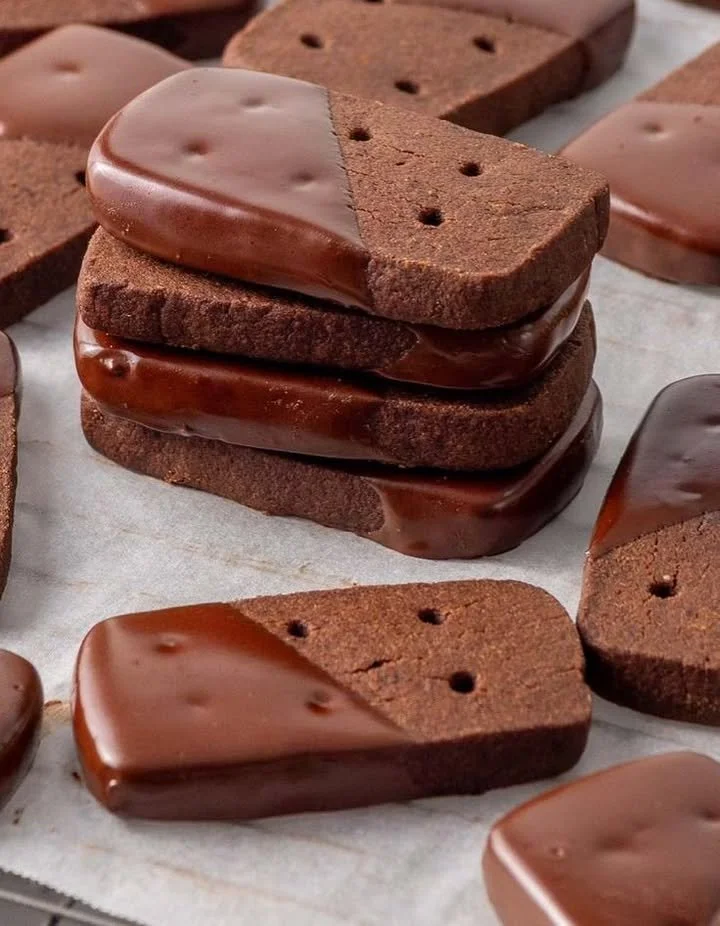
- Chocolate Tips: Dip the cooled cookies halfway in melted chocolate, then sprinkle with chopped nuts or festive sprinkles.
- Citrus Twist: Add a teaspoon of orange or lemon zest to the dough for a bright, fresh flavor.
- Almond Danish Butter Cookies: Swap in 1/4 teaspoon almond extract for a nutty undertone (makes them extra special for holiday cookie trays).
- Gluten-Free Option: Substitute your favorite 1-to-1 GF flour blend with excellent results—cornstarch keeps the crumbliness intact.
- Jam Thumbprints: Pipe a small circle, make a tiny well in the center, and fill with your favorite jam before baking.
Whether you want to stick with the classic Danish butter cookie recipe or get creative, there are plenty of ways to make these cookies truly your own.
How to Serve and Store Your Danish Butter Cookies
Danish butter cookies are lovely solo, but here’s how I like to serve and store them (and yes, they make incredible gifts!):
- With Coffee or Tea: Nothing beats a buttery cookie dunked in an afternoon latte or a pot of Earl Grey.
- Elegant Dessert Board: Pair with other homemade cookies or chocolate pieces for a sweet centerpiece.
- Gifting: Stack the cookies in parchment-lined tins or cellophane bags with a little ribbon for a heartfelt homemade present.
Storing Butter Cookies
Keep cooled cookies in an airtight container at room temp for up to 2 weeks (if they last that long). Layer parchment to prevent sticking. You can freeze the piped, unbaked dough for up to 1 month—just bake a few straight from the freezer when cravings strike. (Perfect for last-minute guests!)
FAQs: Your Top Questions About Danish Butter Cookies Answered
Can I make Danish butter cookies without a piping bag?
Absolutely! You can roll the dough into small balls and flatten with a fork or use a cookie press for fun shapes. The classic swirl does look extra festive, though! (cookie press, shortbread cookies)
Why are my cookies spreading too much?
It’s usually a temperature thing—make sure your butter isn’t too soft and always chill the piped cookies before baking. That’s the best way to keep those beautiful swirls.
Can I freeze Danish butter cookies?
Yes! Baked cookies freeze wonderfully (air-tight container, parchment between layers). Thaw at room temperature and they’ll taste as buttery and delicious as the day you made them.
Do I need to use powdered sugar?
For the classic, delicate texture, powdered sugar is the way to go. Granulated sugar will give a different, crunchier crumb, so stick with powdered for that signature Danish butter cookie melt.
How do I get super crisp edges?
Keep an eye on baking time—cookies should just start to turn golden at the edges. A minute or two more creates that crispy contrast without drying them out.
Whether you’re reliving sweet childhood memories or just craving an easy, elegant treat, this Danish butter cookie recipe brings warmth and joy to any occasion. Give them a try—and don’t forget to share your swirly creations. Happy baking, friends!
