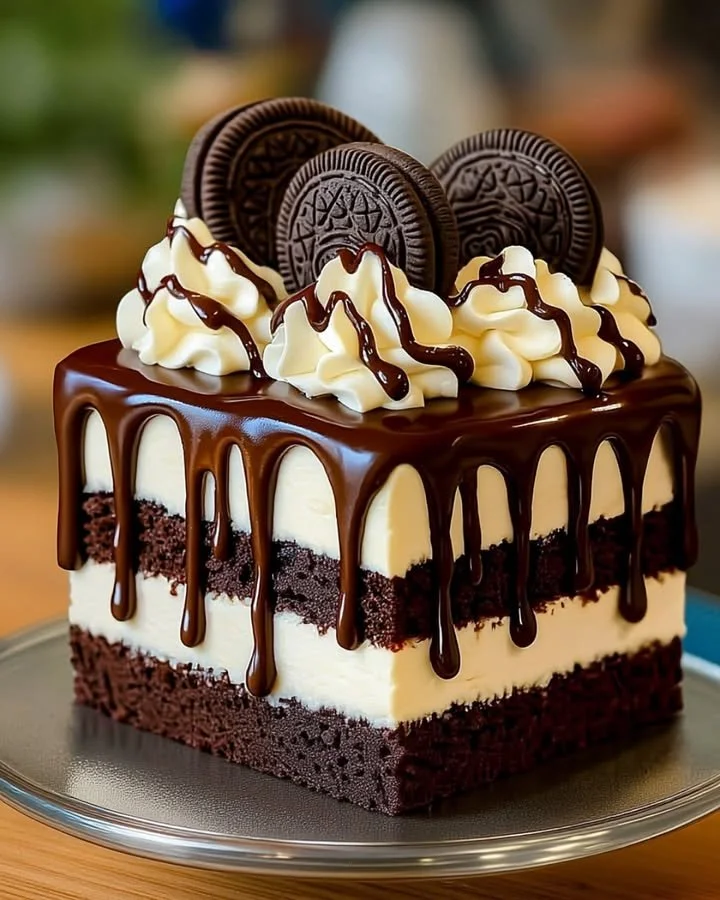
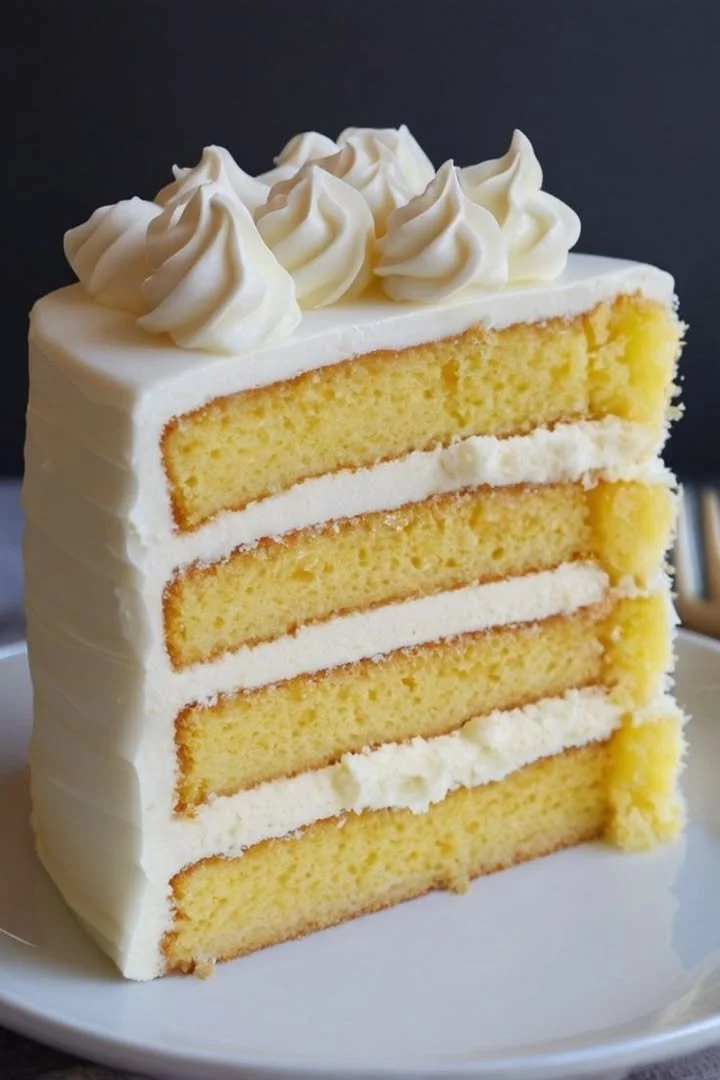
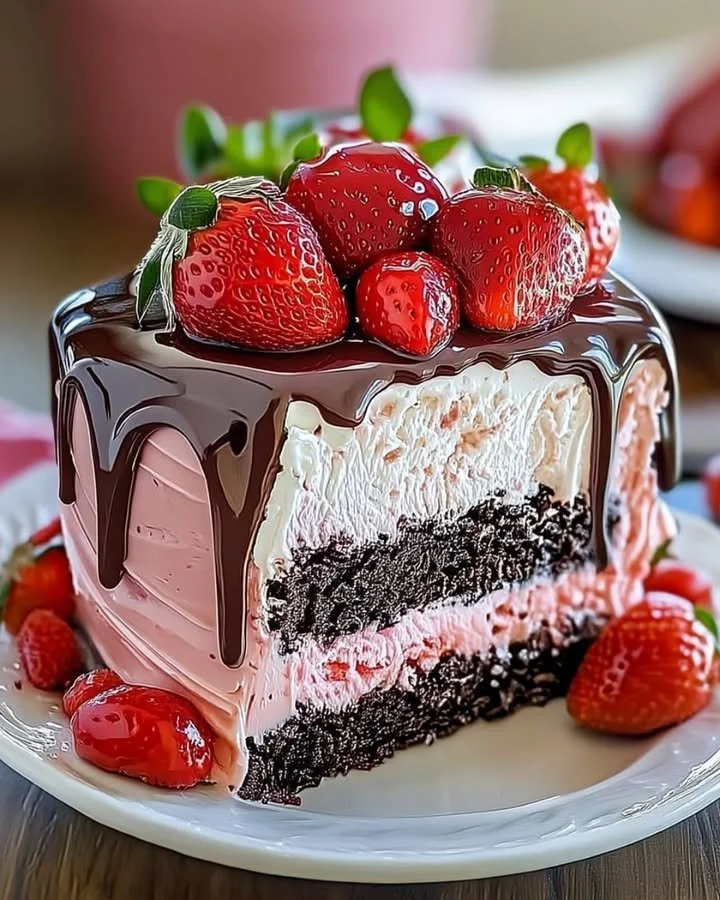
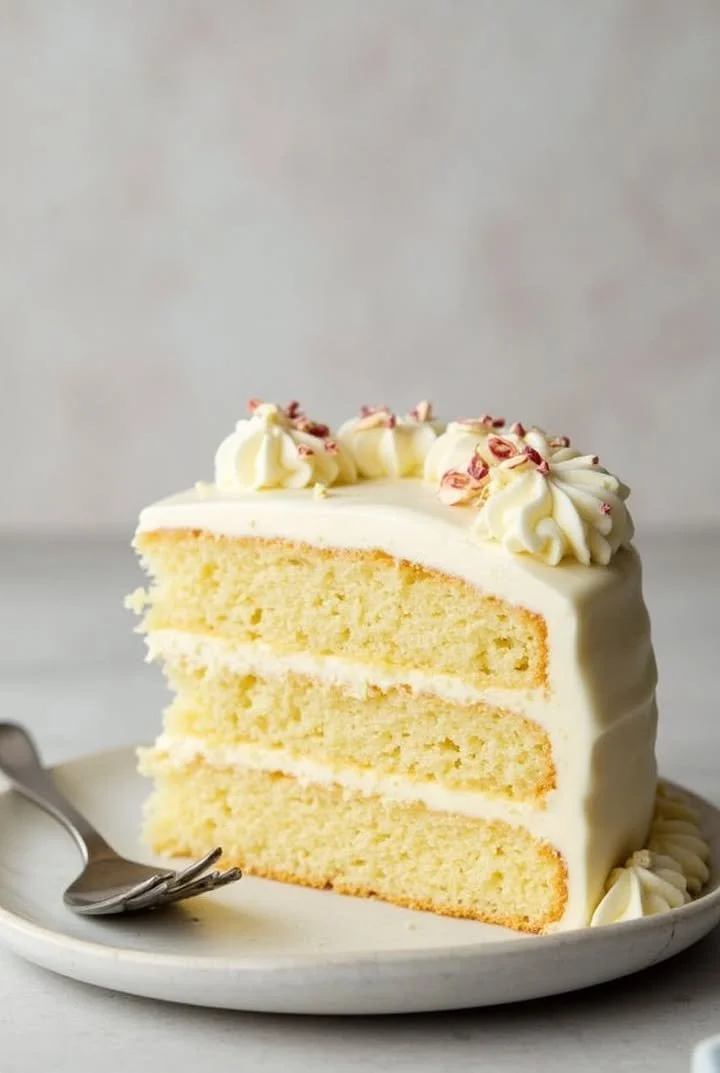
Chocolate Layer Cake with Chocolate Frosting
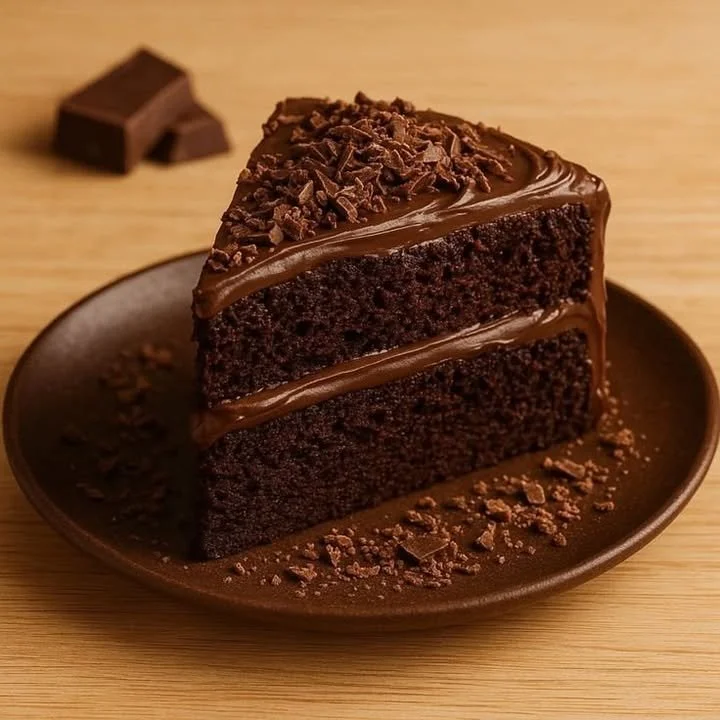
A Chocolate Layer Cake With Chocolate Frosting That Feels Like Home
When I think back to the birthdays, holidays, and even those “just because” Saturdays that made up my childhood, one thing always stands out: my mom’s towering, homemade chocolate layer cake with chocolate frosting. The anticipation was half the magic—the scent of cocoa drifting from the kitchen, the rich, glossy frosting swirling atop each layer, and, of course, strategically “helping” by licking the beaters. That cake wasn’t just dessert; it was a warm hug on a plate, the centerpiece that could make any moment feel special.
That’s the spirit I tried to capture with this classic chocolate cake. If you’ve been searching for a chocolate layer cake recipe that’s mouthwateringly moist, craving-worthy, and actually simple to make at home, you’re about to meet your new favorite. Let’s dive in, friend—it’s time for chocolate bliss!
Why You’ll Adore This Chocolate Layer Cake With Chocolate Frosting
There are a million reasons to fall for this decadent chocolate layer cake, but here are my absolute favorites:
- It’s One-Bowl Easy: No fussy techniques, no mysterious ingredients—just a simple, reliable method that anyone can master (even on a busy weeknight).
- Incredibly Moist & Rich: Thanks to real cocoa powder, hot coffee (for depth!), and buttermilk-like richness from whole milk, every bite is pure chocolate heaven.
- Foolproof Chocolate Frosting: This is the kind of whipped, buttery, not-too-sweet chocolate frosting you’ll want to eat straight from the bowl (don’t worry, I don’t judge).
- Perfect for Celebrations (or Tuesday nights): There’s just something special about unveiling a layer cake—your family (or friends, or coworkers!) will be seriously wowed.
Trust me, this homemade chocolate cake is about to win a permanent spot in your “recipes I love” folder.
Ingredients You’ll Need for Chocolate Layer Cake With Chocolate Frosting
Before you start, here’s what you’ll need. I’ll share a few of my favorite tips for each ingredient, so you can make the best chocolate cake possible:
- All-purpose flour (1 3/4 cups / 220g): Helps give the cake a tender yet sturdy crumb. No need for cake flour!
- Sugar (2 cups / 400g): Granulated sugar keeps things perfectly sweet.
- Unsweetened cocoa powder (3/4 cup / 65g): Opt for a good-quality, unsweetened baking cocoa—Dutch-process gives it a slightly richer taste.
- Baking powder (2 tsp) & Baking soda (1 1/2 tsp): The dynamic duo for just the right lift.
- Salt (1 tsp for cake, 1/2 tsp for frosting): Don’t skip it! Salt brings out the chocolate flavor.
- Large eggs (2): For structure and richness.
- Whole milk (1 cup / 240ml): Or swap in buttermilk for a subtle tang.
- Vegetable oil (1/2 cup / 120ml): Keeps the cake ultra-moist, even after a few days.
- Vanilla extract (2 tsp in cake, 2 tsp in frosting): Adds beautiful aroma and warmth.
- Hot coffee OR hot water (1 cup / 240ml): Coffee won’t taste “coffee-ish,” but it really deepens the chocolate flavor!
- Unsalted butter (1 cup / 230g, softened): Use real butter for the frostiest, fluffiest frosting.
- Powdered sugar (3 1/2 cups / 440g): For that classic frosting sweetness.
- Heavy cream (1/4 cup / 60ml): Gives the frosting a perfectly spreadable texture.
- Chocolate shavings or grated chocolate: Just for fun (and that final, bakery-worthy touch).
Step-By-Step Guide: Making the Perfect Chocolate Layer Cake With Chocolate Frosting
Let’s walk through it together—no stress, I’ve got you!
For the Cake:
- Prep Your Pans:
Preheat your oven to 350°F (175°C). Grease and flour two 8-inch round cake pans, and line the bottoms with parchment—so nothing sticks (a little thing that saves a lot of heartbreak!). - Mix Dry Ingredients:
In a large bowl, whisk together the flour, sugar, cocoa powder, baking powder, baking soda, and salt until they look nicely blended. - Add the Wet Ingredients:
Crack in the eggs, pour in the milk, oil, and vanilla, and mix until the batter is just smooth—don’t overdo it! - Pour In The Hot Coffee:
This is my secret weapon—slowly pour it in and stir gently. The batter will seem runny, but this is what makes the cake super moist. - Bake:
Divide the batter between your prepared pans. Pop them in the oven for 30–35 minutes, or until a toothpick comes out clean. Cakes should spring back when touched! - Cool:
Let the cakes cool in their pans for 10 minutes, then gently flip them onto a wire rack to cool completely (this helps them set up and stay moist).
For the Frosting:
- Beat The Butter:
With a hand or stand mixer, beat the softened butter until it’s pale and creamy (around 3 minutes). - Add Powdered Sugar, Cocoa, Salt:
Mix in the powdered sugar, cocoa powder, and salt on low speed until combined—less mess! - Vanilla & Cream Time:
Beat in the vanilla and heavy cream, then whip it all up for another 2 minutes, or until the frosting is fluffy and irresistible. - Assemble:
Place one cake layer on a serving plate, slather plenty of frosting over the top, then set the next cake layer on top. Frost the sides and top, smoothing it out—or go rustic! - Decorate:
Sprinkle with chocolate shavings or grated chocolate. (I love using a veggie peeler on a chocolate bar!)
My Secret Tips and Tricks for Chocolate Layer Cake Success
Over the years, I’ve picked up a few handy chocolate cake tips—and I’m all about sharing the love:
- Use Room-Temperature Ingredients: Cakes mix up more evenly when everything’s not ice-cold straight from the fridge.
- Quality Cocoa Makes a Difference: Invest in the best unsweetened cocoa powder you can—your tastebuds will thank you (seriously, it’s the star of the show).
- Don’t Rush the Cooling: Wait until your cake layers are totally cool before frosting, to avoid runny or “melty” chocolate frosting.
- Stir, Not Whip: When adding the hot coffee, stir gently—whipping too much can make the cake dense.
- Adjust Frosting Consistency: If the frosting is too thick, add another tablespoon of cream; if it’s too thin, more powdered sugar does the trick.
And remember: a little patience (and a little messy spatula action) is all part of homemade chocolate cake charm.
Creative Variations and Ingredient Swaps
- Gluten-Free: Swap in a good 1:1 gluten-free flour blend to make this cake accessible for everyone.
- Dairy-Free: Use your favorite plant-based milk (like oat or almond) and a vegan butter for the frosting to suit dairy-free friends.
- Coffee-Free: Hot water works just fine if you’re keeping things caffeine-free for the kiddos.
- Extra-Chocolatey: Fold mini chocolate chips into the batter for pockets of melty chocolate in every bite (hello, chocolate lava cake vibes!).
- Fruit Twist: Add a layer of raspberry jam or fresh strawberries between the cakes for an elegant touch (pairs beautifully with chocolate flavor).
- Nutty Crunch: Sprinkle toasted hazelnuts or pecans between the layers for texture.
How to Serve and Store Your Chocolate Layer Cake With Chocolate Frosting
This homemade chocolate cake shines on its own, but here’s a little insider advice:
- Serving Suggestions:
Enjoy at room temperature for the best texture. Pair with a scoop of vanilla ice cream or fresh berries for a true dessert-lovers’ dream. - Storing Leftovers:
Cover your cake with plastic wrap or in an airtight container and keep it at room temp for up to 2 days (unless it’s super hot where you are—then pop it in the fridge). It actually gets even fudgier after a day! - Freezing:
You can freeze individual slices (well-wrapped!) for up to 2 months. Thaw overnight in the fridge, and you’ll have emergency chocolate cake when you need it.
FAQs: Your Top Questions About Chocolate Layer Cake With Chocolate Frosting Answered
Q: Can I make the chocolate layer cake in advance?
A: Absolutely! The cake layers can be baked, wrapped tightly, and frozen for up to a month. Just frost when you’re ready—hello, stress-free entertaining!
Q: My cake sank a bit in the center—what happened?
A: This usually means the cake was underbaked, or the batter sat too long before baking. Make sure to check doneness with a toothpick and get those pans in the oven right after mixing.
Q: Can I double the recipe for a taller cake?
A: You sure can—just use 9-inch pans or bake in batches. Keep an eye on the baking time, though, as it may need a few extra minutes
