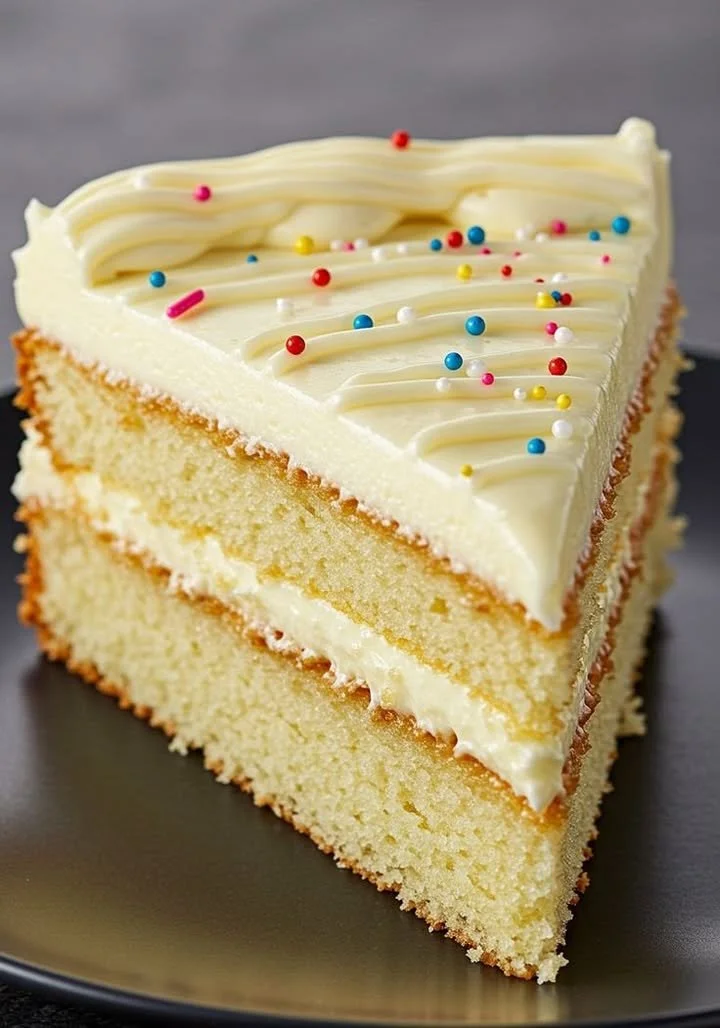
Oil-Based Vanilla Cake
A Cozy Afternoon with Oil-Based Vanilla Cake
There’s something truly magical about the aroma of a freshly baked vanilla cake filling the house—it instantly takes me back to slow Sunday afternoons at my grandmother’s, when the only thing that mattered was licking the batter bowl and watching as a golden cake rose perfectly in the oven. I’ll never forget the first time she let me help sift the flour and measure the vanilla—her secret ingredient for the softest, most velvety oil-based vanilla cake. The simplicity and comfort in every slice of this cake are why I still turn to this recipe whenever I need a pick-me-up or want to celebrate life’s sweet little moments. If you’ve been searching for an easy, foolproof vanilla cake that’s moist, tender, and packed with flavor, this oil-based vanilla cake is the one—trust me, your kitchen will smell like heaven.
Why You’ll Adore This Oil-Based Vanilla Cake
Let me gush for just a second—there are SO many reasons why I think you’ll absolutely love this oil-based vanilla cake recipe:
- Unbelievably Moist: Because we’re using oil instead of butter in the batter, every bite stays soft, even days after baking. (No more dry, crumbly vanilla cakes—hallelujah!)
- Effortless & Foolproof: No fancy mixers or complicated steps. Just honest, classic ingredients you probably already have in your pantry.
- Versatile for Any Occasion: This cake is perfect for birthdays, tea parties, or just a Tuesday that deserves a treat. Dress it up with sprinkles, fresh berries, or a drizzle of chocolate if you like!
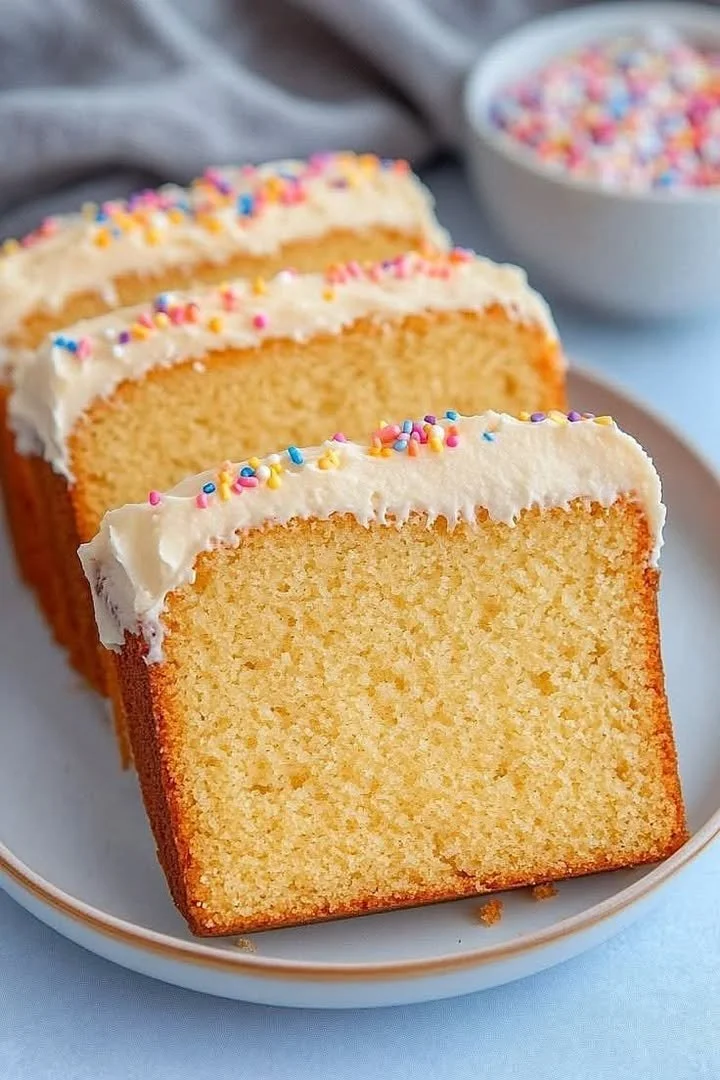
- Crowd-Pleasing Flavor: The rich vanilla aroma, delicate crumb, and creamy vanilla frosting hit all the right nostalgic notes with every forkful.
Ingredients You’ll Need for Oil-Based Vanilla Cake
Gather your mixing bowls—here’s what you’ll need to make the perfect vanilla cake (I always recommend reading through first, so you’re ready):
- 2 1⁄2 cups all-purpose flour: Standard all-purpose flour makes for the classic soft crumb we know and love.
- 1 3⁄4 cups granulated sugar: White sugar adds sweetness without overpowering the vanilla flavors.
- 2 1⁄2 tsp baking powder: Don’t skip this! It gives the cake lift and that dreamy, fluffy texture.
- 1⁄2 tsp salt: Just a pinch brings balance and highlights all the other flavors.
- 4 large eggs: Room temperature eggs mix in smoothly and help with structure—a must for fluffy cakes.
- 1 cup whole milk: For extra richness and moistness.
- 1 cup vegetable oil: Here’s our secret for an ultra-tender crumb (no more dry homemade cakes!).
- 1 tbsp vanilla extract: Go for pure vanilla if you can. It makes ALL the difference!
- 1⁄2 cup hot water: Mixing this in at the end creates a batter that bakes up extra light.
For the luscious vanilla buttercream:
- 1 cup unsalted butter, room temperature: Soft butter blends best and creates that dreamy frosting.
- 4 cups icing sugar, sifted: Sifting helps avoid lumps. You want it fluffy!
- 1 tbsp vanilla extract: More vanilla means even more flavor.
- 2–4 tbsp milk or cream: Add until you get that perfect spreadable consistency.
Tip: For extra special occasions, try swapping in a splash of heavy cream for the milk in the frosting—so decadent!
Step-by-Step Guide: Making the Perfect Oil-Based Vanilla Cake
Let’s get baking! Here’s how I put together my favorite vanilla cake—don’t worry, I’ll walk you through every step.
-
Preheat and Prep
Preheat your oven to 175°C (350°F). Grease and line two 8-inch round cake pans with parchment. (Trust me, the parchment trick means cakes pop out every time!) -
Mix Dry Ingredients
In a large mixing bowl, whisk together the flour, sugar, baking powder, and salt. -
Combine Wet Ingredients
In another bowl, blend eggs, milk, vegetable oil, and vanilla extract until everything’s well combined and glossy. -
Combine and Mix
Gradually pour the wet mixture into the dry, stirring until smooth. Don’t overmix—just until you see no flour streaks. -
Add Hot Water
Slowly stir in the hot water. The batter will look runny at first—don’t panic! This is what keeps the cake tender and moist. -
Bake
Divide the batter evenly between your two pans. Bake for 30–35 minutes, or until a toothpick in the center comes out clean. (My kitchen fills with vanilla goodness right about now.) -
Cool
Let the cakes cool in the pans for 10 minutes, then gently flip onto a wire rack to cool completely. -
Make the Frosting
Beat the butter until pale and creamy. Gradually add sifted icing sugar, then the vanilla, and finally a bit of milk at a time, until fluffy and spreadable. -
Assemble
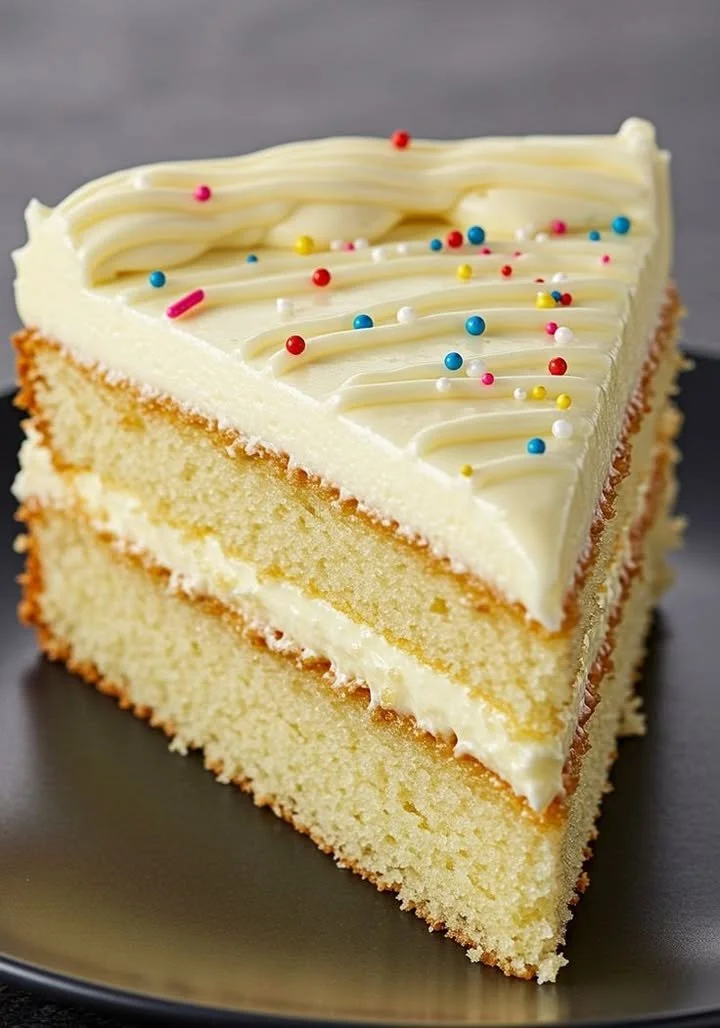
Place the first cake layer on your serving board, slather on a generous frost, then top with the second layer. Cover the top and sides with more frosting—no need for perfection, just lots of love. -
Decorate
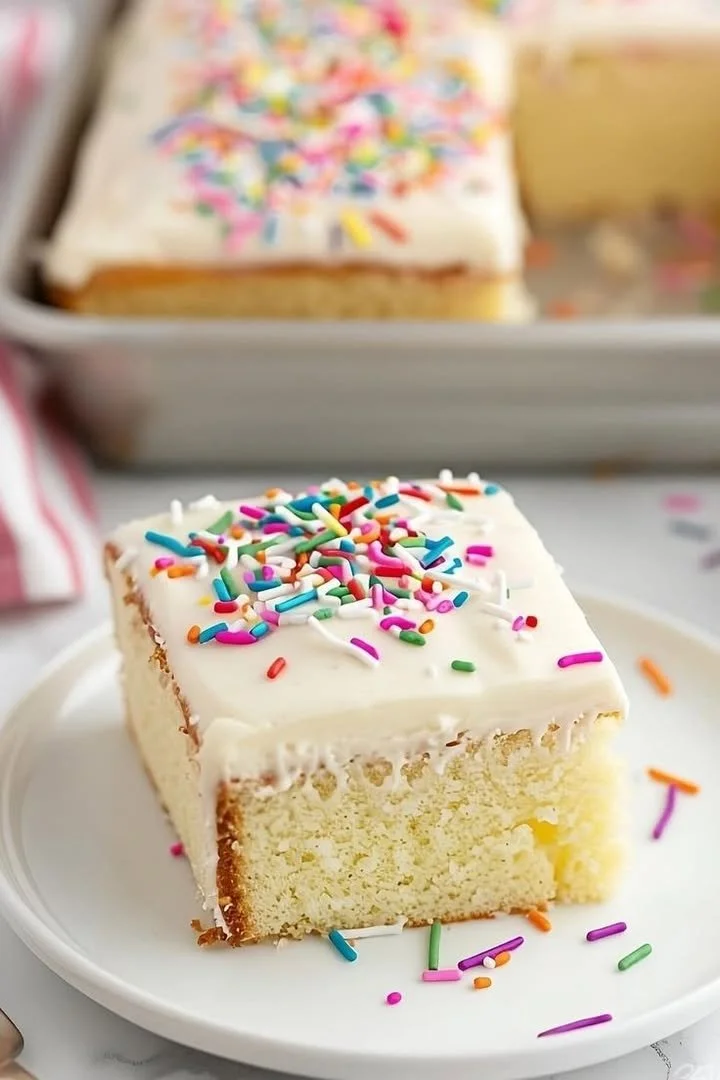
Dress it up with a sprinkle of rainbow nonpareils or seasonal berries if you’re feeling fancy!
My tip: If you’re craving that café-style swirl, use the back of a spoon to create soft swoops in your frosting.
My Secret Tips and Tricks for Oil-Based Vanilla Cake Success
After making dozens of homemade vanilla cakes, here’s what I’ve learned (sometimes the hard way):
- Room Temp Ingredients are Key: Cold eggs or milk can make your batter lumpy and uneven—let everything sit out before you start.
- Don’t Overmix!: Mixing just until combined keeps the crumb extra tender.
- Use Fresh Baking Powder: Old powder = flat cakes. Always check the date!
- Hot Water Trick: This makes the batter thin, but trust the process for an incredibly light and moist vanilla cake.
- Frosting Consistency: For buttercream that spreads like a dream, start with less milk and add more as needed.
Easy dessert recipes like this truly shine with a few simple tricks up your sleeve.
Creative Variations and Ingredient Swaps
One thing I LOVE about this recipe is how adaptable it is. Here are some fun ideas (and easy swaps!) for your oil-based vanilla cake:
- Chocolate Twist: Add 1/3 cup unsweetened cocoa powder to the dry mix for an oil-based chocolate vanilla cake.
- Lemon-Lover’s Dream: Mix in 2 tbsp lemon zest and swap half the vanilla for lemon extract.
- Dairy-Free: Use almond, soy, or oat milk and a vegan butter alternative in the frosting.
- Cupcake Version: Divide the batter into lined muffin tins and bake for 15–18 minutes.
- Gluten-Free: Substitute your favorite gluten-free flour blend—just keep an eye on baking time.
Baking (and eating) homemade vanilla cake should be fun and stress-free, so don’t hesitate to mix things up based on what you have or crave.
How to Serve and Store Your Oil-Based Vanilla Cake
I love serving this cake with:
- A hot cup of coffee or a tall glass of cold milk
- Fresh berries in summer, or a dusting of cinnamon in winter
- Extra sprinkles for birthdays!
To store leftovers (if you’re lucky enough to have any):
- Cover tightly and keep at room temperature for up to 2 days.
- For longer storage, pop it in the fridge, tightly wrapped, for up to 5 days. Bring to room temp before serving for the best texture.
- Freeze individual slices by wrapping well and freezing for up to 2 months (oil-based cakes freeze beautifully!).
Homemade vanilla cake always tastes best when shared—so tuck a slice into a lunchbox or surprise a neighbor.
FAQs: Your Top Questions About Oil-Based Vanilla Cake Answered
What makes an oil-based vanilla cake different from a butter-based one?
Great question! Oil keeps the cake extra moist and soft, even after a few days. Butter provides flavor, but oil is a game-changer for texture in easy vanilla cake recipes.
Can I use a different type of oil?
Absolutely—any neutral-flavored oil (like canola or sunflower) works. Avoid olive oil, since it can overpower the delicate vanilla flavor.
How do I make sure my homemade vanilla cake comes out fluffy?
The hot water trick is key! Also, don’t overmix the batter, and make sure your baking powder is fresh.
Can I make this recipe into cupcakes?
You bet! Just divide the batter into cupcake liners and check for doneness around the 15-minute mark.
Can I double or halve the recipe?
Totally—just adjust your pan sizes and baking times as needed. Easy dessert recipes like this are super flexible.
That’s it, friends—my all-time favorite oil-based vanilla cake! Whether you’re a first-time baker or a seasoned pro, this recipe is pure comfort in a pan. If you give it a try, please let me know how it went—was your kitchen filled with the smell of vanilla bliss? Did you sneak extra frosting while assembling? Let’s keep creating sweet memories, one homemade vanilla cake at a time. Happy baking
