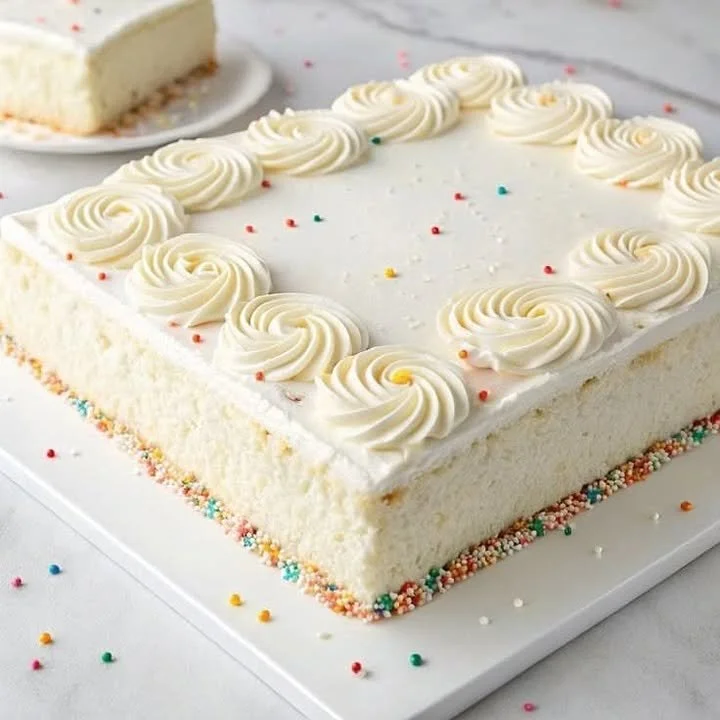
Buttermilk Cake
The Buttermilk Cake That Feels Like Home
There’s something magical about the aroma of a buttermilk cake baking in the oven. Every time I pull out my cake pans and start creaming butter and sugar, I’m instantly transported to Sunday afternoons in my grandma’s cozy kitchen. She’d hum a tune, sunlight would dance on her countertops, and the promise of a warm, fluffy cake always brought everyone together. It’s safe to say that classic buttermilk cake is more than just a dessert for me—it’s a sweet slice of nostalgia and comfort, wrapped up in every bite.
Why You’ll Adore This Buttermilk Cake
Let me tell you why this buttermilk cake recipe should absolutely be next in your baking queue:
-
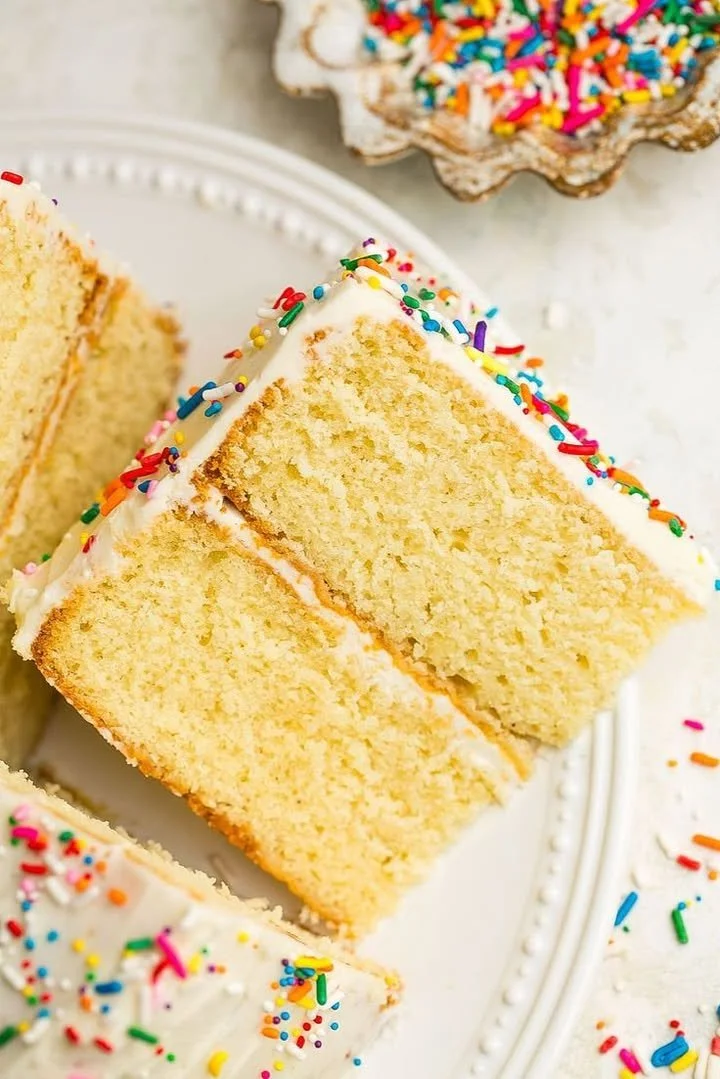
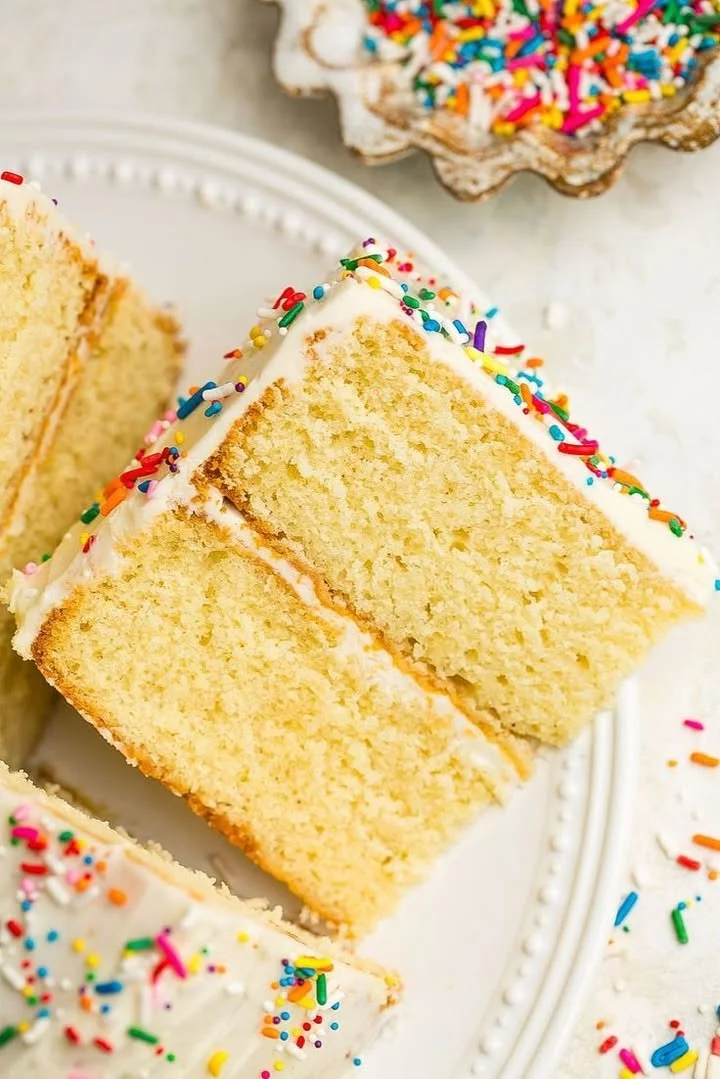
Unrivaled Tenderness: Thanks to buttermilk, the crumb is perfectly soft, moist, and melt-in-your-mouth. No dry bites here (seriously, it’s almost impossible to mess up).
-
Simple, Honest Flavors: You get that gentle tang from the buttermilk matched with buttery richness and a whisper of vanilla. It hits all the right notes without being over-the-top sweet.
-
Total Crowd-Pleaser: Whether it’s a birthday, casual get-together, or just your average Tuesday, everyone loves a homemade cake made from scratch. This one never fails to disappear!
-
Easily Customizable: Dress it up, keep it plain, add berries, a sprinkle of powdered sugar, or your favorite frosting. This basic buttermilk cake is your canvas for creativity.
Ingredients You’ll Need for Buttermilk Cake
Here’s what you’ll need to make this ultra-cozy homemade cake recipe (plus a few tips from someone who’s baked more cakes than they care to admit):
- All-purpose flour (2 1/2 cups): Good ol’ reliable, for a tender and soft crumb—don’t overpack it; spoon it into your measuring cup for accuracy.
- Baking powder (2 teaspoons) & Baking soda (1/2 teaspoon): These work together for the ideal rise; make sure they’re fresh for maximum fluffiness.
- Salt (1/4 teaspoon): Don’t skip this; it really brings all the flavors forward.
- Unsalted butter, softened (1 cup): Room temperature is key! I leave mine out for at least an hour—never microwave, as it can melt unevenly.
- Granulated sugar (1 3/4 cups): Standard white sugar lets the buttermilk shine.
- Eggs, large (3): Take them out of the fridge early—room temp eggs beat fluffier into your batter.
- Pure vanilla extract (2 teaspoons): Go for real vanilla if you can; it makes all the difference.
- Buttermilk (1 cup): The star ingredient! If you don’t have it, mix one cup milk with a tablespoon of lemon juice or white vinegar and let it sit for a bit (my little kitchen hack).
Step-by-Step Guide: Making the Perfect Buttermilk Cake
Baking can feel intimidating, but trust me—this recipe is super forgiving:
- Prep Your Pans: Preheat your oven to 350°F (175°C). Grease and flour two 8-inch round cake pans or one 9×13-inch pan (I usually line mine with parchment for extra nonstick insurance!).
- Mix Dry Ingredients: In a bowl, whisk together flour, baking powder, baking soda, and salt. Set aside. Dry whisks out lumps and distributes the leavening.
- Cream Butter & Sugar: In a large mixing bowl, beat softened butter and sugar until light and fluffy—think pale and cloud-like. This sets the stage for a tender crumb.
- Add Eggs & Vanilla: Mix in the eggs one at a time, scraping down the bowl as you go. Then add the vanilla extract. At this point, the batter will smell heavenly.
- Combine Wet & Dry with Buttermilk: Add flour mixture in three additions, alternating with the buttermilk—start and end with flour. Go slow and don’t overmix! (Overworking the batter can make for a dense cake—a lesson I’ve learned the hard way.)
- Bake: Pour your lovely batter into prepared pan(s) and even out the tops. Bake for 30–35 minutes, until a toothpick comes out mostly clean (a few crumbs are fine).
- Cool: Let the cake cool in the pan for 10 minutes, then turn out onto a wire rack to cool completely. Don’t rush this part if you’re planning to frost!
My Secret Tips and Tricks for Buttermilk Cake Success
Through many, many cakes, I’ve picked up a few pro tips that always make my buttermilk cake a knockout (and help you avoid common baking pitfalls):
- Room Temperature Everything: Make sure your butter, eggs, and buttermilk are not cold—this makes everything blend seamlessly and gives a lighter texture (great for homemade cake!).
- Measure Flour Carefully: Too much flour = dry cake. Always spoon it into your cup and level it off.
- Don’t Overmix: Once you add the dry ingredients, mix only until there are no big streaks remaining. Overmixing creates a chewy, tough cake.
- Parchment Paper Lining: For absolutely stress-free removal from pans—just trace and cut!
- Simple Decorations: I love topping with fresh berries or a dusting of powdered sugar if I’m in a hurry, but it also makes a perfect base for any layered celebration cake.
Creative Variations and Ingredient Swaps
One of my favorite things about classic buttermilk cake is how adaptable it is:
- Gluten-Free Option: Swap in a 1:1 gluten-free flour blend—works surprisingly well!
- Add Citrus: A tablespoon of lemon or orange zest brightens the flavor and feels extra fancy.
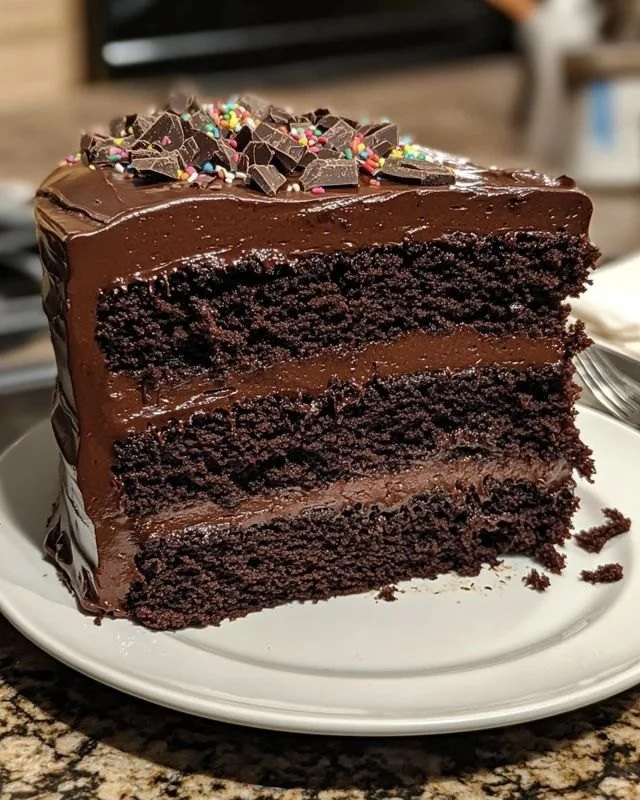
- Chocolate Buttermilk Cake: Stir in 1/2 cup cocoa powder (replace 1/2 cup flour) for a rich, tangy chocolate cake.
- Berry Swirl: Gently fold in 1 cup of fresh blueberries, raspberries, or strawberries for a pop of color and tartness.
- Dairy-Free: Try plant-based butter and use soy milk with a splash of vinegar for your homemade buttermilk substitute.
Go ahead and use what you have on hand—this easy homemade cake is all about flexibility and comfort.
How to Serve and Store Your Buttermilk Cake
Once your cake has cooled, you can:
- Serve It Simple: A slice of buttermilk cake with your afternoon coffee or tea is perfection.
- Frost It Up: Slather on cream cheese frosting, whipped cream, or even chocolate ganache for extra oomph.
- Add Fresh Fruit: Top with seasonal berries for a rustic touch.
Storing Leftovers: Wrap any leftover cake slices in plastic wrap or foil. They’ll keep on the counter (in an airtight container) for up to three days or pop into the fridge if topped with perishable frostings (classic homemade cake stays so moist!). You can also freeze the cake—just wrap slices individually for grab-and-go treats.
FAQs: Your Top Questions About Buttermilk Cake Answered
Q: Can I make this buttermilk cake ahead of time?
A: Absolutely! Bake the cake layers a day ahead, cool completely, and wrap tightly. They stay fresh for frosting and serving the next day.
Q: What if I don’t have buttermilk?
A: No problem! Mix 1 tablespoon of lemon juice or vinegar into 1 cup of milk, stir, and let sit for 5–10 minutes. Instant (almost) homemade buttermilk!
Q: Can I use this recipe for cupcakes?
A: You bet. Spoon the batter into lined muffin pans, filling about 2/3 full, and bake for 18–22 minutes. Tender buttermilk cupcakes for all!
Q: How do I avoid dry cake?
A: My top tip is to measure your flour carefully and don’t overbake. Pull the cake as soon as a toothpick comes out with a few moist crumbs.
Q: Is this buttermilk cake good for layering and decorating?
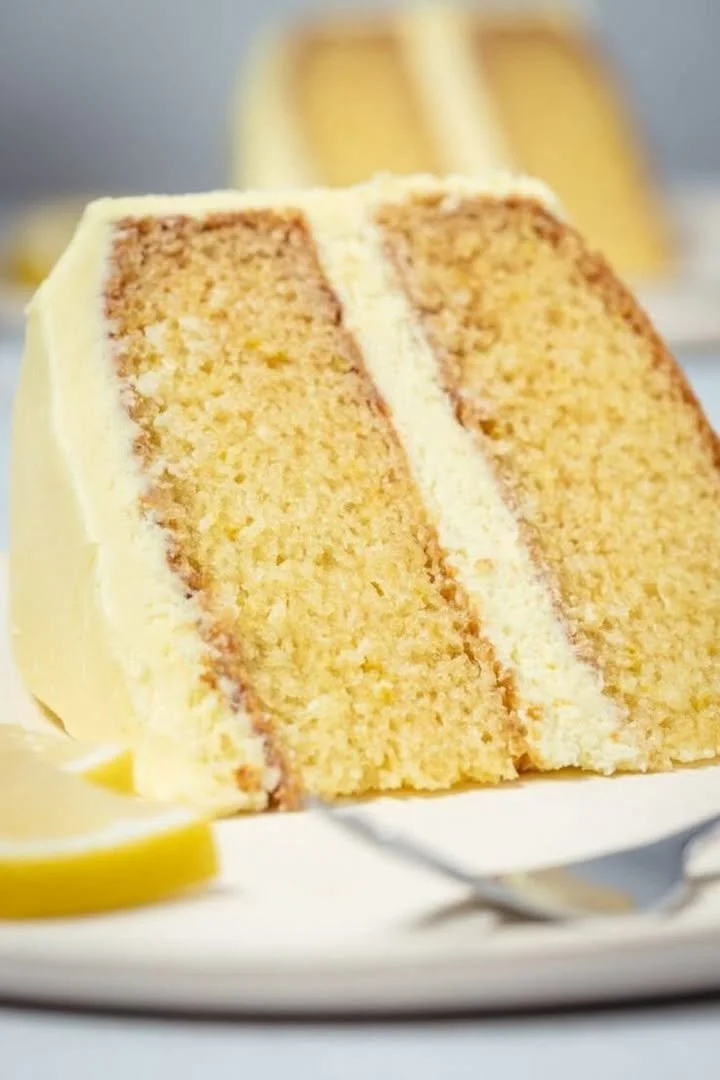
A: Yes! This cake holds up beautifully and cuts cleanly, making it ideal for birthday cakes or layered celebration cakes.
If you’re searching for a simple, comforting, and endlessly customizable cake, this buttermilk cake is the answer. I hope you enjoy baking (and eating) it as much as I do—because sometimes, the coziest recipes are the ones that remind us most of home. If you give it a try, let me know how it turns out. Happy baking, friends!
