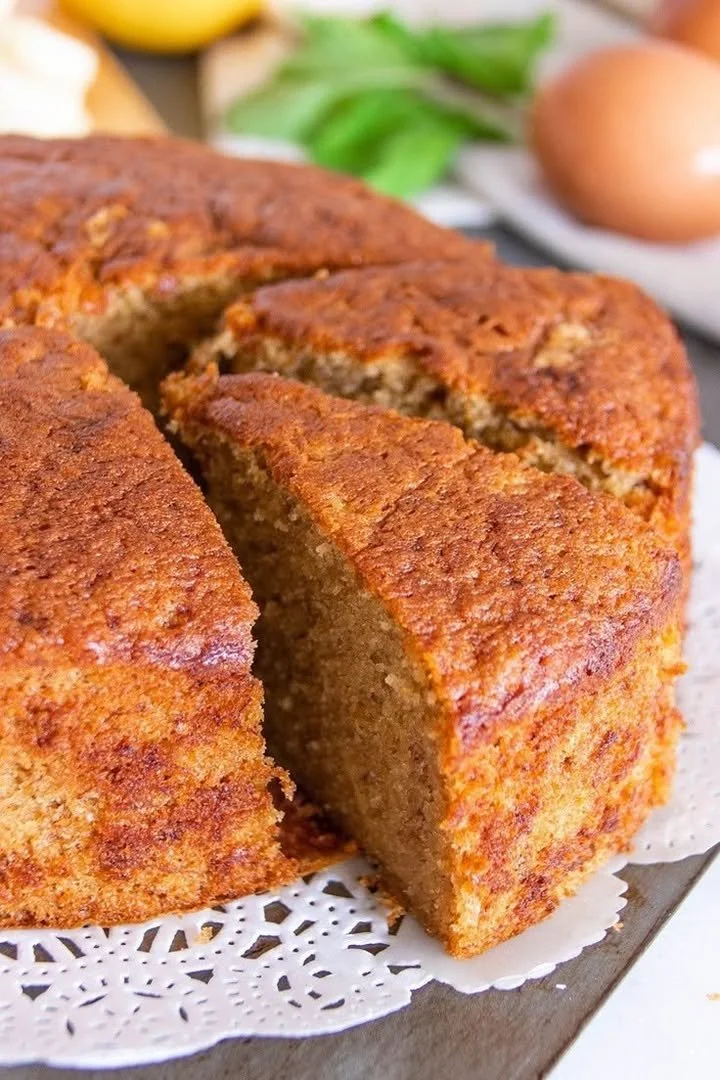
Buttermilk Cake
Nostalgic Weekends and the Dreamiest Buttermilk Cake
There’s something about the scent of a fresh buttermilk cake wafting through the house that pulls you right back to simpler times. I remember being a kid, perched on a creaky kitchen stool, watching my grandmother cream butter and sugar with effortless grace. She didn’t believe in shortcuts, insisting that the secret to the best buttermilk cake was patience—oh, and a splash of good, tangy buttermilk. Those lazy Sunday afternoons, with sunlight streaming across her checkered tablecloth, tasted like confidence and comfort.
So today, I’m excited to share my favorite buttermilk cake recipe—a soft, classic dessert that feels like a warm hug. Whether you’re stirring up childhood memories or just craving a sweet treat, this easy homemade cake is about to become your go-to.
Why You’ll Adore This Buttermilk Cake
Let’s be real: there are a million cake recipes out there. But here’s why this particular buttermilk cake always earns a spot on my table (and hopefully yours too!):
- Incredible Moisture: Thanks to that cup of buttermilk, each bite is melt-in-your-mouth tender—never dry, never crumbly.
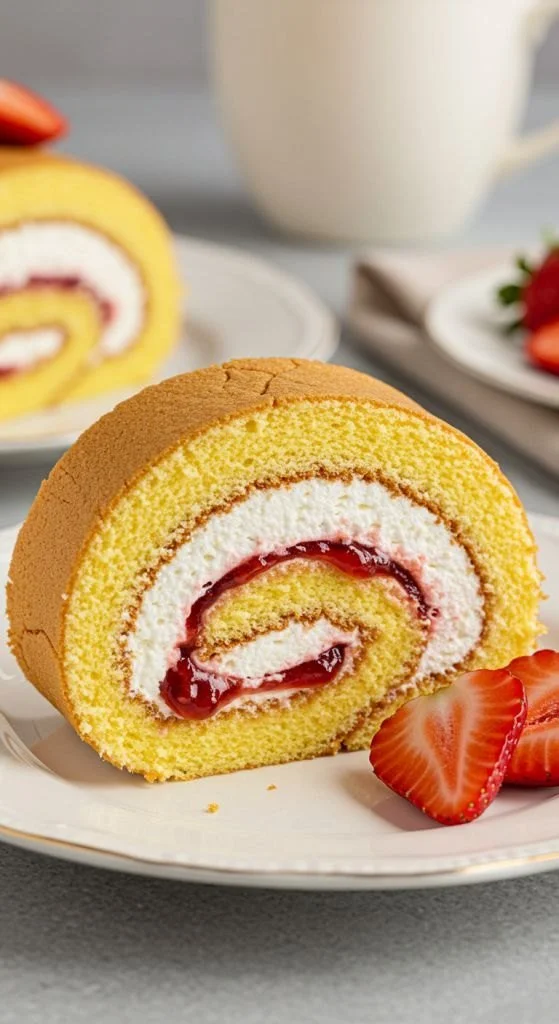
- Versatile Magic: Serve it plain for the purists, dress it up with berries, or smother it in icing. It’s the ultimate easy dessert for any mood or moment.
- One-Bowl Wonder: Minimal fuss, no fancy gadgets—just simple pantry staples and a bit of elbow grease.
- Nostalgic Flavor: The subtle tang of buttermilk, rich buttery crumb, and a hint of vanilla create classic, comforting flavors you’ll crave again and again.
Ingredients You’ll Need for Buttermilk Cake
Getting ready to whip up this homemade buttermilk cake? Here’s the shopping (or pantry-raiding) list, plus a few personal notes:
-
2 1/2 cups all-purpose flour
(A classic choice for that perfect cake structure. Sift if you want an extra-light crumb!) -
2 teaspoons baking powder
(For undeniable lift – check your tin is fresh for the fluffiest results.) -
1/2 teaspoon baking soda
(Works with buttermilk’s acidity to guarantee a tender crumb.) -
1/4 teaspoon salt
(Don’t skip this! It sharpens every flavor, even in a sweet dessert.) -
1 cup unsalted butter, softened
(Room temperature is key for easy creaming and that coveted fluffy texture.) -
1 3/4 cups granulated sugar
(Sweetens and adds a gorgeous golden crust.) -
3 large eggs
(They bind everything together and add richness. Room temp eggs blend best!) -
2 teaspoons pure vanilla extract
(Brings warmth and depth—don’t skimp on quality if you can help it.) -
1 cup buttermilk
(The star ingredient! For the softest, dreamiest cake crumb.)
Step-by-Step Guide: Making the Perfect Buttermilk Cake
Ready to dive in? Here’s how I make this easy buttermilk cake (it’s honestly simpler than you think):
-
Preheat your oven to 350°F (175°C). Grease and flour two 8-inch round pans or one 9×13-inch baking dish.
(If you’re in a pinch, a sheet of parchment does wonders for easy removal!) -
Mix Dry Ingredients: In a medium bowl, whisk together flour, baking powder, baking soda, and salt.
(Whisking prevents dry clumps—no one likes a flour surprise.) -
Cream Butter & Sugar: In a large mixing bowl, beat softened butter and sugar together until light and fluffy, about 3-4 minutes.
(Patience pays off here. Creaming well gives you an airy, tender cake!) -
Add Eggs: Beat in the eggs one at a time, mixing well after each addition. Stir in the vanilla extract.
(Don’t rush this part. Each egg brings the batter together.) -
Combine Wet & Dry: Add the flour mixture in three parts, alternating with the buttermilk. Start and end with the flour. Mix gently until just combined—do not overmix!
(I like to use a spatula for this step. Less mixing = softer cake.) -
Bake: Pour the batter evenly into your prepared pan(s). Smooth the top with a spatula. Bake for 30–35 minutes, or until a toothpick poked into the center comes out clean.
-
Cool: Let the cake cool in the pan for 10 minutes. Then, turn out onto a wire rack to cool completely.
(Resist the urge to cut in too soon. Patience—again—gives you the perfect crumb!)
My Secret Tips and Tricks for Buttermilk Cake Success
After a lot (seriously, a LOT) of homemade cake trials, here’s what’s made all the difference for my buttermilk cake:
- Ingredient Temperature: Butter, eggs, and buttermilk blend best at room temp. If you forget, submerge your eggs in warm water for 10 minutes and microwave your buttermilk in short five-second bursts.
- Don’t Overmix: Overworking the batter makes it tough. Mix until everything’s just combined—leave those tiny lumps alone.
- Check Early: Oven temps really do vary. Start testing for doneness at 28 minutes.
- Pan Prep: Want a picture-perfect cake? I find flouring the pans after greasing really helps release every crumb without sticking.
- Serve Fresh: Homemade buttermilk cakes taste divine while slightly warm!
Creative Variations and Ingredient Swaps
One of the best things about this buttermilk cake recipe is how flexible it is. Here’s how you can put your own spin on it—or work with what you’ve got:
- Citrus Zest: Add lemon or orange zest with the sugar for a sunny boost of flavor.
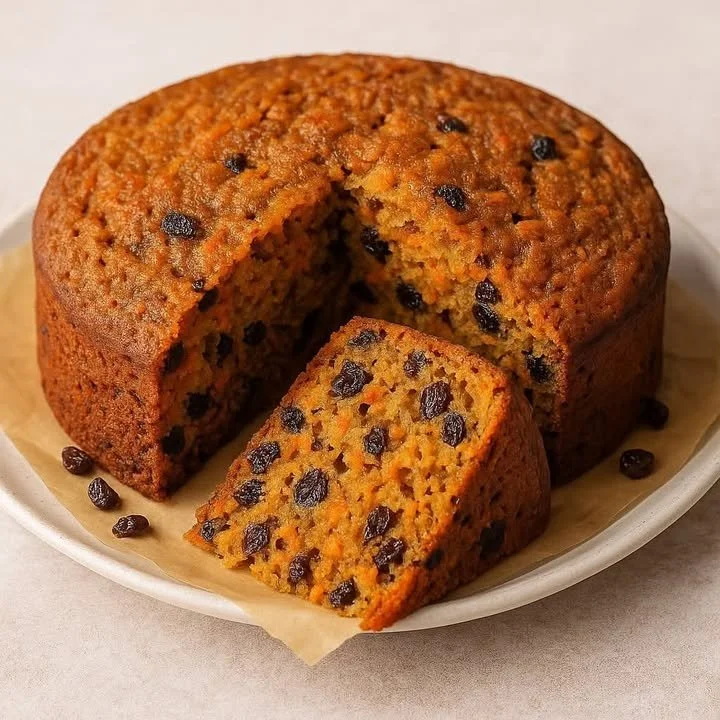
- Berries: Fold in a cup of fresh blueberries or raspberries (toss them in flour first to prevent sinking) for a fruity twist.
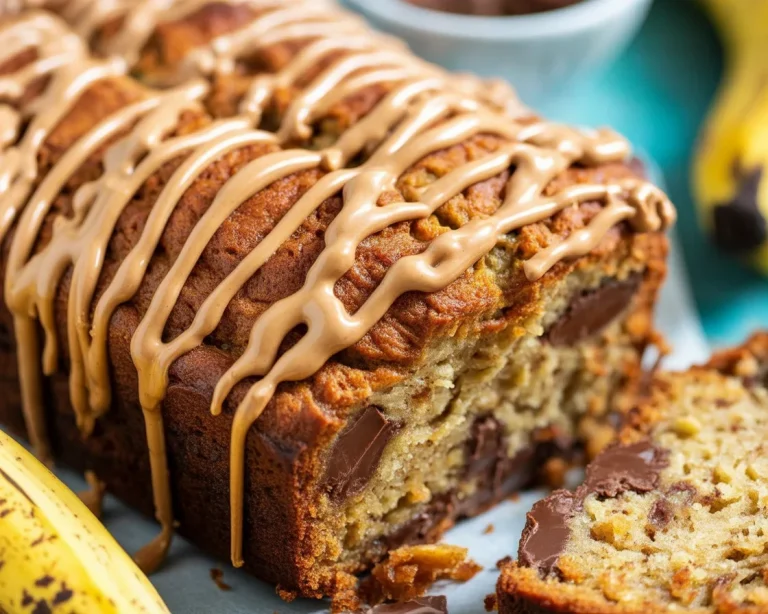
- Chocolate Chips: Sprinkle mini chocolate chips into the batter before baking.
- Gluten-Free Swap: Use your favorite all-purpose gluten-free flour blend in place of regular flour.
- Buttermilk Substitute: No buttermilk? Stir 1 tablespoon lemon juice into 1 cup of milk, let sit for 5 minutes, and use in a pinch.
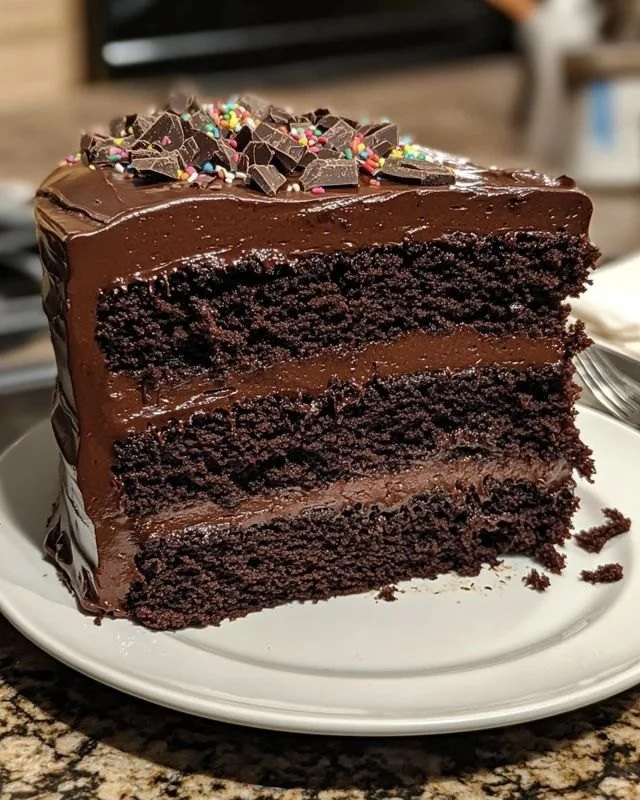
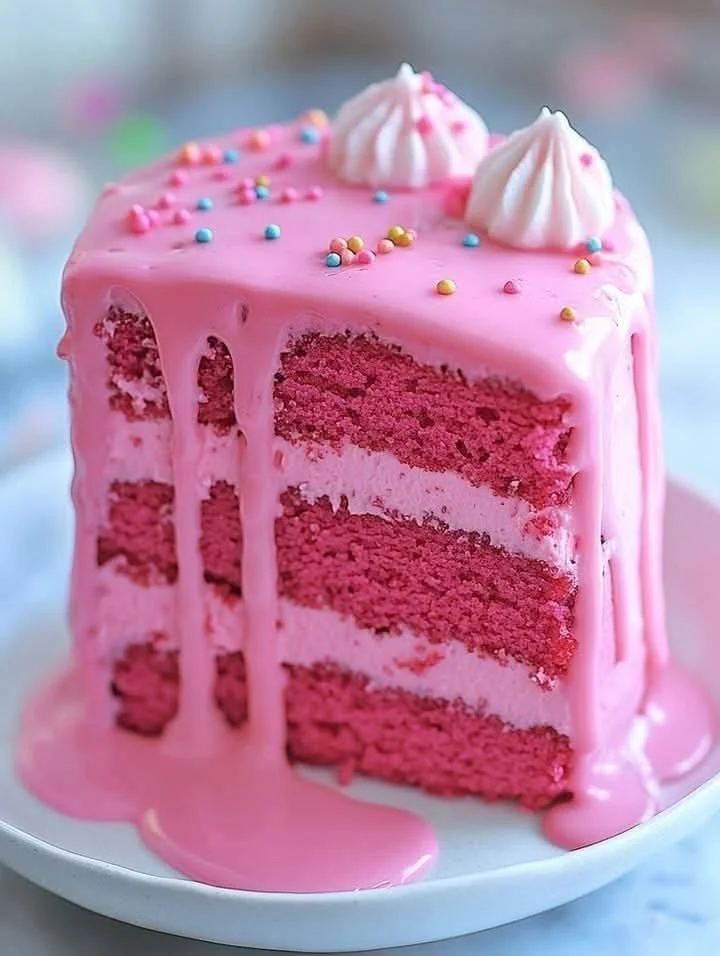
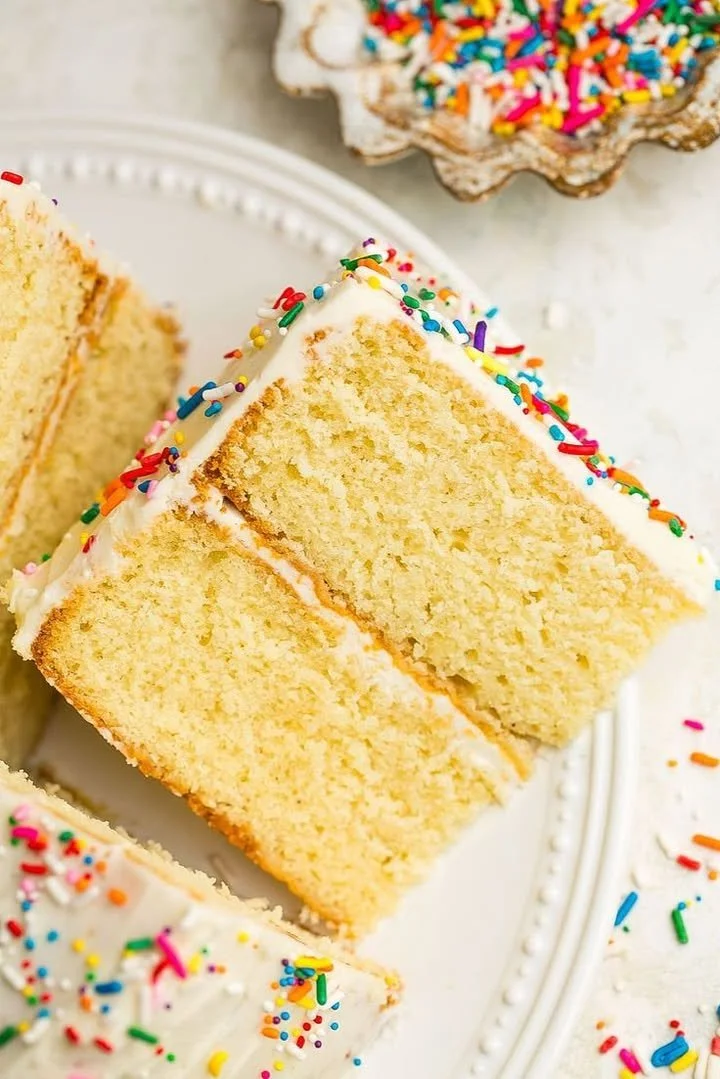
- Frosting Ideas: Slather on a tangy cream cheese frosting, a simple glaze, or just dust with powdered sugar. (It’s a dreamy base for cake decorating, too!)
How to Serve and Store Your Buttermilk Cake
The best part about this classic buttermilk cake? It tastes amazing fresh and holds up beautifully for leftovers.
- To Serve: Cut while slightly warm for the coziest dessert. Pair with whipped cream, ice cream, or a tumble of fresh berries if you’re feeling fancy.
- To Store: Keep any leftover cake in an airtight container at room temperature for up to 2 days. For longer storage, refrigerate for up to a week—just know it’s at its best within the first couple days.
- Freezing Tip: Wrap individual slices tightly and freeze for up to 2 months. Defrost at room temp and you’ll always have a slice of homemade cake ready to go!
FAQs: Your Top Questions About Buttermilk Cake Answered
Can I make this buttermilk cake ahead of time?
Absolutely! I often bake the layers the night before, wrap them tightly in plastic wrap, and assemble the next day (so convenient for busy schedules).
What’s the best way to get a tall, fluffy cake?
Use fresh baking powder and baking soda, don’t overmix the batter, and cream your butter and sugar thoroughly. All those little tips add up!
Can I double the recipe for a larger crowd?
Yes! Double the ingredients and bake in two 9×13-inch pans, or use a half-sheet pan for a bake-sale-friendly sheet cake.
Is this buttermilk cake good with frosting?
Definitely! It’s magic with classic buttercream, tangy cream cheese frosting, or even a simple lemon glaze.
Can I make cupcakes with this recipe?
Sure can. Fill lined muffin tins 2/3 full, and bake at the same temp for about 18-22 minutes, checking for doneness.
Baking a homemade buttermilk cake is more than just mixing flour and sugar—it’s about creating a little moment of comfort (and maybe a new family favorite). If you try this easy buttermilk cake recipe, let me know how it turns out! Did you serve it plain or dress it up with berries and cream? However you enjoy it, I hope it brings you that same cozy warmth my grandmother’s kitchen always did.