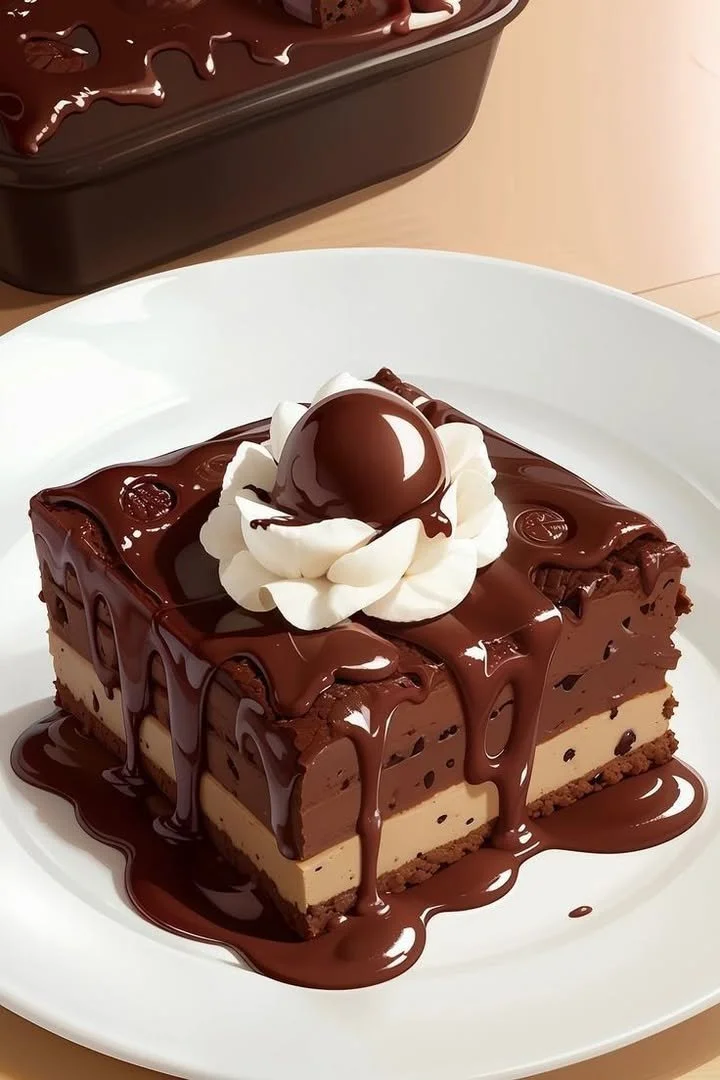
Mini Chocolate Mousse Cakes
A Little Indulgence: Mini Chocolate Mousse Cakes That Feel Like a Hug
If there’s one thing that always lights up my day, it’s sharing homemade mini chocolate mousse cakes with family and friends. I can still picture my grandmother’s sunlit kitchen—the scent of melting chocolate dancing in the air, laughter echoing down the hallway, and that flutter of excitement as the first bite gently melted on my tongue. These mini chocolate mousse cakes aren’t just desserts; they’re a warm memory, a little bite-sized luxury I reach for on both special occasions and cozy afternoons.
Whether you’re celebrating something grand or simply treating yourself (because why not?), these easy mini chocolate mousse cakes are like a loving note to yourself, inviting you to slow down and savor each delicious bite.
Why You’ll Adore These Mini Chocolate Mousse Cakes
Let me tell you, these chocolate mousse cakes hold such a special place in my heart—and I think they’ll win yours, too!
- Tiny Treats, Big Flavor: There’s something magical about having your own mini cake, rich with creamy chocolate mousse and fluffy sponge.
- A Texture Lover’s Dream: The combination of soft chocolate cake, pillowy mousse, and glossy ganache is pure heaven with every mouthful.
- Perfect for Every Occasion: Impress at parties, celebrate birthdays, or simply treat yourself on a Wednesday—you’ll find an excuse!
- Totally Make-Ahead Friendly: I love prepping these the night before a get-together, letting the flavors meld and the mousse set just right.
Ingredients You’ll Need for Mini Chocolate Mousse Cakes
Here’s the lowdown on what you’ll need to make these chocolate mousse cakes absolutely perfect (with a few of my personal tips!):
- 1/2 cup all-purpose flour: Regular baking flour works, but sift it for a super tender cake base.
- 1/4 cup cocoa powder: Go for unsweetened, rich cocoa for that deep chocolate flavor.
- 1/2 tsp baking powder: Gives lift and fluff to your cake layer.
- 2 large eggs: Room temperature is best for a lighter batter.
- 1/2 cup sugar: I like using superfine for extra smoothness.
- 1/4 cup butter (melted): Salted or unsalted—whatever you love most.
- 1 tsp vanilla extract: Don’t skip this! It brings every sweet note together.
- 1 cup heavy cream (cold): For whipping into that dreamy mousse.
- 100 g white chocolate (melted & cooled): Adds a sweet, creamy twist to the mousse.
- 1 tsp gelatin + 2 tbsp water (optional): Only if you want mousse that stands extra tall and firm!
- 200 g dark chocolate (chopped): Choose your favorite brand—you’ll taste it in the ganache and cake.
- 3/4 cup heavy cream: This is for that glossy chocolate ganache topping.
- Whipped chocolate cream: For decorating—so much fun to pipe on top!
- Chocolate curls, squares, decorative lace, or edible pearls: Let your imagination run wild decorating.
(Plus, you’ll need a baking pan, a cookie or biscuit cutter, and a hand mixer or stand mixer to make life easier!)
Step-by-Step Guide: Making the Perfect Mini Chocolate Mousse Cakes
Let’s walk through making these little showstoppers together! I promise, you don’t need to be a pastry chef—just a good spatula and a little patience.
- Bake the Chocolate Sponge:
- Preheat your oven to 175°C (350°F).
- In a bowl, beat eggs and sugar until super fluffy and pale (it should almost double in volume).
- Gently mix in the melted butter and vanilla extract.
- Sift in flour, cocoa powder, and baking powder, then fold with a spatula until just combined. (Don’t overmix—gentle hands make a tender cake!)
- Spread the batter into a parchment-lined baking pan, smoothing the top.
- Bake for 12–15 minutes, or until the cake springs back when pressed. Set aside to cool completely.
- Cut Out Mini Rounds:
- Once cooled, use a cookie cutter to stamp out tiny cake rounds.
- (Snack on the off-cuts—baker’s privilege!)
- Make the White Chocolate Mousse:
- (Optional) Dissolve gelatin in water, letting it bloom for a few minutes.
- Stir the gelatin into your slightly cooled melted white chocolate.
- Beat cold heavy cream to soft peaks, then gently fold cream into the white chocolate mixture.
- Let the mousse firm up just a bit in the fridge before using.
- Assemble the Cakes:
- Spoon or pipe the mousse onto each cake round—about 1–2 cm thick is perfect.
- Chill mousse-topped cakes for 1–2 hours until set.
- Prepare the Dark Chocolate Ganache:
- Heat 3/4 cup heavy cream just to a simmer (don’t let it boil!).
- Pour hot cream over the chopped dark chocolate and let sit for a minute, then stir until smooth and glossy.
- Glaze the Cakes:
- Pour or spoon the ganache gently over the chilled mousse cakes, coaxing it over the sides. (This is my favorite part—so satisfying!)
- Chill again until the ganache is set.
- Decorate and Serve:
- Swirl on whipped chocolate cream and scatter chocolate curls, squares, or pearls as you like.
- Serve with a smile—these mini chocolate mousse cakes are guaranteed to impress!
My Secret Tips and Tricks for Mini Chocolate Mousse Cake Success
After making these chocolate mousse cakes more times than I can count, I’ve got a few tried-and-true tips!
- Keep Ingredients Cold: Especially for the mousse, make sure your cream is super cold—it’ll whip up fluffier and hold its structure.
- Use the Best Chocolate You Can Find: Since chocolate is the star, using your favorite quality cocoa and chocolate bars makes a difference.
- Don’t Rush the Chilling: Letting your mousse and ganache set properly in the fridge creates those beautiful, clean layers.
- Small Cakes, Big Joy: Mini cakes set faster and are less intimidating to make than a big mousse cake (plus, they’re easier for sharing).
- Have Fun With Decorations: Let kids (or the kid in you) go wild with chocolate curls and edible pearls—every mini chocolate mousse cake is a little work of art!
Creative Variations and Ingredient Swaps
No two chocolate mousse cakes need to be the same! Try these easy swaps next time:
- Go Gluten-Free: Use an all-purpose gluten-free flour blend for a celiac-friendly version.
- Vegan-Friendly: Sub coconut cream for heavy cream and use vegan chocolate. Agar-agar works instead of gelatin (for a plant-based mousse).
- Switch Up the Flavors: Infuse orange or raspberry zest into the cake or mousse for a fresh twist.
- Nutty Crunch: Add a sprinkle of crushed hazelnuts or almonds between the cake and mousse layers for unexpected texture.
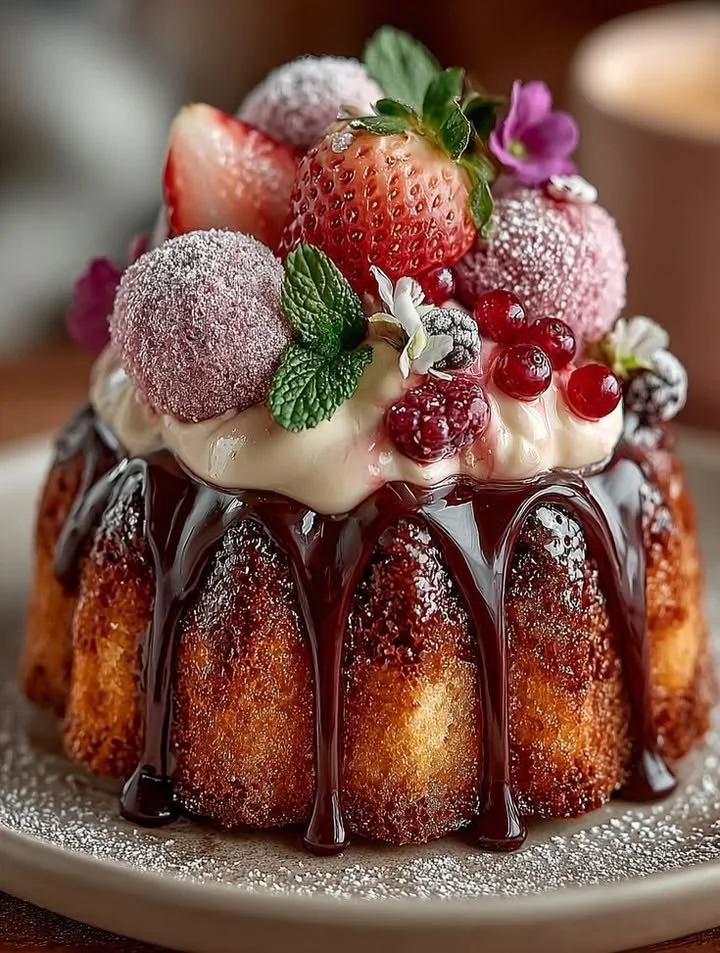
- Berry Topping: Top each cake with fresh raspberries, strawberries, or a drizzle of berry sauce for balance and color.
How to Serve and Store Your Mini Chocolate Mousse Cakes
Serving these mini chocolate mousse cakes is almost as satisfying as eating them! Arrange on a pretty platter—try a little edible gold leaf if you’re feeling fancy.
For storing:
- Fridge: Store in an airtight container in the fridge for up to 3 days. The mousse and ganache stay silky, and the flavors deepen overnight!
- Freezer: Wrap each cake in plastic wrap, then foil, and freeze for up to 1 month. Thaw in the fridge before serving.
- At Room Temp: Best enjoyed slightly chilled; leave out for 10–15 minutes before eating for the perfect texture.
(If you have leftovers… which honestly never happens in my house.)
FAQs: Your Top Questions About Mini Chocolate Mousse Cakes Answered
Q: Can I make mini chocolate mousse cakes ahead of time?
Absolutely! They’re actually better if made a day ahead—the mousse sets and flavors meld beautifully. Just decorate before serving!
Q: What’s the best way to get clean layers?
If you chill the mousse and let your ganache set well between steps, you’ll get those picture-perfect layers that look so professional (and taste amazing)!
Q: Can I skip the gelatin in the mousse?
Yes! The gelatin is only for extra firmness. If you want a super soft, cloud-like mousse, you can leave it out—just be sure to chill well before serving.
Q: How do I prevent the chocolate ganache from seizing?
Make sure your cream is hot but not boiling, and pour it over evenly chopped chocolate. Stir gently and it’ll become glossy and smooth in no time!
Q: Can I double this recipe?
Of course! Just double all the ingredients and use a larger baking pan—you’ll have plenty of mini chocolate mousse cakes for a crowd.
There’s a little magic in every mini chocolate mousse cake—whether you’re making them for a birthday, holiday, or just because you deserve a treat. I hope this recipe brings as much joy to your table as it has to mine! If you try it, please let me know how it turned out (and send me a picture, if you can—I can never get enough of these beauties). Happy baking, friends! 🍫✨