The Chocolate Encounter – A Layered Love Story
The Chocolate Encounter – A Layered Love Story: My Sweetest Celebration Cake
There are certain desserts that are more than just sweets—they’re stories, memories, and a little slice of our hearts. The very first time I made what would become my signature chocolate layer cake (this very “Chocolate Encounter” cake!), it was for a late-night birthday gathering for my best friend. The kitchen was gently humming with that irresistible aroma: rich chocolate layered with whipped cream and fresh blackberries. I’ll never forget that feeling—waiting for the cakes to cool, sneaking tastes of the silky whipped cream, listening to the laughter from the next room. It became more than just a cake. It became a tradition—a layered love story, truly—and now, I’m so thrilled to share this “Chocolate Encounter” recipe with you. If you’re on the hunt for an unforgettable chocolate layer cake, I promise, you’ve stumbled onto the right page.
Why You’ll Adore This Chocolate Layer Cake
Let me tell you why this chocolate layer cake is always a showstopper at every celebration:
- It’s deeply, ridiculously chocolatey. Thanks to cocoa, coffee, AND chocolate shavings, each bite is pure melt-in-your-mouth, chocolate heaven.
- The blackberry and whipped cream layers cut through the richness beautifully. It’s never too heavy, just perfectly balanced.
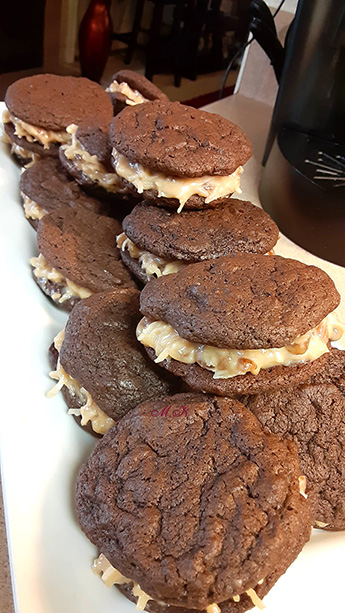
- It’s stunning and unfussy. Stack it as high as you want, add a messy swirl of cream, a scatter of berries, and trust me—it looks like something from a French bakery (with zero stress).
- It creates moments. This isn’t a cake you eat alone at the kitchen counter (okay, I won’t judge if you do!). It’s meant to be sliced for birthdays, anniversaries, or just because you need a chocolate encounter, stat.
Ingredients You’ll Need for The Chocolate Encounter
Gathering ingredients for this chocolate layer cake always gets me excited for what’s coming. Here’s what you’ll need—and a few quick notes from my own cook’s diary:
- 2 cups all-purpose flour: Sifted for extra lightness. (Don’t skip the sifting—it avoids lumps!)
- 1 cup unsweetened cocoa powder: Go for a high-quality cocoa; the flavor difference is worth it.
- 1 cup sugar + 1 cup brown sugar: That brown sugar adds an almost caramel depth, so don’t swap it for all white.
- 1 tsp baking powder, 1 tsp baking soda: Classic leavening duo for ultimate fluff.
- 1/2 tsp salt: Brightens up the chocolate.
- 1 cup strong brewed coffee: Coffee amplifies chocolate flavor, but I promise it won’t taste like your morning cup.
- 1 cup buttermilk: Ensures a super moist crumb—essential for layer cakes.
- 1/2 cup vegetable oil: Keeps the layers tender, not dry.
- 2 large eggs: For structure and richness.
- 1 tsp vanilla extract: Just enough to round out the chocolate.
- 1 cup heavy cream: Makes the lusciously soft whipped cream.
- 1 cup blackberries: Fresh is best, but frozen (thawed and drained) work in a pinch.
- Chocolate shavings: Optional, but highly recommended for a touch of glamour.
Step-by-Step Guide: Making the Perfect Chocolate Layer Cake
Baking this cake isn’t just a process—it’s an experience. Here’s how I do it, with a few little tips to make it feel effortless:
- Prep those pans! Preheat your oven to 350°F (175°C). Grease and flour two 9-inch round cake pans (I use parchment rounds too, just in case—no one likes a stuck layer).
- Mix dry ingredients: In a big bowl, combine flour, cocoa, sugar, brown sugar, baking powder, baking soda, and salt. Whisk really well—uneven cocoa makes for streaky cake.
- Mix wet ingredients: In another bowl, whisk coffee, buttermilk, oil, eggs, and vanilla until it looks glossy (using room temp eggs makes mixing SO much easier).
- Combine: Slowly pour your wet mix into your dry mix. Stir until just combined—don’t overbeat, or you’ll lose that dreamy tender crumb.
- Bake: Divide batter between your pans. Bake 30–35 mins, until a toothpick comes out mostly clean (a crumb or two is fine!).
- Cool: Wait 10 minutes, then run a knife around the edge and gently flip onto a wire rack. Let them cool completely—trust me, whipped cream + warm cake equals a very slippery disaster.
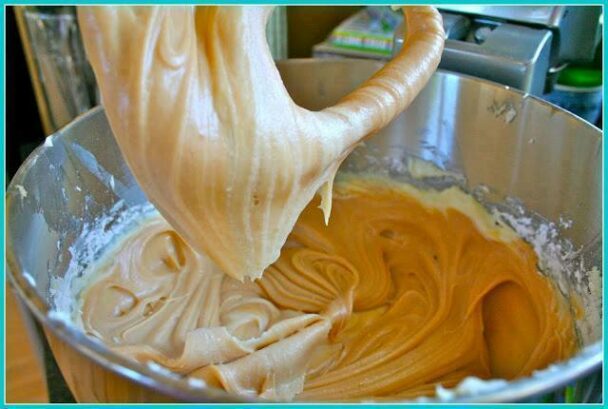
- Whip the cream: Beat cold heavy cream until soft peaks form. Add a little sugar or vanilla if you’re feeling extra.
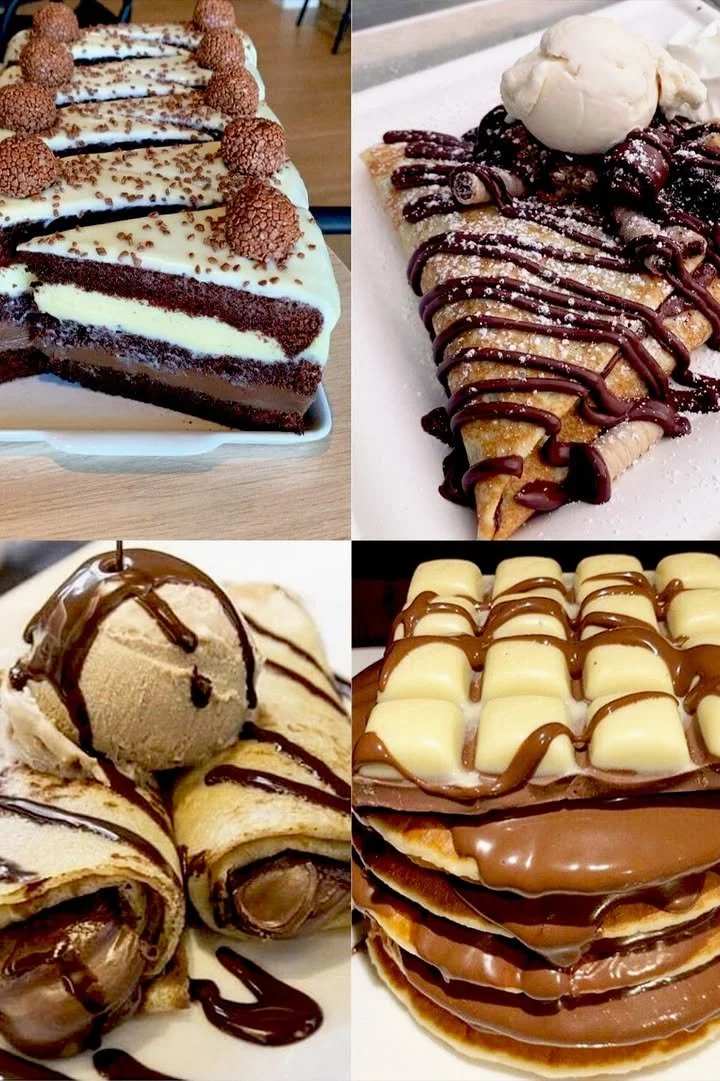
- Layer: Place your first cake on a serving plate. Spread on whipped cream, dot with blackberries, repeat until all layers are stacked. Finish with a dramatic layer of cream, more berries, and generous chocolate shavings.
- Eat! Slice, serve, and enjoy the layered love story you just created.
My Secret Tips and Tricks for Chocolate Encounter Success
Over the years, these real-life lessons have made my chocolate layer cake turn out perfect every time:
- Use a kitchen scale: Especially for flour and cocoa—it avoids dry cake.
- Don’t rush the cooling. If layers are warm, the whipped cream will melt (voice of experience here!).
- Blackberries not in season? Raspberries make a fantastic swap—and frozen berries are totally fine if well-drained (a handy chocolate cake hack).
- Whip cream right before assembling: It’ll hold better if you fill and frost the cake just before serving.
- For extra chocolate drama: Drizzle melted chocolate or add cocoa nibs between the layers for a deeper texture.
Creative Variations and Ingredient Swaps
Want to make this layered cake your own? Here are some ideas to fit every taste and need:
- Gluten-free: Use your favorite one-to-one gluten-free flour blend—I’ve tried it, and it’s just as delicious.
- Berry swap: Try strawberries, raspberries, or even pitted cherries. Seasonal fruit adds a great twist to this chocolate dessert.
- Make it vegan: Substitute flax eggs, non-dairy milk + lemon juice for buttermilk, and coconut cream for the whipped cream—chocolate layer cake for everyone!
- Switch the garnish: Toasted nuts or a dusting of powdered sugar look beautiful too.
How to Serve and Store Your Chocolate Encounter Cake
This chocolate layer cake is all about making memories, so slice big pieces and serve with extra whipped cream or berries (because why not?).
- Serve cold or room temp: Both are delicious—you do you.
- Keep leftovers in the fridge, covered: The whipped cream holds up for 1-2 days. For longer storage, freeze unfrosted layers, tightly wrapped.
Honestly, the flavors deepen overnight, so a late-night fridge slice is never a bad idea (speaking from experience with this chocolate cake recipe!).
FAQs: Your Top Questions About Chocolate Layer Cake Answered
Q: Can I make this chocolate layer cake ahead of time?
A: Yes! Bake the cakes a day ahead, wrap tightly, and store at room temp. Assemble with whipped cream and berries just before serving.
Q: Can I use a different pan size?
A: Absolutely—just adjust baking time. Two 8-inch pans make a taller cake; a 9×13-inch turns it into a snacking cake!
Q: How can I get cleaner layers?
A: Chill your cakes before assembling and use an offset spatula for even whipped cream layers (makes that chocolate encounter even more beautiful!).
Q: Is the coffee flavor strong in this chocolate cake?
A: Nope—you’ll only taste the richer, more complex chocolate. Coffee is a secret weapon in the best chocolate cakes!
Q: Can I freeze this cake?
A: Yes—freeze the unfrosted layers for up to two months, then assemble fresh. I recommend adding whipped cream and fruit after thawing.
I hope you fall in love with this chocolate layered love story just like my family and friends have. It’s more than just a chocolate layer cake—it’s a reason to gather, laugh, and linger long after the last crumb is gone. If you make The Chocolate Encounter, drop me a comment or a photo. Nothing makes me smile like seeing your own chocolate cake traditions come to life!
Chocolate Layer Cake
Ingredients
Cake Ingredients
- 2 cups all-purpose flour, sifted Sifted for extra lightness.
- 1 cup unsweetened cocoa powder Use high-quality cocoa for best flavor.
- 1 cup granulated sugar
- 1 cup brown sugar Adds depth and richness.
- 1 tsp baking powder For leavening.
- 1 tsp baking soda For leavening.
- 1/2 tsp salt Enhances flavor.
- 1 cup strong brewed coffee Enhances chocolate flavor without tasting like coffee.
- 1 cup buttermilk Ensures a moist crumb.
- 1/2 cup vegetable oil Keeps layers tender.
- 2 large eggs Adds structure.
- 1 tsp vanilla extract Rounds out flavor.
Whipped Cream and Toppings
- 1 cup heavy cream For whipped cream.
- 1 cup blackberries Fresh or thawed frozen work.
- to taste chocolate shavings Optional for garnish.
Instructions
Preparation
- Preheat your oven to 350°F (175°C). Grease and flour two 9-inch round cake pans.
- In a large bowl, combine flour, cocoa, granulated sugar, brown sugar, baking powder, baking soda, and salt. Whisk well.
- In another bowl, whisk coffee, buttermilk, oil, eggs, and vanilla until glossy.
- Pour the wet mixture into the dry ingredients and stir until just combined.
- Divide the batter between the prepared pans and bake for 30–35 minutes, or until a toothpick comes out mostly clean.
Cooling and Whipping
- Allow cakes to cool for 10 minutes before flipping onto a wire rack to cool completely.
- In a separate bowl, beat the cold heavy cream until soft peaks form, adding sugar or vanilla if desired.
Assembly
- Place the first cake on a serving plate, spread with whipped cream, and dot with blackberries.
- Repeat with remaining layers, finishing with a generous layer of cream, blackberries, and chocolate shavings.
- Slice, serve, and enjoy your delicious creation!