Classic Black Forest Cake
Classic Black Forest Cake
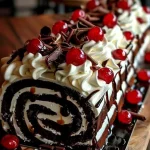
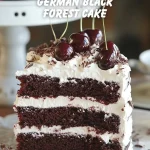
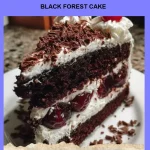
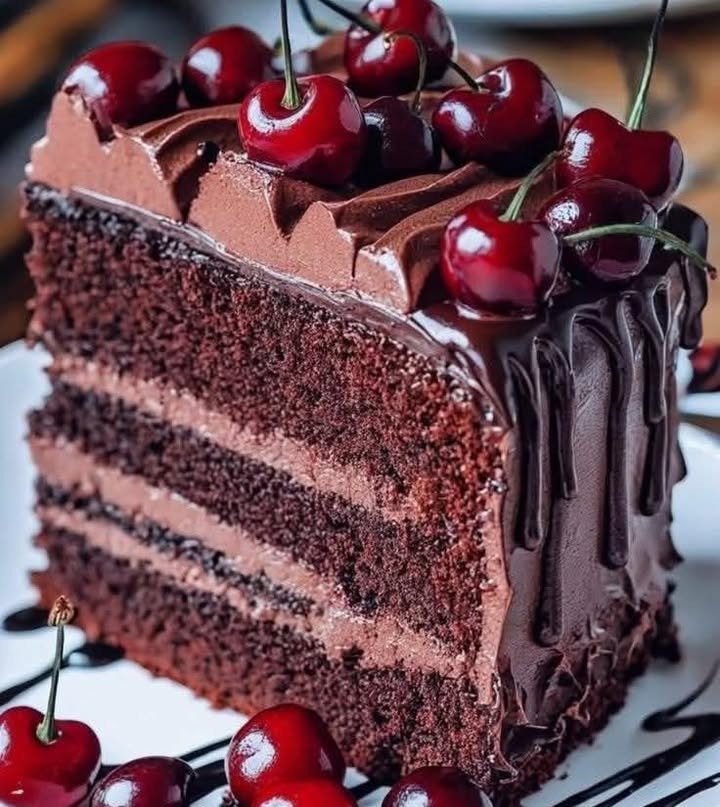
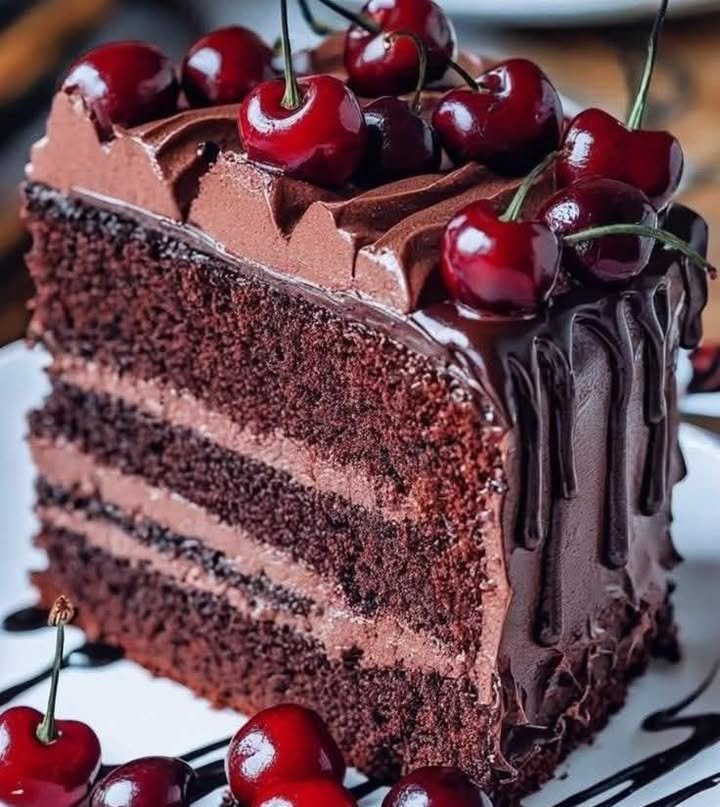
When it comes to decadent desserts, few can rival the richness and charm of a Classic Black Forest Cake. This indulgent treat, with its moist chocolate layers, tart cherries, and fluffy whipped cream, has earned its place as a favorite among chocolate lovers and cake enthusiasts alike. In this guide, we will walk you through the steps to create your own Black Forest Cake masterpiece, along with some tips and tricks for perfecting this classic recipe.
Let’s Dive Into Baking!
🧂 Ingredients:
- 2 cups flour
- 2 cups granulated sugar
- 3/4 cup cocoa powder
- 2 teaspoons baking soda
- 1 teaspoon baking powder
- 1/2 teaspoon salt
- 1 cup milk
- 1/2 cup vegetable oil
- 2 eggs
- 2 teaspoons vanilla
- 1 cup boiling water
- 2 cups cherries or sweet cherries (fresh or canned)
- 1/2 cup sugar (for cherry filling)
- 2 teaspoons cornstarch
- 2 tablespoons water
- 2 cups cold heavy cream
- 2 tablespoons powdered sugar
- 1 teaspoon vanilla (for whipped cream)
- Grated chocolate (for decoration)
- A few cherries (for garnish)
👩🍳 Directions:
1️⃣ Preheat Your Oven: Begin by preheating your oven to 350°F (175°C). This will ensure that your cake bakes evenly.
2️⃣ Mix Dry Ingredients: In a large mixing bowl, combine the flour, granulated sugar, cocoa powder, baking soda, baking powder, and salt. Whisk these ingredients together until well combined.
3️⃣ Add Wet Ingredients: To the dry mixture, add the milk, vegetable oil, eggs, and vanilla extract. Mix on medium speed until everything is just combined.
4️⃣ Incorporate Boiling Water: Carefully stir in the boiling water until fully blended. The batter will be quite thin—that’s perfectly normal!
5️⃣ Prepare Baking Pans: Grease and flour two 9-inch round cake pans. Divide the batter evenly between them.
6️⃣ Bake the Cakes: Bake in the preheated oven for about 30-35 minutes or until a toothpick inserted into the center comes out clean. Allow the cakes to cool in the pans for 10 minutes before transferring to wire racks to cool completely.
7️⃣ Make Cherry Filling: In a medium saucepan, combine the cherries, sugar, cornstarch, and water. Cook over medium heat until the mixture bubbles and thickens. Set aside to cool.
8️⃣ Whip the Cream: In a large bowl, whip the cold cream with powdered sugar and vanilla until stiff peaks form.
9️⃣ Assemble the Cake: Once the cakes are completely cool, place one layer on a serving platter. Spread half of the cherry filling on top, then add a layer of whipped cream. Place the second cake layer on top.
🔟 Decorate: Frost the top and sides of the cake with the remaining whipped cream. Garnish with grated chocolate and a few cherries on top.

💡 Tips & Variations:
- Different Cherries: If you prefer a sweeter flavor, opt for canned cherries in syrup. For a tart touch, fresh sour cherries work wonderfully.
- Make it a Layered Treat: For added indulgence, consider slicing each cake layer in half to create four layers.
- Chocolate Ganache: Drizzle chocolate ganache over the top of the cake for a rich finish.
- Serving Suggestions: Serve with a scoop of vanilla ice cream on the side for an extra indulgent experience.

FAQ
1. Can I make this cake ahead of time?
Yes! You can bake the cake layers a day in advance. Store them in an airtight container at room temperature.
2. How do I store leftovers?
Store any leftover cake in the refrigerator to keep the cream fresh. It will last for about 3-4 days.
3. Can I freeze the Black Forest Cake?
Yes, but it’s best to freeze the unassembled cake layers. Wrap in plastic wrap and place in a freezer-safe container. They can be frozen for up to 3 months.
4. Can I use a different type of cream?
You can substitute whipped cream with stabilized whipped cream or even cream cheese frosting for a different flavor profile.
5. Is there a gluten-free version?
Absolutely! Substitute the all-purpose flour with a gluten-free flour blend that works best in baking.
👉 Try it now! Gather your ingredients and dive into the delightful world of baking with this Classic Black Forest Cake recipe. Share your experience and let us know how your cake turns out—happy baking!
