Chocolate Ice Cream
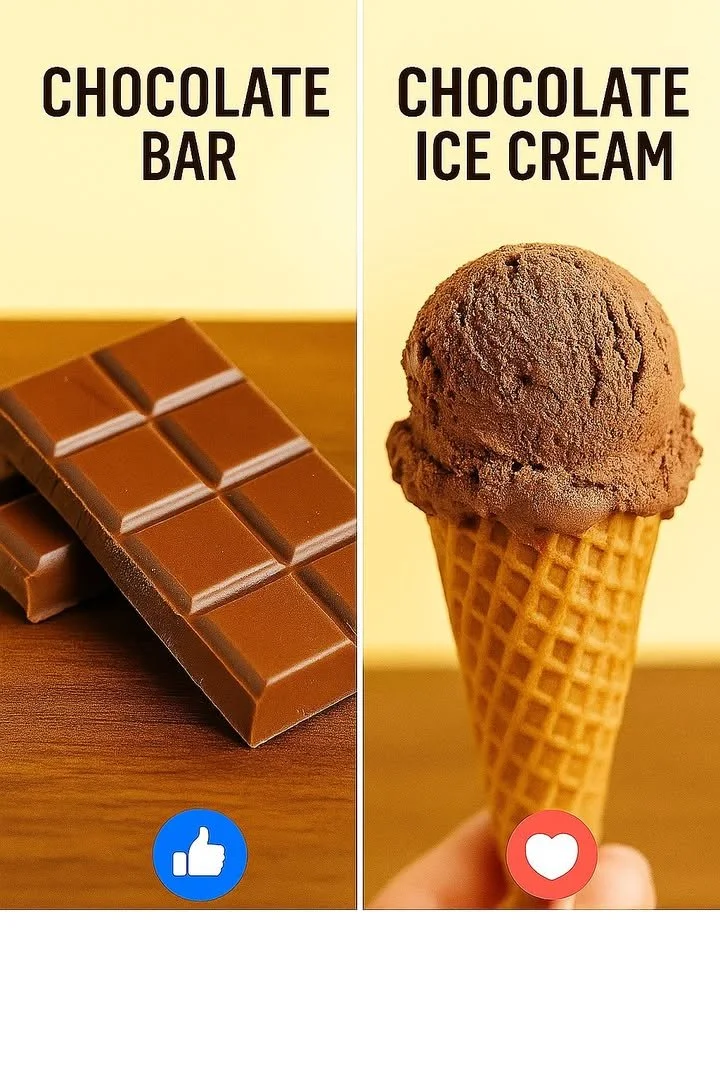
Homemade Chocolate Ice Cream: A Decadent Treat That’s Pure Comfort
There’s just something magical about making homemade chocolate ice cream. Every summer growing up, my little brother and I would hover—just a tad impatiently—around the humming ice cream maker, practically counting down the seconds until we could dig our spoons into that first luscious bite. The kitchen would smell like chocolate heaven, sunlight pouring in, and the whole world seemed to hit pause during that sweet, creamy moment. So today, I’m sharing the ultimate chocolate ice cream recipe that’s near to my heart—because nothing says “pure joy” like a bowl of your own homemade treat made with love.
Why You’ll Adore This Chocolate Ice Cream
Let me tell you, this is not just any chocolate ice cream recipe. Here’s why I think you’ll fall head over heels for it:
- Pure, Rich Chocolate Flavor: Thanks to both cocoa powder and a (totally optional but highly encouraged) swirl of chocolate syrup, this classic chocolate ice cream is ultra-satisfying for true chocolate lovers.
- Creamy, Dreamy Texture: The heavy cream and whole milk create that silky, melt-in-your-mouth finish you crave. No icy bits—just smooth perfection!
- Effortless Homemade Goodness: Honestly, it’s shockingly easy to whip up. No complicated custards, just honest-to-goodness ingredients and a whisk.
- Make-It-Yours Vibes: Whether you top it with sprinkles, whipped cream, or gooey hot fudge, you’re in charge. It’s deliciously customizable!
Ingredients You’ll Need for Chocolate Ice Cream
Let’s talk about what you actually need (and why each one matters!):
- 2 cups heavy cream: Get the good stuff—this is what gives our chocolate ice cream its velvet texture.
- 1 cup whole milk: I prefer whole for that balanced richness, but you can use 2% in a pinch. (Skim milk just doesn’t do it justice for homemade ice cream.)
- 3/4 cup granulated sugar: Just the right amount for sweetness that lets the cocoa really shine.
- 1 cup unsweetened cocoa powder: Go for high-quality—you’ll taste the difference. Dutch-processed cocoa yields a smoother, deeper flavor, but natural works fine too!
- 1 teaspoon vanilla extract: Pure vanilla adds a layer of warmth that makes all the difference.
- 1/2 cup chocolate syrup (optional): If you want your classic chocolate ice cream extra fudgey, don’t skip this.
Pro tip: I keep a stash of cocoa powder just for these emergencies—because a sudden chocolate craving is always reason enough to break out the ice cream maker.
Step-by-Step Guide: Making the Perfect Chocolate Ice Cream
Here’s how I make my chocolate ice cream (and how you can, too):
- Whisk the Dry Ingredients: In a large mixing bowl, whisk together the cocoa powder and sugar until there are no lumps left. (A fork works in a pinch if you’ve misplaced your whisk—been there!)
- Add the Dairy: Slowly add the heavy cream and milk, whisking constantly. You’re aiming for smooth and seamlessly combined. Little ones love to help with this step!
- Flavor It Up: Stir in the vanilla extract and, if you’re after that ultra-chocolatey goodness, add the chocolate syrup here.
- Churn! Pour your mixture into an ice cream maker and churn according to manufacturer instructions. Mine takes about 20 minutes—just enough time to tidy up and daydream about toppings.
- Freeze for Scoopable Magic: Transfer the churned ice cream to a lidded container, then freeze for at least 4 hours (overnight’s great if you can wait).
- Dig In: Serve it up in bowls or cones, and don’t forget the classics: sprinkles, whipped cream, or a hit of hot fudge.
My Secret Tips and Tricks for Chocolate Ice Cream Success
Over the years (and countless batches later), here’s what I’ve learned about making truly great homemade chocolate ice cream:
- Chill Your Base: If you’ve got the time, let your chocolate mixture chill in the fridge for an hour before churning. It helps the ice cream machine work its magic even better!
- Don’t Over-Churn: Keep an eye on the texture. Stop once it hits soft-serve consistency; over-churning can get you a grainy texture, and nobody wants that.
- Quality Counts: Especially for a recipe with so few ingredients, splurge on good cocoa powder and vanilla extract. It’s worth it.
- Mix-In Fun: Once it’s done churning, you can stir in chocolate chips, toasted nuts, or even cookie crumbles. Homemade chocolate ice cream with add-ins? Yes, please!
Creative Variations and Ingredient Swaps
For all my adventurous (or allergy-friendly!) friends:
- Dairy-Free Option: Substitute coconut cream and almond milk for a plant-based chocolate ice cream that’s just as creamy.
- Add a Swirl: Ripple in peanut butter, caramel, or berry preserves before freezing for a gourmet twist.
- Mocha Madness: Add 1–2 tablespoons of instant espresso powder for coffee-flavored chocolate ice cream.
- Sugar Alternatives: Try coconut sugar or a favorite sugar substitute if you’re watching your intake. Just know the texture might change slightly.
You can truly make homemade chocolate ice cream your own—get creative and use what you have on hand!
How to Serve and Store Your Chocolate Ice Cream
Serving up this chocolate ice cream is half the fun! Here’s what I love:
- Classic Cones & Bowls: Pile on the scoops—don’t be shy.
- Fun Toppings: Sprinkles, chopped nuts, or a glossy drizzle of hot fudge sauce are always welcome.
- Ice Cream Sandwiches: Smush a scoop between cookies for an easy dessert kids and adults go wild for.
- Storage: To prevent ice crystals, press a piece of parchment right against the surface before sealing the container. Homemade chocolate ice cream keeps well for up to two weeks—if it lasts that long!
FAQs: Your Top Questions About Chocolate Ice Cream Answered
Can I make chocolate ice cream without an ice cream maker?
Absolutely! Pour your chocolate mixture into a freezer-safe container, freeze, and stir every 30 minutes for about 3 hours. The texture’s a bit different, but still delicious.
Why is my homemade chocolate ice cream icy instead of creamy?
It’s usually about fat and churn time. Using heavy cream and keeping an eye on the churn helps—you want to capture enough air, but not overdo it.
Can I use low-fat milk?
You can, but it won’t be as rich or creamy. For a classic chocolate ice cream experience, stick with whole milk (or even experiment with half-and-half).
What’s the best way to prevent freezer burn?
Always cover your ice cream tightly—in a pinch, some plastic wrap pressed onto the surface under the lid works wonders.
How long will homemade chocolate ice cream last?
About two weeks for peak taste and texture. (But in my house, it never makes it that long!)
There you have it—my all-time favorite homemade chocolate ice cream recipe, packed with memories, love, and chocolatey bliss. I’d love to know: how will you personalize your batch? Let’s make every scoop a celebration!
