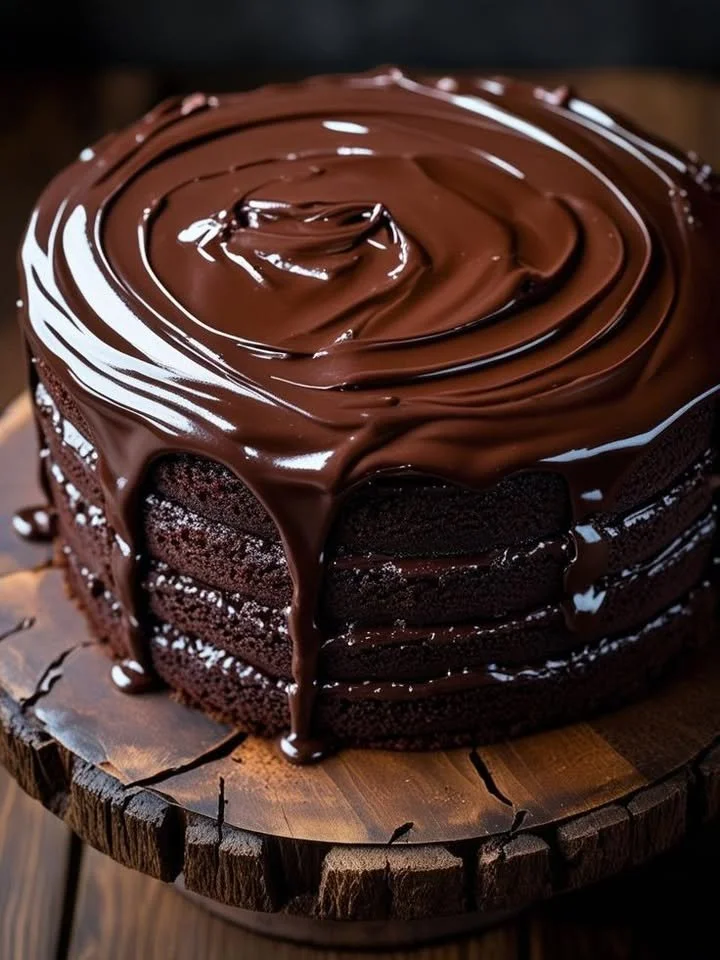
Moist Chocolate Cake
The Magic of Moist Chocolate Cake: One Bite, and You’re Home
I’ll never forget the first time I baked a moist chocolate cake just for myself, on a quiet Sunday afternoon. Outside, gray clouds threatened rain and my plans, but inside, my kitchen filled with the comforting scent of cocoa and sugar melting together. I’ve baked plenty of cakes, but there’s just something truly special about a homemade chocolate cake that’s dense, deeply chocolaty, and—most importantly—moist. It’s more than dessert; it’s a little act of self-care, a surprise for loved ones, or the promise of celebration. If you’ve been searching for the perfect chocolate cake recipe, this will be your new go-to. (Seriously, friends still text me for this exact recipe!)
Why You’ll Adore This Moist Chocolate Cake
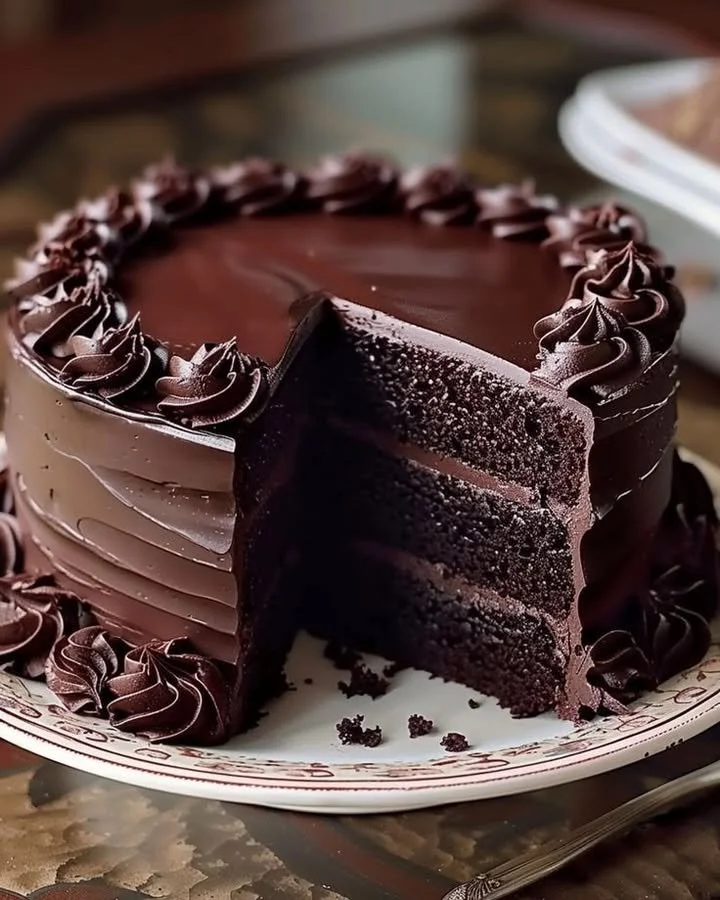
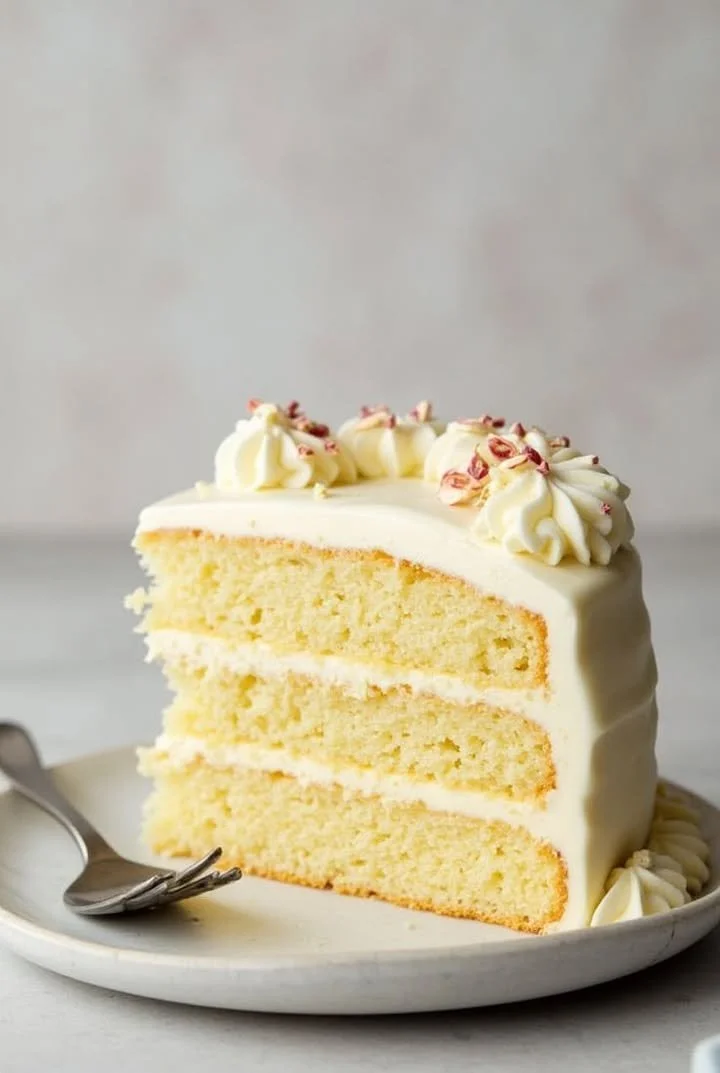
- Rich and Tender Texture: This isn’t your average chocolate cake—it’s undeniably moist, with a melt-in-your-mouth crumb that stays soft for days. No more dry, disappointing slices!
- Incredibly Easy: Despite its bakery-quality taste, this easy chocolate cake recipe comes together in one bowl—no fancy techniques or unusual ingredients required.
- Deep, Dreamy Chocolate Flavor: Thanks to both cocoa powder and boiling water, every bite is luxuriously chocolatey (and that is never a bad thing).
- Versatile for Any Occasion: Whether you’re celebrating a birthday or just craving something sweet, this homemade chocolate cake recipe works for every event—big or small.
Ingredients You’ll Need for Moist Chocolate Cake
Here’s what you’ll need to whip up the ultimate moist chocolate cake at home:
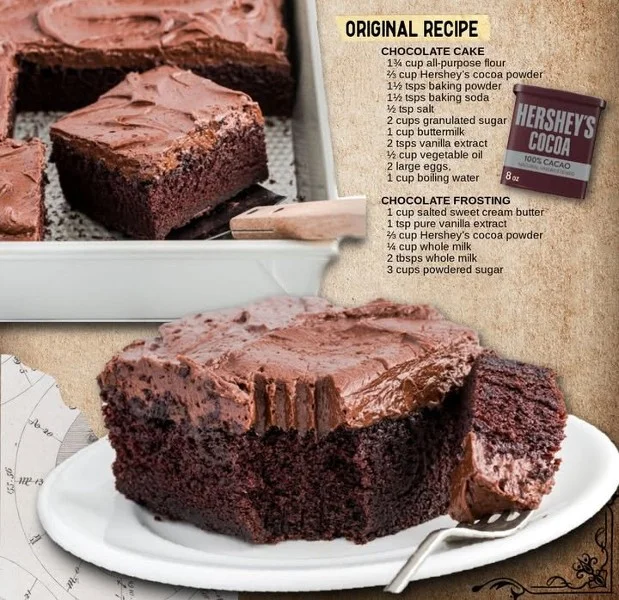
- All-purpose flour (1 3/4 cups): Be sure to spoon and level for accurate measuring; too much flour can make cakes dense.
- Unsweetened cocoa powder (3/4 cup): I usually reach for a high-quality Dutch-process cocoa powder for that extra decadent flavor.
- Granulated sugar (2 cups): Don’t skimp—this amount yields the balanced sweetness you want in a classic chocolate cake.
- Baking soda (1 1/2 teaspoons) & Baking powder (1 1/2 teaspoons): Two leaveners ensure a beautifully risen, fluffy cake.
- Salt (1 teaspoon): Just enough to amp up the chocolate flavor.
- Large eggs (2): Room-temperature eggs blend better, lending moisture and structure.
- Whole milk (1 cup): You can swap in buttermilk for a slightly tangier crumb, but whole milk gives sumptuous richness.
- Vegetable oil (1/2 cup): Oil keeps the cake extra-moist for days (unlike butter, which can dry out).
- Vanilla extract (2 teaspoons): Real vanilla makes a world of difference in flavor.
- Boiling water (1 cup): Trust me—don’t skip this! It "blooms" the cocoa for maximum depth and tenderness.
(If you’re planning a homemade dessert for tonight or just wanna indulge in an easy chocolate cake recipe, there’s nothing wild or hard to find in this ingredient list!)
Step-by-Step Guide: Making the Perfect Moist Chocolate Cake
Here’s exactly how I make my favorite chocolate cake—from mixing to that first, swoon-worthy bite:
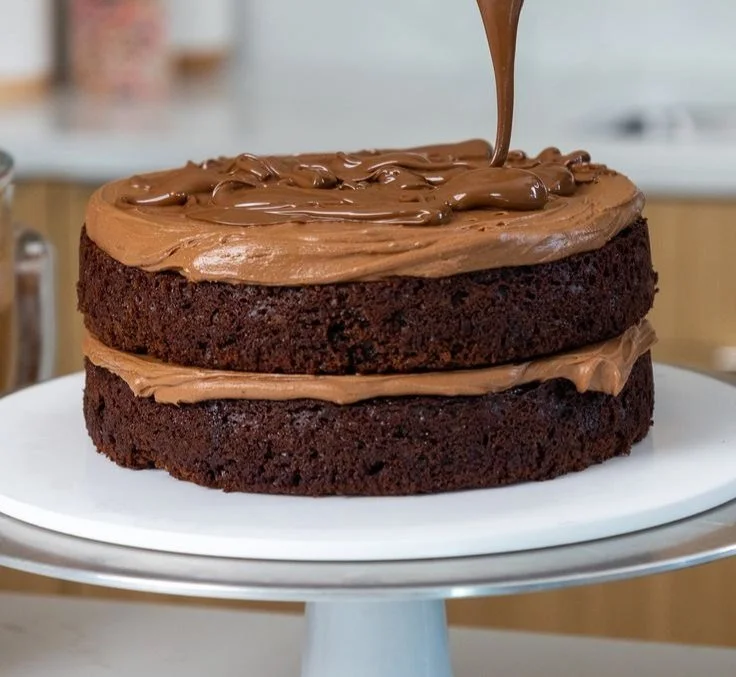
- Preheat the Oven: Set it to 350°F (175°C). Grease and flour two 9-inch round cake pans—nothing ruins a cake mood like sticking!
- Combine Dry Ingredients: In a large bowl, whisk together your flour, cocoa powder, sugar, baking soda, baking powder, and salt. (I love this part—the cocoa just smells so inviting.)
- Add Wet Ingredients: Crack in those eggs, then add milk, oil, and vanilla. Blend everything until the batter is smooth and creamy.
- Incorporate Boiling Water: Pour it in slowly, stirring constantly. The batter will be quite thin—don’t worry, that’s how you get a moist cake.
- Fill the Pans: Divide the mixture evenly between your cake pans. Use a spatula to level things out—it bakes prettier this way!
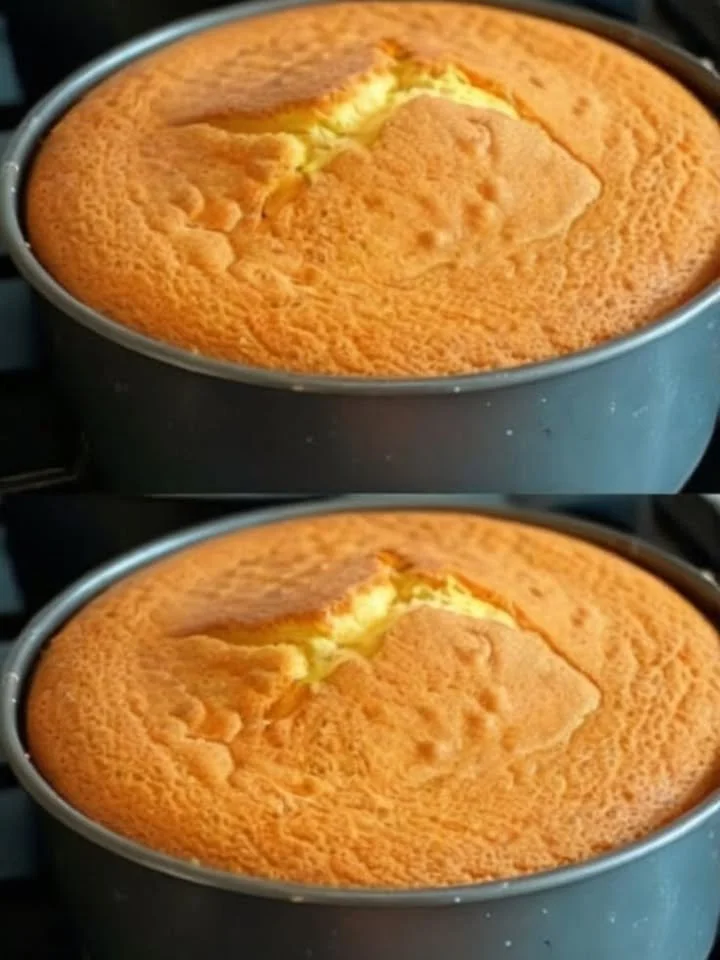
- Bake: Pop them in the oven and bake 30–35 minutes. When a toothpick inserted in the center comes out clean (or with a few moist crumbs), it’s done.
- Cool: Let cakes rest in pans about 10 minutes, then turn out onto wire racks to cool fully. (Sneaking a warm nibble is totally understandable.)
If you’re like me, the hardest part is waiting for the cakes to cool so you can frost and devour!
My Secret Tips and Tricks for Moist Chocolate Cake Success
After more trial-and-error than I care to admit, these are the little nuggets that guarantee a bakery-worthy, ultra-moist chocolate cake every time (goodbye dry cake forever):
- Measure Flour Properly: Use the spoon-and-level method—not scooping—so your cake isn’t dense.
- Don’t Overmix: Once the flour’s in, mix until just combined. Overmixing can make your cake rubbery instead of tender.
- Fresh Baking Soda & Powder: Old leaveners lead to flat cakes. I replace mine every three months.
- Oven Racks Matter: Place the pans on the middle rack for even baking (top racks can make cakes dome unevenly).
- Room Temperature Ingredients: Eggs and milk blend best—and make a fluffier cake—when they’re not cold from the fridge.
And always do the toothpick test for doneness. With a moist chocolate cake, you want moist crumbs clinging to the pick—not raw batter, and not bone dry!
Creative Variations and Ingredient Swaps
One of my favorite things about a classic chocolate cake recipe is how adaptable it is. Here are some ways to make it your own:
- Gluten-Free: Swap all-purpose flour for a cup-for-cup gluten-free blend (check for xanthan gum if needed).
- Dairy-Free: Use any plant-based milk (almond, soy, or oat) and make sure your cocoa powder is dairy-free.
- Espresso Boost: Add a teaspoon of instant espresso powder to the dry ingredients for a mocha vibe—it makes the chocolate flavor even more intense.
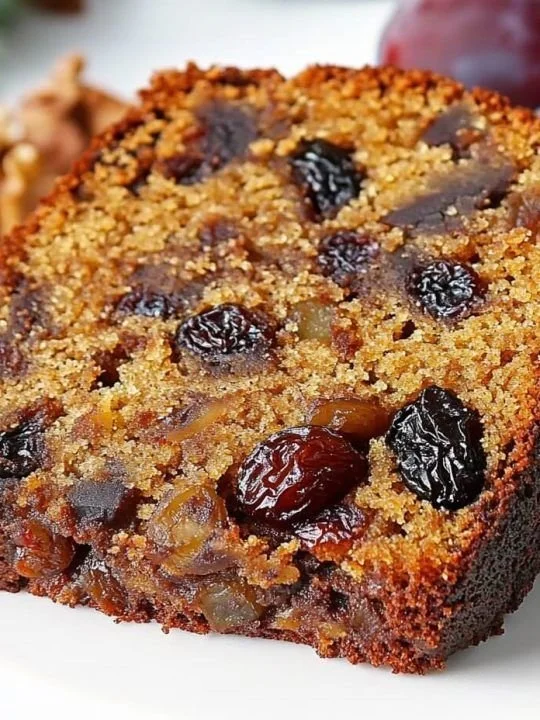
- Nutty Goodness: Fold in a cup of toasted walnuts or pecans for texture and flavor.
- Frosting Magic: Pair with classic chocolate buttercream, whipped ganache, or even a tangy cream cheese frosting—each gives a homemade dessert a new personality.
This easy dessert recipe is so forgiving. Honestly, some of my best cakes have come from little happy accidents or whatever I had on hand (leftover ganache, anyone?).
How to Serve and Store Your Moist Chocolate Cake
Serving Suggestions:
- I love a thick slice topped with a dollop of whipped cream and fresh berries for a simple, homemade treat.
- If it’s a celebration, go all out with layers of rich frosting, sprinkles, and candles.
- For casual afternoons, serve plain with coffee or a cold glass of milk—pure comfort.
Storing Tips:
- Wrap leftover cake tightly with plastic wrap or store in an airtight container at room temp for up to 3 days. (If your kitchen is warm, fridge is best.)
- To freeze, wrap unfrosted cake layers in plastic and foil, then freeze up to 3 months. Thaw at room temp when ready to serve.
- A quick zap in the microwave brings out that just-baked moisture—trust me!
Having this moist chocolate cake ready for snacking, gifting, or “surprise guests” makes any day a little brighter.
FAQs: Your Top Questions About Moist Chocolate Cake Answered
1. Why is my chocolate cake dry instead of moist?
A few culprits: overbaking, too much flour, or not enough fat. Stick to the recipe (this easy chocolate cake is foolproof!) and always check for doneness a few minutes early.
2. Can I use butter instead of oil?
Oil creates a softer, more moist crumb. You can use melted butter, but the cake may be a touch less tender.
3. What’s the best frosting for moist chocolate cake?
I’m partial to classic chocolate buttercream or whipped ganache, but honestly, even a dusting of powdered sugar is delicious. Cream cheese frosting works for a tangy twist.
4. Can I make cupcakes with this recipe?
Absolutely! Fill liners 2/3 full and bake 18–22 minutes. (Use the toothpick test for doneness!)
5. Is it possible to make this cake ahead?
You bet: bake the layers a day in advance and wrap tightly; frost right before serving for maximum freshness.
There you have it—my favorite, fail-proof, love-at-first-bite moist chocolate cake recipe. I hope it brings your kitchen as much joy and sweet comfort as it has to mine. Seriously, there’s nothing like breaking into that fudgy, tender crumb with friends or family (or, let’s be real, solo with a fork straight from the pan).
If you try it, let me know—what memories did you make? What toppings or twists did you try? I’m cheering you on, one slice at a time. Happy baking!