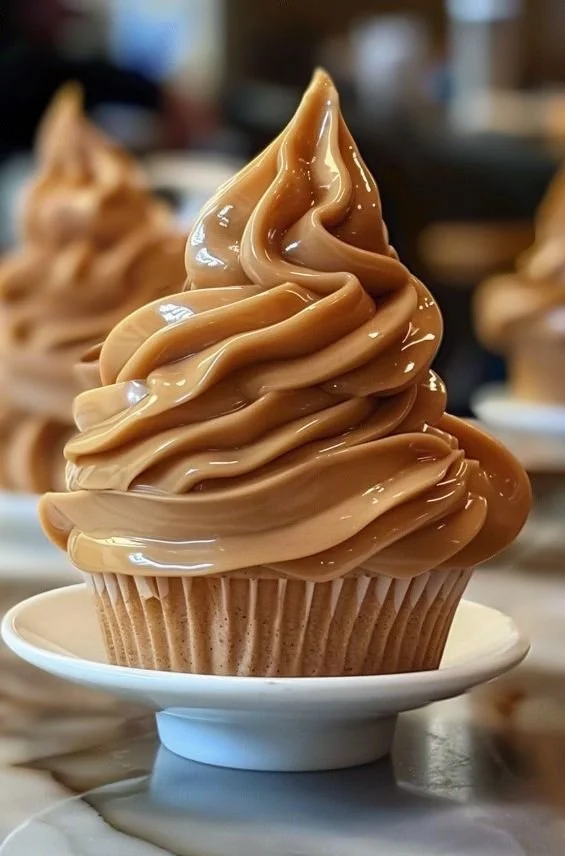
Chocolate Waffle Cup with Whipped Cream & Berries
The First Time I Made Chocolate Waffle Cups with Whipped Cream & Berries
Do you ever come across a recipe that just feels like summer? For me, chocolate waffle cups with whipped cream & berries are pure childhood magic. I remember lazy Sunday afternoons, sitting on the porch with my sister, each of us carefully piling whipped cream and strawberries onto a crisp, chocolatey waffle bowl—our hands inevitably sticky, faces smeared with a mix of melted chocolate and berry juice. That first sweet, crunchy bite? It’s pure joy! Now, whenever I make this easy berry dessert for my family (or myself, let’s be real), it’s as if I’m bottling up those sunny memories to share—one luscious scoop at a time.
Why You’ll Adore This Chocolate Waffle Cup Dessert
Let’s be honest, there’s a lot to love about chocolate waffle cups with whipped cream & berries! Here’s why I keep coming back to this easy dessert recipe:
- It’s effortlessly impressive. The contrast of glossy chocolate, pillowy cream, and vibrant summer berries looks so fancy, but it comes together in a snap.
- Taste explosion! Every bite is a dreamy combo: rich chocolate, crisp waffle, silky cream, juicy berries—honestly, it’s like all the best desserts having a party.
- So customizable. Got ice cream? Pop a scoop under your berries. Prefer white chocolate? Go for it! This homemade recipe is yours to riff on.
- Ultimate crowd-pleaser. Whether it’s just you and a spoon (no judgment), or a table full of friends, everyone lights up when these show up.
Ingredients You’ll Need for Chocolate Waffle Cups with Whipped Cream & Berries
Here’s what you’ll need to whip up this homemade chocolate waffle cup dessert:
- Waffle cones or waffle bowls (4): I like the sturdy, crunchy kind. (Pro tip: Go fresh if you can—they hold the chocolate coating better!)
- Chocolate, melted (200g, dark or milk): Choose a chocolate you actually like eating plain. Melting in a microwave-safe bowl works great for lazy days.
- Heavy cream, chilled (250ml): Chilling your cream and bowl is key for super fluffy, pipe-able whipped cream.
- Powdered sugar (2 tbsp): For that touch of cloud-like sweetness in your cream.
- Vanilla extract (1 tsp): Adds depth and a cozy, bakery-style aroma.
- Fresh strawberries & blueberries: Whole, halved, whatever you’ve got. Ripe, in-season berries make all the difference.
- Berry sauce or strawberry syrup (optional): A little drizzle punches up the berry flavor, especially if your fruit isn’t peak-season sweet.
- Edible gold flakes or gold dust (optional): For when you want to go bougie or impress at brunch.
- More powdered sugar, for dusting: That final snowy finish. It’s all about the drama!
Step-by-Step Guide: Making the Perfect Chocolate Waffle Cup with Whipped Cream & Berries
Here’s how I pull together this easy dessert when I need a wow-moment (even if it’s just my own “me-time” treat):
- Melt the chocolate. I prefer the microwave—heat in 30-second bursts, stirring well between rounds. (No one wants scorched chocolate.)
- Coat your waffle cups. Dip the insides and edges into the melted chocolate. If you like, spin them around for an extra thick edge—they’ll look extra fancy! Set them upside-down on parchment paper and let them chill out in the fridge until the chocolate is firm.
- Whip up the cream. Grab that chilled bowl and heavy cream, add powdered sugar and vanilla, then whisk (or use a hand mixer if you’re not feeling buff) until stiff peaks form. Transfer your whipped cream to a piping bag with a star tip for picture-perfect swirls. (No bag? Use a spoon and rustic charm!)
- Assemble! Fill each chocolate-coated waffle cup with a generous swirl of whipped cream. Top with a riot of fresh strawberries and blueberries. Drizzle with berry sauce if you’re feeling extra.
- Garnish and serve. Sprinkle with edible gold flakes and a snowy dusting of powdered sugar. Serve immediately so the waffle cup stays extra crisp. If you want to get wild, sneak a little scoop of vanilla ice cream under the whipped cream for a bonus surprise.
My Secret Tips and Tricks for Chocolate Waffle Cup Dessert Success
- Use seriously cold cream. The colder, the better—your whipped cream will be fluffier and hold its shape longer (makes a big difference for layered desserts).
- Chill your bowls and utensils. It makes step two and three way easier (nothing sadder than soupy cream).
- Pick the prettiest berries. For special occasions, set aside the best-looking whole strawberries for the top. Cut a few in half for a natural “overflowing” look!
- Don’t skimp on the chocolate coating. Thicker is better! The extra crunch is so satisfying, and your waffle comes out less soggy.
- Assemble just before serving. Waffle bowls love to absorb moisture. If you’re making these for a crowd, keep everything separate until the last minute.
- Have fun with garnishes. A little edible gold or a powdered sugar snow shower makes these look bakery-level—even if, like me, you’re often in pajamas when you serve them.
Creative Variations and Ingredient Swaps
Part of the charm of this chocolate waffle cup recipe is how flexible it is. Want to put your own spin on things? Here’s how:
- Swap dark or milk chocolate for white or ruby chocolate for a playful, colorful twist. (Kids love this!)
- Try different berries: Raspberries, blackberries, even pomegranate arils work beautifully.
- Add other toppings: Shaved chocolate, toasted nuts, or a drizzle of caramel sauce give major sundae vibes.
- Go dairy-free: Use coconut whipped cream if you’re avoiding dairy—it pairs so well with berries and chocolate.
- Level up with ice cream: Nestle a mini scoop of your favorite vanilla (or even salted caramel) under the whipped cream before topping with berries.
How to Serve and Store Your Chocolate Waffle Cup with Whipped Cream & Berries
For the crispiest chocolate waffle cups, fill and serve them right away. If you need to prep ahead:
- Store coated waffle cups: Keep them in an airtight container at room temperature for up to two days.
- Whipped cream: Whip and chill in an airtight container up to several hours before serving.
- Berries: Store washed and dried in the fridge. Assemble everything at the last minute for max crunch and freshness.
- Leftovers: Honestly, these are best eaten fresh. If you do have leftovers, refrigerate overnight, but expect the waffle to soften (still tastes dreamy as a breakfast parfait!).
FAQs: Your Top Questions About Chocolate Waffle Cups with Whipped Cream & Berries Answered
Can I use store-bought whipped cream instead of homemade?
You can! Homemade is fluffier and richer, but store-bought will totally work in a pinch (and hey, less dishwashing).
How long will the assembled chocolate waffle cups last?
For that crispy, fresh bite, I recommend serving within an hour of assembling. After that, the waffle starts to get soft but is still super tasty.
What’s the best way to melt chocolate for dipping?
Microwave in short intervals, stirring well, or use a double boiler on the stove. Just be patient—overheated chocolate can seize!
Can I make these gluten-free?
Absolutely—just swap in gluten-free waffle bowls or cones. All the other ingredients are naturally gluten-free.
Any ideas for making this extra decadent for a special occasion?
Go wild with gold flakes, edible flowers, or a big scoop of gelato under the whipped cream. The more layers, the more celebration!
Honestly, these chocolate waffle cups with whipped cream & berries are my not-so-secret weapon for easy, joy-sparking desserts. They never fail to make people (myself included!) smile—and I can’t wait to hear how you make them your own. If you try this recipe, let me know what delicious twists you come up with!
