Mocha Chocolate Mousse Cake

A Cozy Afternoon and a Slice of Mocha Chocolate Mousse Cake
Some recipes have a way of instantly transporting you to a cozy memory, and for me, Mocha Chocolate Mousse Cake is just that. I remember the first rainy afternoon I baked this decadent dessert—soft jazz playing, the scent of strong coffee mingling with rich cocoa in my tiny kitchen, and the gentle thrum of anticipation as the cake set in the fridge. Mocha chocolate mousse cake isn’t just a treat; it’s a celebration of those small, soul-soothing moments we all crave. Whether you need a show-stopping dessert or a comforting bite with your morning brew, this recipe wraps you in warmth (and a generous layer of chocolate mousse).
Why You’ll Adore This Mocha Chocolate Mousse Cake
Let me spill the coffee beans on why this mocha chocolate mousse cake will win your heart:
- Chocolate and Coffee—A Dream Team: Rich cocoa cake soaked with a shot of hot brewed coffee? Yes, please! It’s basically a hug for every chocoholic and coffee lover.
- Surprisingly Simple: The steps seem fancy but are totally doable, even if you don’t consider yourself a baking wizard. If I could nail it while humming along to Ella Fitzgerald, so can you!
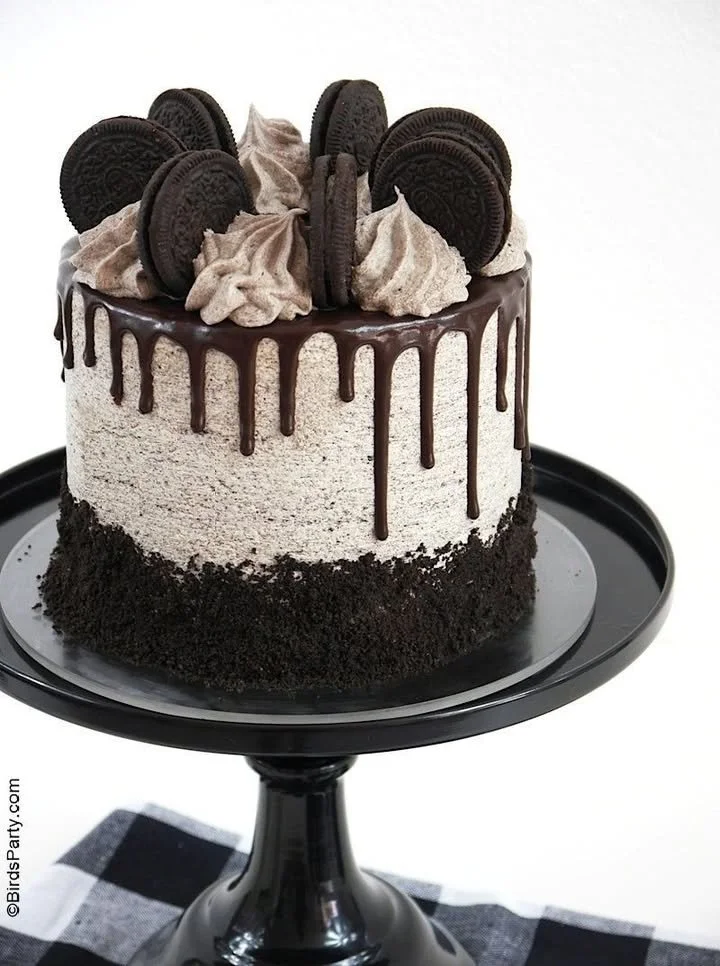
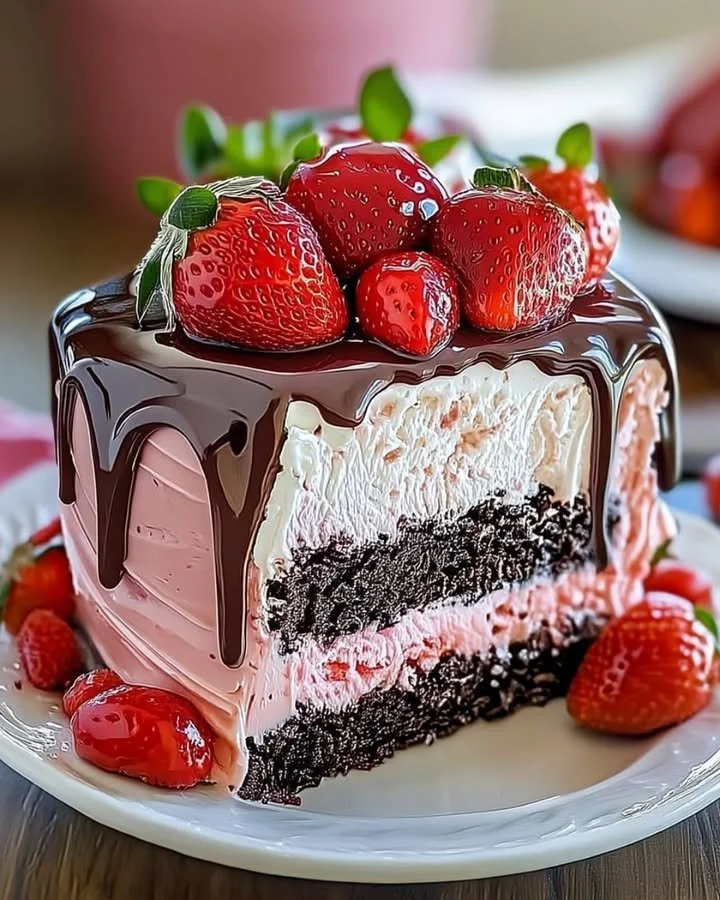
- Layers of Love: We’re talking about a moist chocolate cake base topped with an airy mocha mousse, then finished with cocoa dusting and chocolate curls (because sometimes we all need a little extra).
- Make-Ahead Magic: This is actually even better when made the night before—perfect if you’re hosting or just want dessert waiting for you after a long day.
Ingredients You’ll Need for Mocha Chocolate Mousse Cake
Here’s what you’ll want to gather for this indulgent treat (and a few tips from my own kitchen!):
- 3/4 cup all-purpose flour: Standard but crucial for cake structure.
- 1/2 cup unsweetened cocoa powder: Choose a high-quality cocoa for bold flavor.
- 1 tsp baking powder & 1/2 tsp baking soda: These give the cake its perfect lift.
- 1/4 tsp salt: Balances the sweetness—don’t skip!
- 2 large eggs: Room temperature eggs blend in more smoothly.
- 1/2 cup granulated sugar: Sweetens but doesn’t overpower the coffee notes.
- 1/3 cup vegetable oil: Keeps the cake extra moist.
- 1/2 cup buttermilk or milk: Buttermilk adds tang, but regular milk works in a pinch.
- 1 tsp vanilla extract: Rounds out the flavors.
- 1/2 cup hot strong brewed coffee: My favorite part—use your best coffee for deeply satisfying flavor.
- 1 cup heavy whipping cream (cold): This creates the luscious mousse texture.
- 1/2 tsp espresso powder: Intensifies the mocha profile.
- 6 oz semi-sweet or dark chocolate, chopped: Go dark if you love intense chocolate, or semi-sweet for balance.
- 1/4 cup granulated sugar: To sweeten the mousse without making it heavy.
- 3 large egg yolks: Essential for the richness of the mousse (see my tip below for egg safety!).
- 2 tbsp water: Keeps the egg-sugar mixture silky.
- 1/2 tsp vanilla extract: Because you can never have too much vanilla.
- Chocolate curls or shavings, cocoa powder, whipped cream, coffee beans (all optional): For that bakery-level finish!
Step-by-Step Guide: Making the Perfect Mocha Chocolate Mousse Cake
Bake the Chocolate Cake Base:
Preheat your oven to 350°F (175°C). Grease and line a 9-inch springform pan (parchment on the bottom is your friend for easy release). Whisk the flour, cocoa, baking soda, baking powder, and salt together in a bowl.Mix Wet Ingredients:
In another bowl, beat the eggs, sugar, oil, milk (or buttermilk), and vanilla until smooth. I love how glossy and inviting this mixture looks!Combine:
Stir the dry mix into the wet until just combined. Don’t overmix—think tender, not tough. Gently stir in the hot coffee last; this will thin the batter slightly, but trust me, it yields a gorgeous crumb.Bake:
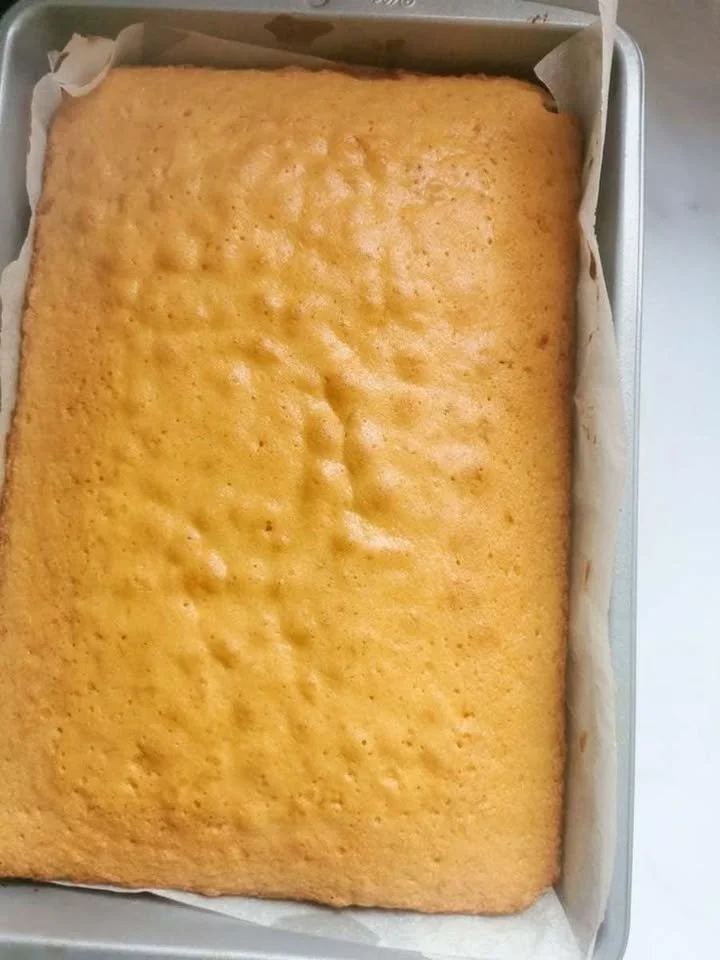
Pour into your pan and bake 20–25 minutes. When a toothpick comes out clean from the center, pull it out and let it cool in the pan. (The anticipation at this stage is unreal.)Make the Mocha Mousse:
In a heatproof bowl over simmering water (double boiler time!), whisk egg yolks, sugar, water, and espresso powder. Keep whisking for 5–6 minutes, until it’s pale and thick. Take off the heat and stir in chopped chocolate until smooth.Cool & Fold:
Let the chocolate mixture cool to room temp—otherwise, your whipped cream will melt and we want it fluffy. Whip your cold cream to stiff peaks, then gently fold it into the chocolate-espresso mix. Go slow for a mousse that’s light and dreamy.Assemble:
Pour your mousse over the cooled cake (still in the springform pan). Smooth it out, cover, and chill for at least 4 hours—overnight is even better.Garnish & Serve:
Once set, release from the pan. Dust with cocoa, pile on chocolate curls, swirl on whipped cream, or toss a few coffee beans on top for flair. Slice, serve chilled, and savor every bite!
My Secret Tips and Tricks for Mocha Chocolate Mousse Cake Success
- Fresh Coffee Is Key: Use a brew you love for the most aromatic mocha chocolate mousse cake experience.
- Egg Safety: If you’re wary of raw eggs, use pasteurized eggs for the mousse. (It keeps things safe and stress-free.)
- Chill Enough: I know, waiting is hard. But chilling the cake at least 4 hours (overnight is my go-to) guarantees a mousse that slices cleanly.
- Fold Gently: When blending your whipped cream into the chocolate, don’t rush. Small circles, minimum strokes—you’ll keep the mousse airy.
- Decorate with Joy: Even if your chocolate curls look rustic, a dusting of cocoa powder covers all “decorating sins.”
Creative Variations and Ingredient Swaps
Want to give your mocha chocolate mousse cake a twist? Try these:
- Gluten-Free Swap: Replace the all-purpose flour with your favorite gluten-free blend (semantic term: gluten-free chocolate cake).
- Lighter Dairy: Use half-and-half for a lighter mousse (it won’t be as rich, but still delicious).
- Dark or Milk Chocolate: Adjust the sweetness and intensity to your personal preference with your choice of chocolate.
- Nutty Crunch: Stir chopped toasted hazelnuts or almonds into the mousse for extra texture.
- Vegan Variation: Veganize by using plant-based milk, coconut cream for the mousse, and an egg replacer for the cake.
How to Serve and Store Your Mocha Chocolate Mousse Cake
- Serving: Slice the mocha chocolate mousse cake cold for neat portions. Pair with espresso or a scoop of vanilla ice cream—yum!
- Storing Leftovers: Store leftovers covered in the fridge for up to 4 days. The flavors actually deepen overnight!
- Freezing: Freeze slices on a tray, then wrap individually. Thaw in the fridge overnight—instant gourmet dessert (just don’t add whipped cream until serving).
FAQs: Your Top Questions About Mocha Chocolate Mousse Cake Answered
1. Can I make mocha chocolate mousse cake ahead?
Absolutely! In fact, it’s best when made a day in advance so the mousse fully sets and the flavors meld together.
2. What coffee should I use?
Any strong, brewed coffee you love works great. Espresso is the classic choice, but your favorite dark roast shines too.
3. Are raw eggs safe in mousse?
If concerned (which I totally get!), use pasteurized eggs or look for carton egg yolks labeled safe for uncooked recipes.
4. Can I decorate mocha chocolate mousse cake differently?
Of course! Try berries, a drizzle of chocolate ganache, or even a chocolate coffee glaze for extra flair.
5. What if I don’t have a springform pan?
You can build this mocha chocolate mousse cake in a lined 9-inch round cake pan—just use parchment to lift it out gently after chilling.
If you’ve made it this far, you’re so close to creating your own mocha chocolate mousse cake magic! Whether you’re a chocoholic, a coffee devotee, or someone who just loves a fabulous homemade dessert, I hope this recipe brings a little extra joy to your table. If you try it, let me know how it went—I’d love to hear your spin and see your creations! Happy baking, and don’t forget to savor that first creamy, chocolatey bite.
