Black Forest Cupcakes
My First Bite of Black Forest Cupcakes: A Love Letter
Have you ever tasted something so decadent and beautiful, it instantly transports you to a memory you never want to let go of? That’s exactly what happened to me with my first Black Forest cupcake. I remember standing in my grandma’s kitchen, sun spilling across her checkered tablecloth, as we dusted chocolate shavings and crowned each cupcake with a ruby-red cherry. I still can smell the deep cocoa, the sweet cherries, and that distinct, cozy bakery aroma—each bite was pure joy. These Black Forest cupcakes aren’t just a dessert; they’re a celebration in a wrapper, and I can’t wait to share this chocolate-cherry magic with you.
Why You’ll Adore These Black Forest Cupcakes
If you’re anything like me, a truly great cupcake isn’t just about taste—it’s about moments of delight. Here’s why I know you’ll fall hard for these Black Forest cupcakes:
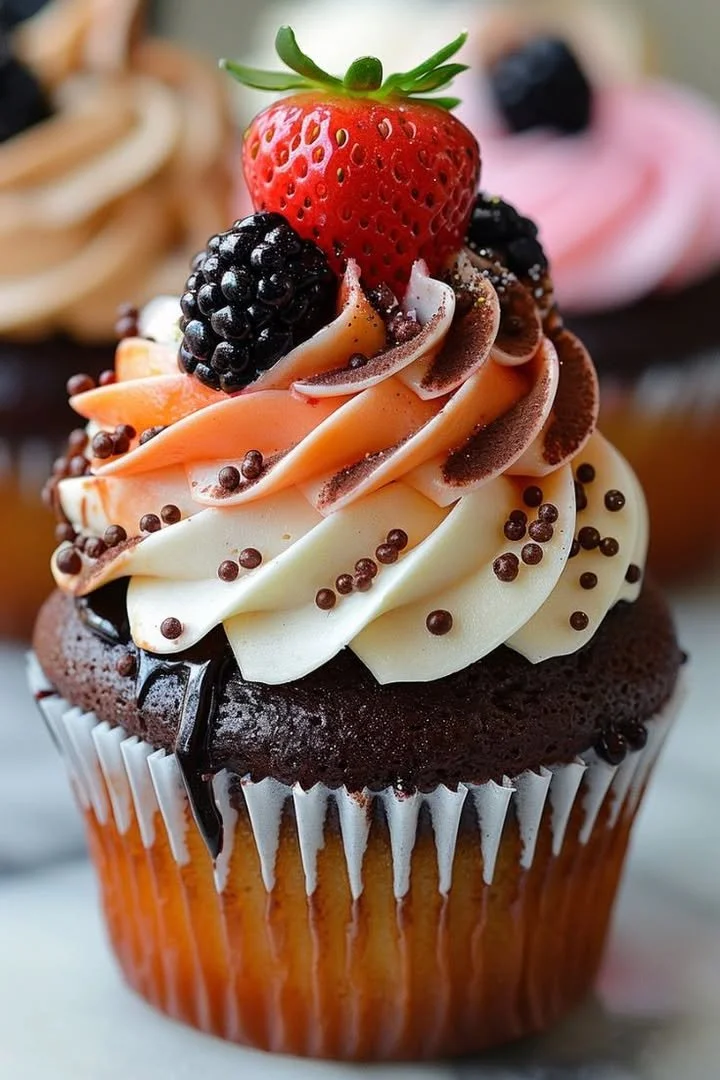
- Irresistible Flavor Layers: Imagine fluffy, moist chocolate cupcakes filled with juicy cherry goodness, topped with clouds of whipped cream. Every bite is a party of textures and flavors.
- Easy, Yet Show-Stopping: Seriously, people are going to think you spent hours. But this classic cupcake recipe is much simpler than it looks—perfect for birthdays, holidays, or just a “treat yourself” day.
- Nostalgia in Every Bite: These cupcakes have that old-world Black Forest cake charm, perfect for making new memories or reliving sweet traditions.
- Customizable for Every Craving: Whether you’re a chocoholic, fruit lover, or just need a quick homemade dessert, this recipe is endlessly adaptable (more on that soon!).
Ingredients You’ll Need for Black Forest Cupcakes
Let’s talk ingredients. Quality matters, and I’ve got little tips along the way to guarantee swoon-worthy cupcakes.
- All-Purpose Flour (1 cup): For structure and a tender crumb.
- Unsweetened Cocoa Powder (1/2 cup): Go Dutch-process for a deeper chocolate flavor (trust me, it’s worth it!).
- Baking Soda & Baking Powder (3/4 tsp & 1/2 tsp): For that irresistible rise.
- Salt (1/4 tsp): Just a pinch—don’t skip it. It wakes up the chocolate!
- Large Eggs (2): Room temp works best; helps everything blend smoothly.
- Granulated Sugar (1/2 cup) & Brown Sugar (1/2 cup packed): Brown sugar adds a subtle caramel note and keeps cupcakes moist.
- Vegetable Oil (1/3 cup): I love oil for extra-soft cupcakes (you could use melted coconut oil for a hint of tropical flavor).
- Buttermilk (1/2 cup): Makes the crumb tender and tangy—so classic!
- Vanilla Extract (1 tsp): Pure vanilla only, if you can swing it.
- Hot Water or Coffee (1/2 cup): Secret to richer chocolate flavor! Coffee won’t taste strong, but enhances chocolate beautifully.
- Cherry Pie Filling or Chopped Jarred Cherries: Choose your fave—I often grab a good-quality pie filling for ease.
- Whipped Cream: Homemade is dreamy, but canned works in a pinch.
- Chocolate Shavings or Curls: The final flourish! I just use a veggie peeler on a chocolate bar.
Step-by-Step Guide: Making the Perfect Black Forest Cupcakes
Here’s how to make these Black Forest cupcakes—no stress, just pure baking fun.
- Preheat & Prep: Set oven to 350°F (175°C) and line your muffin tin (I always use cute liners for a little extra joy).
- Mix Dry Ingredients: Whisk the flour, cocoa, baking soda, baking powder, and salt together. It’s like prepping a mini storm of chocolate!
- Blend Wet Ingredients: In another bowl, mix eggs, both sugars, oil, buttermilk, and vanilla until smooth and creamy.
- Combine & Add Liquid: Gradually stir the dry stuff into the wet. Then pour in hot water (or coffee)—the batter will look thin, but that’s perfect for moist cupcakes.
- Fill & Bake: Scoop into liners about 3/4 full (don’t go higher, or you’ll have cupcake volcanoes!). Bake 16–18 minutes until a toothpick comes out mostly clean.
- Cool & Core: Let cupcakes cool completely. Then use a cupcake corer, apple corer, or even a sharp knife to carve a little well in the center.
- Fill with Cherries: Spoon in cherry pie filling or chopped cherries; don’t be shy!
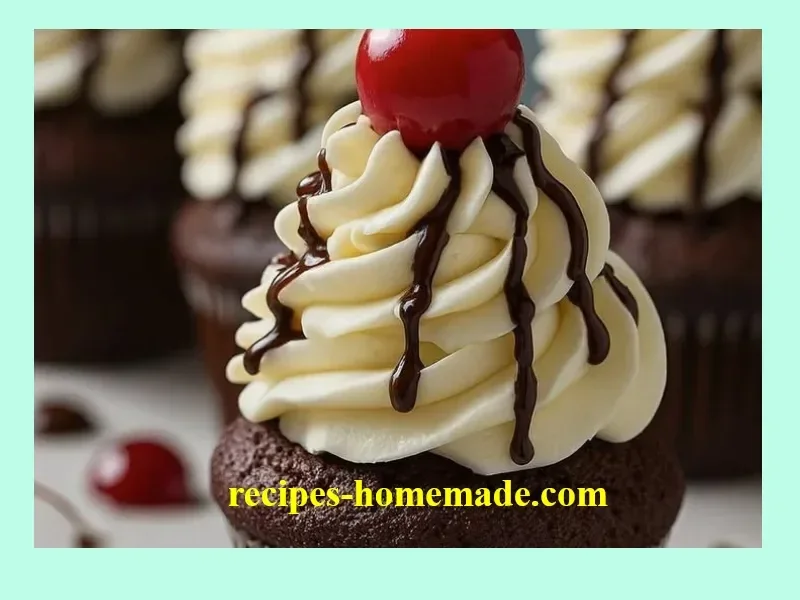
- Top with Whipped Cream & Chocolate: Pipe (or dollop) whipped cream generously, sprinkle with chocolate shavings, and pop a cherry on top.
There you have it—gorgeous, bakery-worthy Black Forest cupcakes made right at home.
My Secret Tips and Tricks for Black Forest Cupcake Success
Want your homemade Black Forest cupcakes to be even more magical? Here’s what I’ve learned:
- Use Coffee for Extra Depth: Even if you’re not a coffee drinker, adding hot coffee instead of water makes the chocolate flavor deeper and richer (it really works!).
- Make-Ahead Wonders: Bake the cupcakes a day ahead—they actually taste even fudgier after a little rest.
- Whipped Cream Tricks: For stiffer whipped cream, add a tablespoon of instant pudding mix while whipping. It helps hold its shape for parties or picnics.
- Cherry Layer Love: Stir a splash of kirsch (cherry liqueur) into your cherry filling if you want that authentic Black Forest vibe (adults only!).
Creative Variations and Ingredient Swaps
Classic Black Forest cupcakes are amazing, but let’s have some fun:
- Gluten-Free Swap: Sub a trusted 1:1 gluten-free baking blend for the all-purpose flour. No one will know!
- Vegan Version: Use flax eggs, plant milk with a splash of vinegar for buttermilk, and coconut cream for the topping. Still scrumptious!
- Berry Bonanza: Try raspberries or blackberries instead of cherries—any juicy, tart fruit works beautifully.
- Chocolate Overload: Stuff the core with a mix of cherries and mini chocolate chips for an extra treat.
- Lighten It Up: Skip the whipped cream for a dusting of powdered sugar if you like things a tad less sweet (still breezy and delicious).
How to Serve and Store Your Black Forest Cupcakes
You’ve baked a beautiful batch—here’s what to do next:
Serving:
- Serve Black Forest cupcakes chilled or at cool room temperature. The cherry center tastes so refreshing straight from the fridge on a summer day!
- To make them fancy for a party, sprinkle extra chocolate shavings just before serving. (They look like bakery cupcakes!)
Storing:
- Store any leftovers in an airtight container in the fridge—they’ll stay moist and delicious for 2-3 days.
- I don’t recommend freezing with whipped cream, but you can freeze the unfrosted cupcakes in advance and top them later.
FAQs: Your Top Questions About Black Forest Cupcakes Answered
Can I make Black Forest cupcakes in advance?
Absolutely! You can bake the cupcakes a day or two ahead. Wait to fill and top them with whipped cream until you’re ready to serve for the freshest taste.
Do I need fresh cherries for Black Forest cupcakes?
Not at all. Cherry pie filling, jarred cherries, or even frozen (thawed) cherries all work. Use whatever feels easiest and tastiest to you.
What if I don’t have buttermilk?
No worries! Just add 1/2 tablespoon lemon juice or vinegar to regular milk, let it sit a few minutes, and you’re good to go.
Can I use canned whipped cream?
Yes, especially if you’re in a hurry. The only downside is it doesn’t hold up as long as freshly whipped cream, but for serving right away, it works fine.
How do you get perfect chocolate shavings?
Just grab a good-quality chocolate bar and use a veggie peeler—swipe along the edge for beautiful curls, or along the side for daintier shavings.
These Black Forest cupcakes mean more to me than I can really say—baking them brings back the happiest memories, and sharing them is my absolute favorite part. I hope you enjoy every decadent, cherry-filled, whipped-cream-topped bite. If you try them, let me know how they turn out! Happy baking, friends.