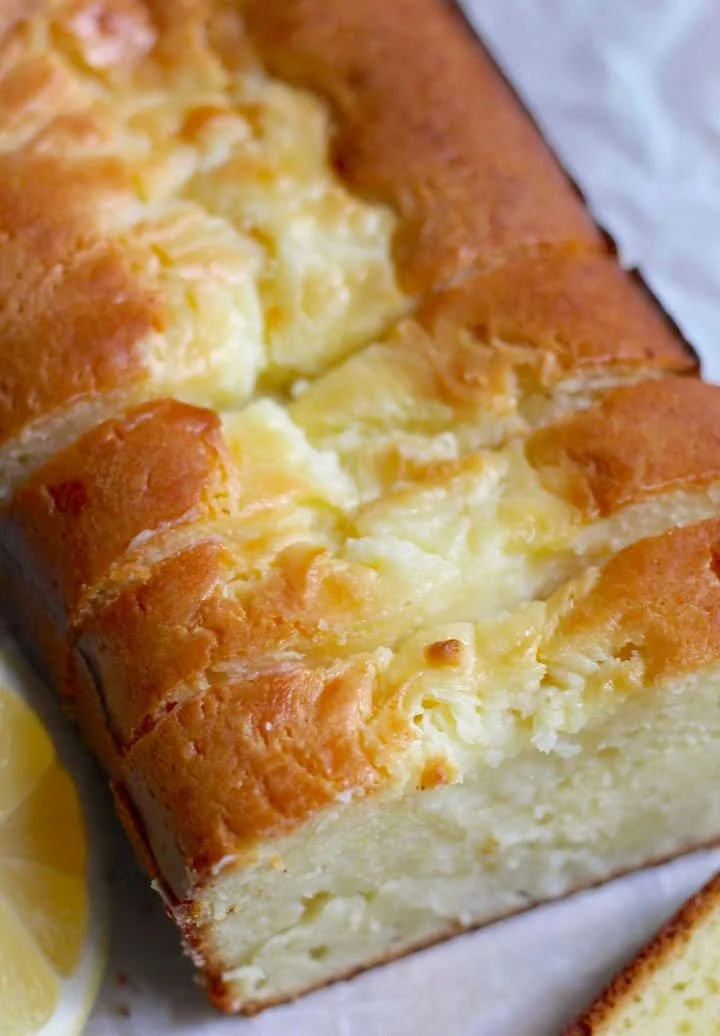
Easy Homemade Treat
Easy Homemade Treat
Hey, friend! Let’s talk about those days when you just need a little comfort food to lift your spirits. You know, the kind of treat that makes your kitchen smell heavenly and gives you that warm fuzzy feeling inside? That’s exactly what I had in mind when I whipped up this Easy Homemade Treat.
Picture it: it’s a busy weeknight, you’ve just finished a long day, and all you want is something uncomplicated, delicious, and slightly indulgent. Trust me, this recipe is a lifesaver. With a handful of pantry staples and about 30 minutes of your time, you’ll have a delightful batch of goodies that can bring the whole family together or satisfy your sweet tooth all by yourself.
Why This Recipe Works
Here are a few reasons why this Easy Homemade Treat is such a hit:
- Quick to make – In under an hour, you can have something fresh from the oven!
- Simple ingredients – No need to hunt for fancy stuff; you probably have everything at home already.
- Great texture and flavor balance – Soft and chewy on the inside with a slight golden crisp on the edges.
- Beginner friendly – Even if you’re new to baking, this recipe will make you feel like a pro.
And here’s a little nugget of wisdom: letting your butter soften at room temperature ensures a smoother mix, which really makes a difference in texture!
Ingredients You’ll Need
Before we get started, here’s the lowdown on what you’ll need:
- 2 cups all-purpose flour – The backbone of any good treat!
- 1 cup sugar – Sweetness is key here.
- 1/2 cup butter, softened – This adds richness and flavor.
- 2 eggs – Helps bind everything together.
- 1 tsp vanilla extract – For that warm, comforting aroma.
- 1 tsp baking powder – Makes our treat nice and fluffy.
- 1/2 tsp salt – Enhances the sweetness just right.
- 1 cup chocolate chips (optional) – Because, why not? Chocolate makes everything better.
Kitchen Tools
Grab your trusty kitchen gear:
- Mixing bowl
- Wooden spoon (or an electric mixer, if you’re feeling fancy)
- Measuring cups
- Greased 9×13 inch baking dish
- A toothpick for checking doneness
Step-by-Step Instructions
Let’s get baking! Follow these steps, and you’ll have a delicious treat in no time:
- Preheat the oven to 350°F (175°C). This ensures the treats bake evenly.
- Grease and flour the baking dish. I like to use a bit of butter to grease it, then sprinkle a little flour to coat.
- In a large bowl, cream together the butter and sugar until smooth. You should be able to see a light color change—this means you’re on the right track!
- Beat in the eggs, one at a time. Trust me, adding them one at a time helps them mix better. Then, stir in that heavenly vanilla extract.
- Combine flour, baking powder, and salt in a separate bowl. This helps ensure everything’s nicely blended before you mix it in.
- Gradually stir the dry mixture into the creamed mixture. Be careful not to over-mix—just blend until you can’t see any dry flour.
- Fold in chocolate chips if you’re using them. You want to be gentle here, so you don’t deflate that lovely batter.
- Spread the batter evenly into the prepared baking dish. It doesn’t have to be perfect, just get it in there!
- Bake for 25-30 minutes, or until a toothpick inserted into the center comes out clean. The smell will drive you wild!
- Allow to cool before cutting into bars. This helps them set and makes for cleaner cuts.
Pro Tips for Success
- Room temperature ingredients work best for creating that lush batter.
- If you forget to soften the butter (guilty!), microwave it in 5-second intervals. Just don’t melt it completely!
- Let them cool completely before cutting them—this will yield prettier bars.
Common Mistakes to Avoid
Here are some pitfalls I’ve learned about the hard way:
- Overmixing the batter – This can lead to tough bars. Stop mixing once you see no dry flour.
- Cutting too soon – They might crumble if they’re not set. Let them cool!
- Skipping the salt – It brings out the sweetness and flavor beautifully.
Variations and Substitutions
Feeling adventurous? Here are a few ideas to mix it up:
- Nutty version: Add chopped walnuts or pecans for a crunchy surprise.
- Dairy-free option: Swap butter for coconut oil or vegan butter.
- Spicy twist: Add a dash of cinnamon or nutmeg for that warm spice flavor.
- Sugar-free treat: Use a sugar substitute like stevia or erythritol.
What to Serve With This Recipe
These bars are delicious on their own, but if you want to take it up a notch, try serving them with:
- A scoop of vanilla ice cream on the side
- A drizzle of warm caramel sauce
- A cup of hot chocolate or coffee for a cozy pairing
Storage and Leftovers
You’ll probably want to save some for later! Here’s how to store them:
- Refrigerator storage: Keep them in an airtight container for about 3–4 days.
- Freezer storage: They freeze wonderfully! Just wrap them tightly or place them in a freezer-safe container for up to 3 months.
- Reheating tips: Pop them in the microwave for 10-15 seconds to bring back that fresh-baked goodness.
FAQ
Here are a few common questions you might have:
-
Can I make this ahead of time?
Sure! You can prepare the batter a day in advance and refrigerate it until you’re ready to bake. -
Can I freeze it?
Absolutely! Just make sure it’s well-wrapped. -
What’s the best pan to use?
A 9×13 inch baking dish works best for even baking. -
Can I substitute an ingredient?
Yes, you can use different types of flour, milk alternatives, or even add other types of chips like peanut butter!
Quick Recipe Summary
- Prep time: 10 minutes
- Cook time: 25-30 minutes
- Servings: About 12 bars
Ingredients
- 2 cups all-purpose flour
- 1 cup sugar
- 1/2 cup butter, softened
- 2 eggs
- 1 tsp vanilla extract
- 1 tsp baking powder
- 1/2 tsp salt
- 1 cup chocolate chips (optional)
Steps
- Preheat the oven and prepare your dish.
- Cream together butter and sugar.
- Beat in eggs and vanilla.
- Mix dry ingredients and combine.
- Fold in chocolate chips and spread into the dish.
- Bake until golden!
Final Thoughts
If you try this Easy Homemade Treat, let me know how it turns out! And don’t stress if it’s not perfect the first time—mine never is either. Enjoy the process, have fun in the kitchen, and share a piece (or two) with someone you love. Happy baking!