Chocolate Ice Cream Cone
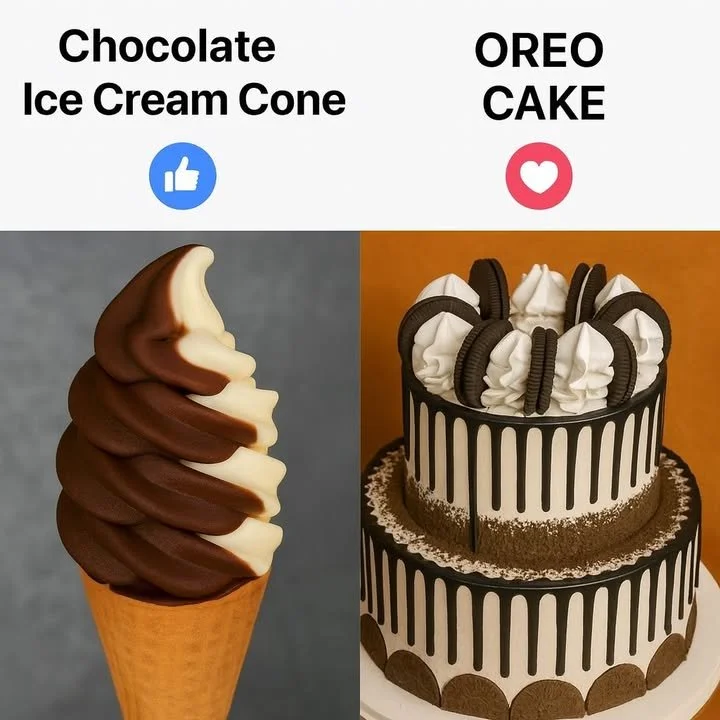
A Childhood Classic: Chocolate Ice Cream Cones and Sweet Summer Memories
Is there anything more nostalgic than a chocolate ice cream cone on a hot summer day? Just the thought of one—cold and creamy, melting faster than tiny hands can lick—takes me straight back to my grandma’s backyard. We’d sit on the creaky old porch swing, grinning with chocolate-stained faces, racing the sun to devour our chocolate ice cream cones before they vanished into sticky puddles. Now, whenever I make these chocolatey treats at home, it feels like bottling up joy and handing it out, one cone at a time.
Why You’ll Adore This Chocolate Ice Cream Cone
If you’re chocolate-obsessed like me (or just looking for an easy homemade ice cream), these chocolate ice cream cones are about to be your new favorite dessert. Here’s why I know you’ll fall in love:
- Simple, honest ingredients: Nothing complicated or unpronounceable—just good old cream, cocoa, sugar, and a kiss of vanilla.
- Ridiculously creamy texture: Thanks to heavy cream and whole milk, each bite is rich and velvety, with deep chocolate flavor in every lick.
- Fun for all ages: Whether you’re serving kids at a birthday party or snacking after dinner, these cones spark pure, nostalgic happiness.
- Personalized with toppings: Go wild with sprinkles, chocolate syrup, or chopped nuts—every cone is your own little masterpiece.
Honestly, just holding a homemade chocolate ice cream cone makes everything feel brighter, no matter your age.
Ingredients You’ll Need for Chocolate Ice Cream Cone
Here’s what you’ll need to churn up these dreamy cones (with a few of my personal shopping tips thrown in):
- 1 cup heavy cream (full-fat for that dreamy, creamy finish—don’t skimp!)
- 1 cup whole milk (the richer the milk, the creamier your ice cream)
- 3/4 cup sugar (granulated is classic, but superfine dissolves a bit faster for a smooth base)
- 1/2 cup cocoa powder (Dutch-process gives a deeper, more chocolatey punch)
- 1 teaspoon vanilla extract (pure vanilla brings out all the chocolatey notes)
- Chocolate syrup (for drizzling—store-bought or homemade, if you’re feeling extra)
- Sprinkles or chopped nuts (optional, but they always make me smile)
- Ice cream cones (wafer or sugar cones—totally your call!)
(Pro tip: Lay out your ingredients before you start—makes the whole process feel smoother and less stressful.)
Step-by-Step Guide: Making the Perfect Chocolate Ice Cream Cone
Let’s walk through this together—promise it’s easier (and more fun) than you might think.
-
Mix the Base
In a large bowl, whisk together heavy cream, whole milk, sugar, cocoa powder, and vanilla extract. Keep going until it’s super smooth and everything’s dissolved. (I sometimes use an electric mixer to speed things up—no shame!) -
Churn it Up
Pour your chocolate mixture into your ice cream maker. Churn according to your machine’s instructions until you hit a soft-serve consistency. (Mine takes about 20-25 minutes, but each machine is a little quirky.) -
Freeze to Firm
Transfer your just-churned ice cream to a freezer-safe container. Smooth the top (I like using a spatula), press a piece of wax paper right onto the surface, and pop it in the freezer for at least 4 hours. This helps it “set up” to that perfect scoopable texture. -
Serve and Enjoy!
Scoop into ice cream cones, drizzle with chocolate syrup, and shower with sprinkles or nuts if you fancy. (Don’t be shy—a little extra chocolate never hurt anyone.)
Whenever I make this, my kitchen smells like a chocolate shop and my family magically appears, spoons in hand.
My Secret Tips and Tricks for Chocolate Ice Cream Cone Success
Over the years, I’ve picked up a few game-changers for homemade chocolate ice cream:
- Let your cocoa powder “bloom” by whisking it into the milk first (it deepens the flavor).
- Chill your mixture in the fridge for an hour before churning—colder base = smoother ice cream.
- Don’t overfill your ice cream maker! Leave some room for the mixture to expand (trust me, I learned this the messy way).
- For an extra-chocolatey twist, swirl in mini chocolate chips or fudge ribbons at the last minute before freezing.
If you don’t have an ice cream maker, no worries—just freeze the base in a shallow pan, stirring well every hour until creamy!
Creative Variations and Ingredient Swaps
Want to put your own spin on the classic chocolate ice cream cone? Try these fun ideas:
- Dairy-free version: Replace the dairy with coconut cream and almond milk (delightfully creamy and rich).
- Nutty chocolate: Blend hazelnut or peanut butter into your base for a Nutella-inspired treat.
- Mocha magic: Stir in a shot of espresso powder for a coffee-chocolate combo.
- Fruit swirl: Ripple homemade raspberry sauce through the finished ice cream before freezing.
Swap in gluten-free cones or sprinkle crushed pretzels for a salty-sweet twist (crunchy and SO good). The best part? Homemade ice cream is all about making it your own!
How to Serve and Store Your Chocolate Ice Cream Cone
Ready to serve? Scoop generous amounts of the chocolate ice cream into crunchy cones, top with your favorite extras, and enjoy immediately. (Eating outside is optional but highly encouraged!)
Any leftovers? Transfer the remaining ice cream to an airtight container, and press parchment or wax paper directly on the surface to prevent icy crystals. It’ll keep beautifully in the freezer for about 1-2 weeks—if you can make it last that long!
If you’re feeling fancy, this chocolate ice cream is amazing sandwiched between cookies (homemade ice cream sandwiches, anyone?).
FAQs: Your Top Questions About Chocolate Ice Cream Cones Answered
1. Can I make chocolate ice cream without an ice cream maker?
Absolutely! Pour your chocolate base into a shallow dish, freeze, and stir every hour or so until creamy (about 4-6 hours).
2. What’s the best way to get smooth, creamy homemade chocolate ice cream?
Chilling your base before churning and not rushing the freeze time makes all the difference.
3. Can I add mix-ins like cookies or candies?
Of course! Fold in any extras (think mini marshmallows, chopped Oreos, or peanut butter cups) during the last minute of churning.
4. How do I keep my ice cream from getting icy?
Cover its surface with wax or parchment paper before freezing and use full-fat dairy for the creamiest results.
5. Are there ways to make it less sweet?
Try reducing the sugar by 2-3 tablespoons, or opt for a darker cocoa powder—it adds bittersweet depth.
Whether you’re whipping these up for a special occasion or a Tuesday night treat, homemade chocolate ice cream cones have a way of turning ordinary days into something magical. If you try this recipe, let me know how you topped your cones (or who you shared them with)—I’d love to swap stories and tips!
Life’s just sweeter with a cone in hand. Enjoy every chocolatey bite!
