Home Made Strawberry Vanilla Bean Ice Cream

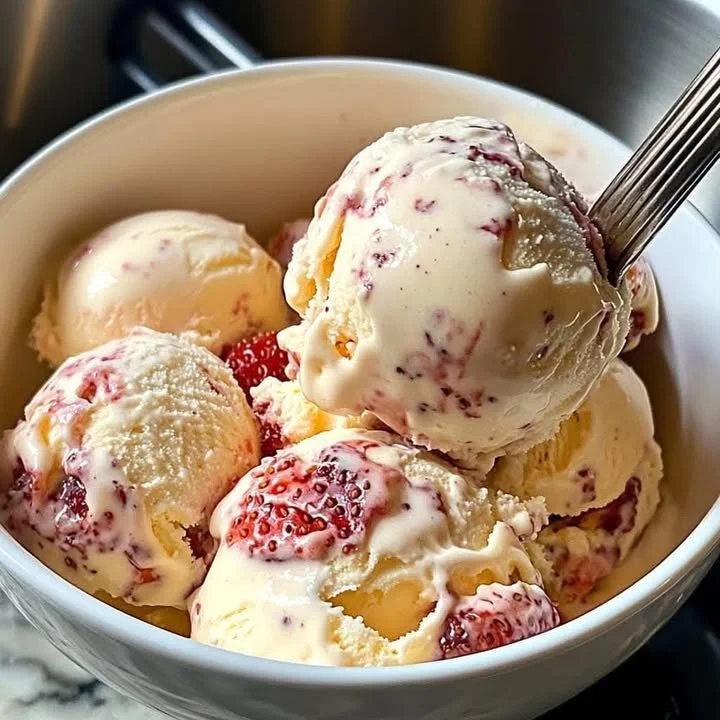
🍓Homemade Strawberry Vanilla Bean Ice Cream 🍨
Creamy, fresh, and naturally sweet – perfect for family dessert nights!
🧺 Ingredients
2 cups fresh strawberries (hulled & chopped)
¾ cup sugar (divided)
2 cups heavy cream
1 cup whole milk
1 vanilla bean (split & seeds scraped)
(or 2 tsp pure vanilla extract)4 large egg yolks
Pinch of salt
👩🍳 Instructions
1️⃣ Strawberry Prep
Mix strawberries with ¼ cup sugar
Let sit 20–30 min
Mash lightly → refrigerate
2️⃣ Vanilla Custard Base
Heat cream + milk + vanilla bean + seeds + salt
Warm (don’t boil)
3️⃣ Egg Mixture
Whisk egg yolks + remaining ½ cup sugar
Slowly pour in warm cream while whisking
4️⃣ Thicken
Return to heat
Stir until thick enough to coat spoon
Remove vanilla bean
Cool completely
5️⃣ Combine
Mix custard + strawberries
6️⃣ Churn
Churn in ice cream machine
Freeze 3–4 hours for firm texture


✨ Pro Tips
For chunks: add diced strawberries after churning
For swirl effect: fold strawberry puree in gently
Extra creamy: add 1 tbsp honey to base
Vegan option available if you want 🌱
Homemade Strawberry Vanilla Bean Ice Cream
Ingredients
Method
- In a saucepan, combine the strawberries, sugar, and vanilla bean seeds. Cook over medium heat until the strawberries are soft and the sugar has dissolved (about 5-7 minutes). Remove from heat and let cool.
- In a separate saucepan, heat the heavy cream and milk until it simmers. Remove from the heat—you want it hot but not boiling.
- In a bowl, whisk the egg yolks until smooth. Slowly pour the hot cream mixture into the yolks while whisking constantly to temper the eggs.
- Return the mixture to the saucepan over low heat, stirring constantly until it thickens and can coat the back of a spoon (around 10 minutes).
- Strain the custard through a fine mesh sieve into a bowl, discarding any solids. Let it cool to room temperature, then refrigerate until it's completely chilled (at least 2 hours).
- Churn the custard in an ice cream maker according to the manufacturer's instructions—this should take about 20-30 minutes.
- During the last few minutes of churning, add the strawberry mixture to combine well.
- Transfer the ice cream to an airtight container and freeze for at least 4 hours, or until firm.