Ice Cream
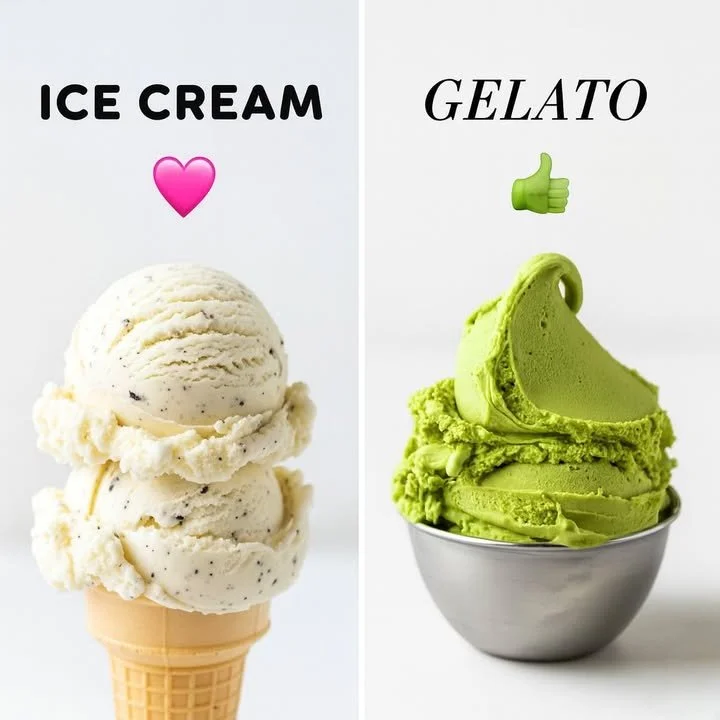
Homemade Ice Cream: A Taste of Pure Joy
Growing up, nothing signaled the start of summer quite like the hum of our old ice cream maker churning away on the back porch. My mom would gather us kids in the kitchen, splashes of milk and cream dotting the counters as we’d sneak spoonfuls of sugar while her back was turned. There’s just something magical about homemade ice cream—how a few simple ingredients can become pure happiness in a bowl. Now, making homemade ice cream has become one of my favorite traditions to share with family and friends. Whether it’s a hot July afternoon or a cozy movie night, there’s always a reason to whip up this classic ice cream recipe (so easy, so dreamy, and yes, totally worth every single bite).
Why You’ll Adore This Homemade Ice Cream
Honestly, I could write a love letter to this homemade ice cream. Here’s why I think you’ll come back to this recipe again and again:
- It’s unbelievably creamy and customizable. The combination of milk and cream gives silky-smooth results, and you get to pick your favorite flavorings (vanilla bean, chocolate, fresh fruit—you name it).
- Ridiculously simple ingredients. You probably have everything on hand already. Nothing fancy, just real, classic ingredients.
- Perfect for making memories. There’s something nostalgic and joyful about churning and sharing fresh ice cream with people you love (kids especially go wild for “helping!”).
- It’s a crowd-pleaser. Seriously, who can resist a scoop of homemade ice cream? It never lasts long at our house!
Ingredients You’ll Need for Classic Homemade Ice Cream
Let’s keep things cozy and simple. Here’s what you’ll need to make the best homemade ice cream (plus some handy tips):
- Milk: I like whole milk for its rich texture, but you can use lower-fat if that’s your jam. The fresher, the better (local dairy? Even better!).
- Cream: Heavy cream makes your ice cream so lush and velvety. Don’t skimp here!
- Sugar: Regular granulated works great. If you want a touch of caramel flavor, try subbing a spoonful of brown sugar.
- Flavorings: The fun part! Classic vanilla extract is always a hit, but cocoa powder, coffee, pureed berries, or even cookie crumbles are fantastic. (This ice cream base is a blank canvas!)
Step-by-Step Guide: Making the Perfect Homemade Ice Cream
You won’t believe how easy this really is. Let’s walk through it together (and I’ll share what I’ve learned along the way):
- Prepare the base.
In a large bowl, mix together the milk, cream, and sugar. Whisk until the sugar completely dissolves (no gritty texture—take a taste test!). - Add your flavorings.
Stir in your choice of flavorings (vanilla beans make it feel instantly upscale, but don’t be shy—get creative with options like peppermint or chocolate!). - Churn it up.
Pour your mixture into the ice cream maker. Churn according to the manufacturer’s instructions (I always peek a few times, just to check the magic happening). It usually takes 20-30 minutes. - Freeze to finish.
Once it’s thick and soft-serve-like, transfer the ice cream to a freezer-safe container. Smooth the top and press a layer of parchment or plastic wrap right against the surface to avoid ice crystals. - Freeze until firm.
Give it several hours in the freezer (I know, the hardest part is waiting!) until it’s scoopable and perfect.
My Secret Tips and Tricks for Homemade Ice Cream Success
After a lot of ice cream making (and, let’s be real, eating), I’ve picked up some handy tricks:
- Chill your mixture first.
Let the base cool in the fridge for a couple hours before churning. It helps the ice cream set faster and creamier (bonus: deeper flavors! - Don’t overfill the machine.
Leave room for your ice cream to expand as it churns (I’ve learned this the messy way). - Add mix-ins at the end.
Swirl in chocolate chips, nuts, or cookie dough during the last five minutes of churning for the perfect distribution. - If you don’t have an ice cream maker:
Pour the base into a shallow dish, freeze, and stir vigorously every half hour for a few hours. It’s not quite the same, but still totally delicious.
Creative Variations and Ingredient Swaps
The beauty of this classic ice cream recipe is how easy it is to adapt for any mood, season, or craving. Try these tasty twists:
- Dairy-free? Use coconut milk and coconut cream for a lush vegan treat (don’t forget a splash of vanilla).
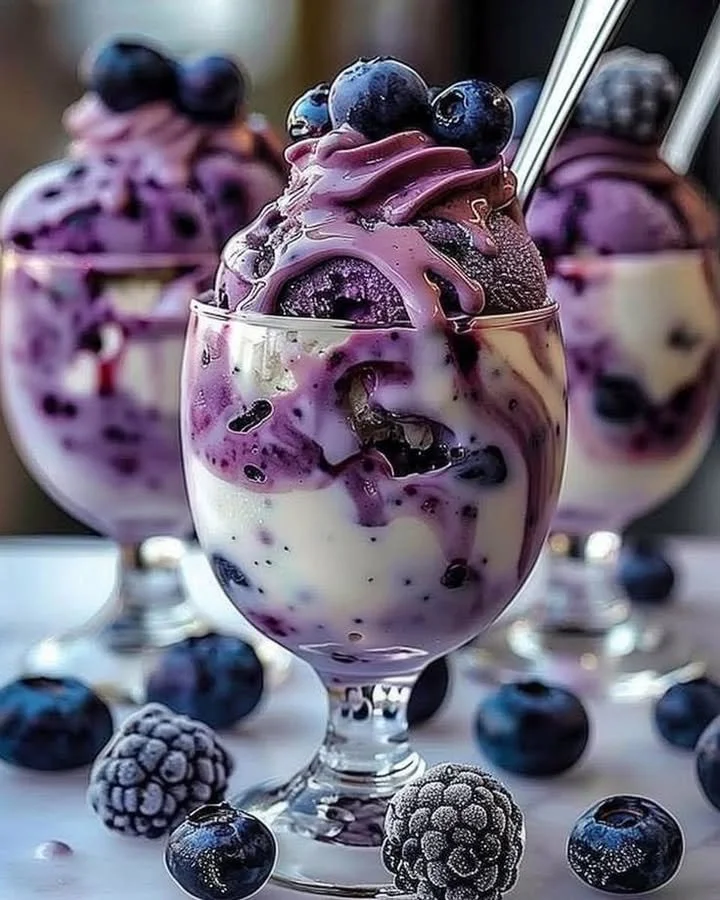
- Fruit-forward: Puree fresh strawberries, peaches, or mangoes and stir into the base before churning for homemade fruit ice cream.
- Chocolate lovers: Whisk in cocoa powder or melted chocolate for a rich treat (add a touch of espresso powder for mocha vibes).
- Mix-ins galore: Swirl in peanut butter, caramel sauce, crushed Oreos, or even toasted nuts—the sky’s the limit.
How to Serve and Store Your Homemade Ice Cream
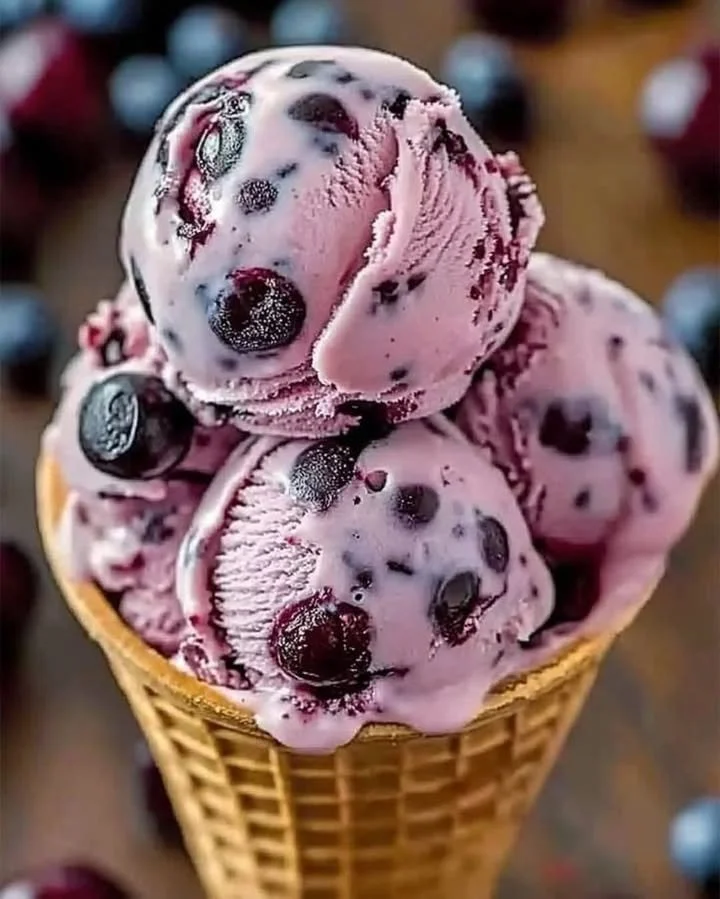
Freshly churned ice cream is soft and dreamy—perfect for scooping into bowls or cones (my kids always beg for sprinkles!). For firmer scoops, chill the ice cream for at least four hours. If you have leftovers (lucky you!), cover tightly and keep in the coldest part of your freezer. Homemade ice cream is best enjoyed within a week for optimal freshness (after that, it can get a little icy).
Pro tip: To serve, let the container sit at room temp for 5-10 minutes to make scooping easier. You’ll be rewarded with creamy, homemade perfection every time.
FAQs: Your Top Questions About Homemade Ice Cream Answered
Can I make this ice cream without an ice cream maker?
Totally! Use the freezer method mentioned earlier: just stir every half hour as it freezes for the creamiest texture.
How do I prevent ice crystals from forming?
Make sure your base is well-chilled before churning, and always press plastic wrap right against the surface of the ice cream before freezing.
What’s the best milk to use for homemade ice cream?
Whole milk gives the richest texture, but 2% or even non-dairy milks (like oat or coconut) work well, too.
Can I double or halve the recipe?
Absolutely. Just make sure not to overfill your ice cream maker—ice cream needs room to expand as it churns.
Any tips for extra-smooth ice cream?
Strain your base before churning to remove any undissolved sugar or bits. It’ll make your final product silky-smooth.
There’s something so joyful about a scoop of homemade ice cream—especially when you’ve made it yourself. I hope this easy recipe brings a little sweetness and comfort to your kitchen, and that you’ll create your own happy memories around the ice cream maker, just like I have. If you try it, let me know your favorite flavors or any fun twists you love adding. Here’s to many, many bowls of happiness!
