Oil-Based Vanilla Cake
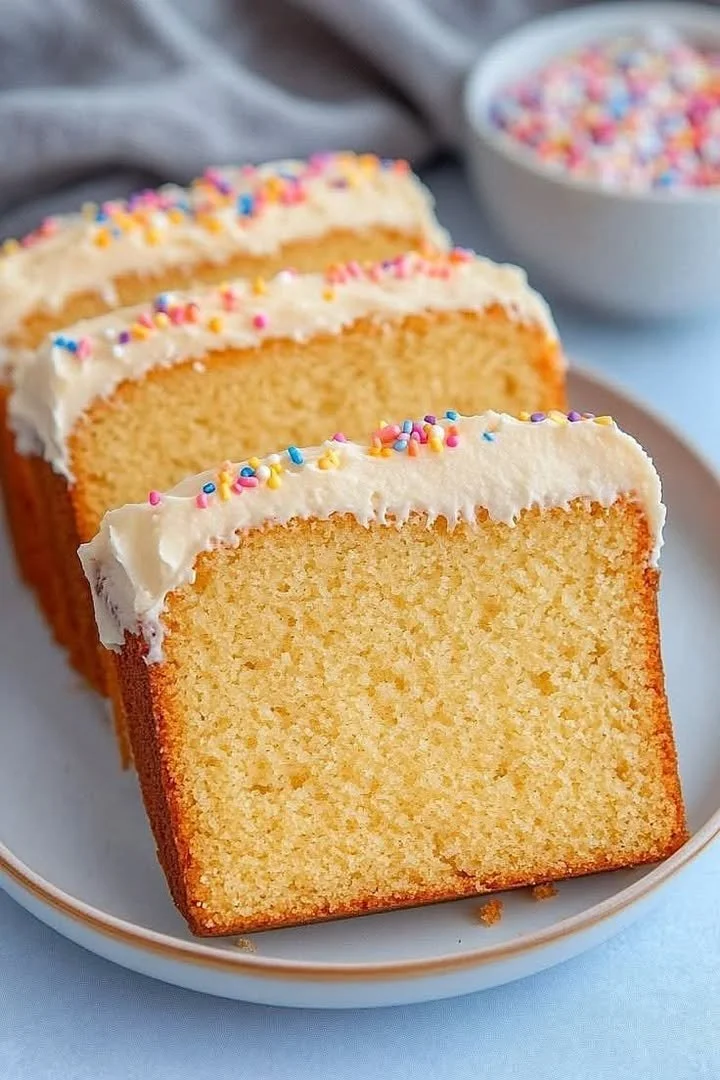
The Oil-Based Vanilla Cake That Feels Like Home
There’s something about the aroma of a homemade vanilla cake drifting through the house that brings me right back to Sunday afternoons at my grandma’s kitchen table. She always swore by a good oil-based vanilla cake for birthdays, family gatherings, or honestly, any random day we felt like celebrating little moments. My sister and I used to beg for just one more bite, scraping every last crumb from our plates while the sun pooled across the checkered tablecloth. Now, whenever I bake this oil-based vanilla cake, it’s like wrapping the people I love in a warm, sweet hug—no special reason needed, just everyday magic.
If you’re looking for an easy vanilla cake that bakes up beautifully moist, tender, and ready to dress up or down, you’ll fall in love with this classic oil-based vanilla cake recipe. It’s my go-to for a reason!
Why You’ll Adore This Oil-Based Vanilla Cake
If you’ve ever wondered if the “perfect homemade vanilla cake” actually exists, let me be the one to say—yes, it does. Here’s why this oil-based vanilla cake is about to become your new favorite:
- Supremely Moist, Every Time: Swapping butter for vegetable oil means your cake stays plush and soft for days (no dry slices here!).
- Simple Ingredients: Nothing fancy required—just kitchen staples and a splash of good vanilla extract.
- Foolproof & Beginner-Friendly: No stand mixer needed and no tricky creaming steps—just good old-fashioned whisking and mixing.
- Super Versatile: This classic vanilla cake is a blank canvas, ready for fruit, sprinkles, or your favorite icing (hello, creamy vanilla buttercream!).
There’s just something incredibly joyful about slicing into a homemade vanilla oil cake—especially when you know just how easy it was to make.
Ingredients You’ll Need for the Best Oil-Based Vanilla Cake
Let’s talk through what you’ll need, one simple ingredient at a time:
- All-purpose flour: 2 1/2 cups (312g). Tender crumb starts here—make sure to measure carefully (spoon and level works wonders!).
- Granulated sugar: 1 3/4 cups (350g). Sweetens every bite without being overwhelming.
- Baking powder & salt: 2 1/2 tsp baking powder and 1/2 tsp salt. Essential for lift and flavor.
- Eggs: 4 large eggs for richness and beautiful structure.
- Whole milk: 1 cup (240ml). Adds moisture and a touch of creamy flavor.
- Vegetable oil: 1 cup (240ml). The not-so-secret hero for an ultra-moist cake. Any neutral oil works—canola, sunflower, or safflower all do the trick.
- Vanilla extract: 1 tablespoon. Don’t skimp here! Use the best pure vanilla you can.
- Hot water: 1/2 cup (120ml). This helps bloom the flavors and gives the batter that perfectly smooth (almost runny) consistency.
- For the frosting:
- Unsalted butter (room temperature): 1 cup (226g).
- Icing sugar (confectioners’ sugar): 4 cups (500g), sifted to prevent lumps.
- Extra vanilla extract—the more, the merrier.
- Milk or cream: 2–4 tablespoons for just-right spreading consistency.
Tip: Always bring your eggs, milk, and butter to room temperature for the fluffiest results.
Step-by-Step Guide: Making the Perfect Oil-Based Vanilla Cake
Ready to bake? Here’s exactly how I do it, with a few friendly pointers thrown in for good measure:
- Preheat & Prepare: Crank your oven to 175°C (350°F). Grease and line two 8-inch round cake pans. (A little parchment on the bottom saves the day every time.)
- Mix Dry Ingredients: In a large bowl, whisk together the flour, sugar, baking powder, and salt. No fancy sifting—just a good whisk saves time and effort.
- Combine Wet Ingredients: In another bowl, beat together the eggs, milk, oil, and vanilla extract until smooth and slightly frothy. It always smells divine at this stage!
- Bring It All Together: Pour the wet ingredients into the dry ones, mixing just until smooth. Don’t over-mix—stop as soon as there are no big flour streaks left.
- Add Hot Water: Slowly stir in the hot water. The batter will look a bit runny, but trust me—this is where the magic happens. It’s what gives your oil-based vanilla cake that lovely, tender crumb.
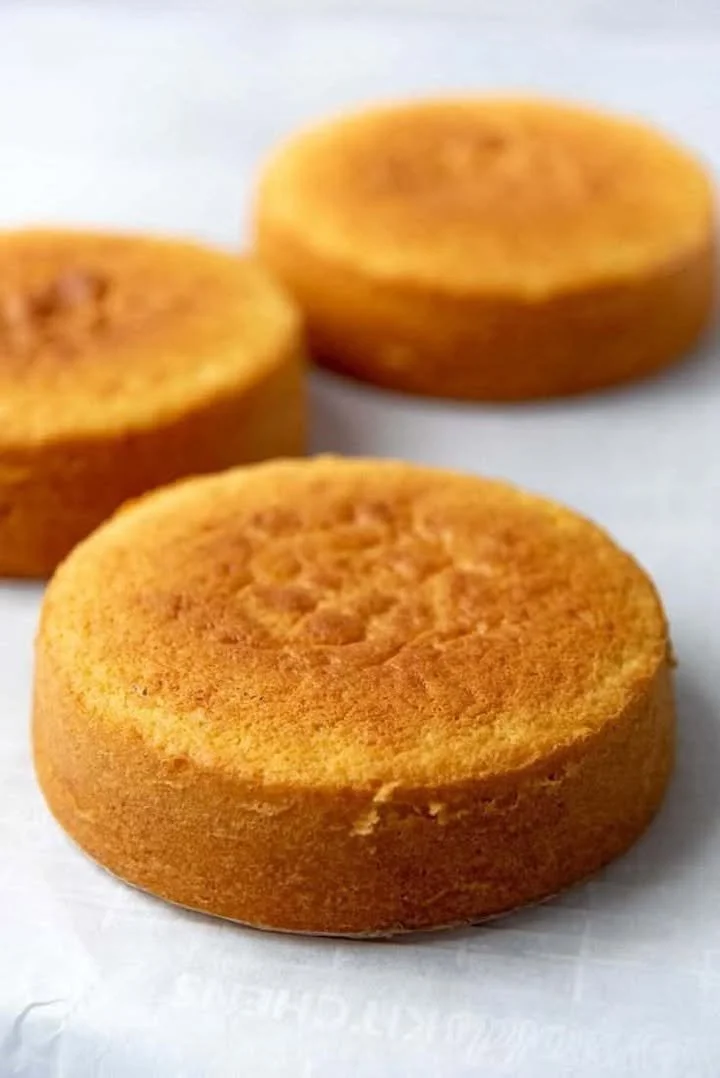
- Bake Away: Divide the cake batter evenly between your pans. Pop them into the oven for 30–35 minutes, or until a toothpick in the center comes out clean.
- Cool Down: Let the cakes cool in the pans for about 10 minutes, then turn them out onto a rack to cool completely. (Waiting is the hardest part, isn’t it?)
- Make Frosting: Beat butter until super creamy. Gradually add icing sugar, one cup at a time. Mix in vanilla, then add milk or cream a tablespoon at a time—it should be fluffy, light, and dreamy.
- Assemble & Frost: Place one cake layer on your serving plate, spread with frosting, then top with the second layer. Cover the whole cake with the remaining frosting. Decorate as rustically or as perfectly as you want—both are beautiful.
And just like that, your oil-based vanilla cake is ready to be adored!
My Secret Tips and Tricks for Oil-Based Vanilla Cake Success
Over the years, I’ve picked up a few tricks for a foolproof, moist vanilla cake every single time:
- Invest in an oven thermometer. Ovens can run hot or cool—baking at the right temperature means no surprises (flat or dry cakes, anyone?).
- Don’t over-mix! Once the wet and dry ingredients combine, stir until just blended for a fluffy crumb.
- Room-temperature magic. Bring eggs and milk up to room temp for a smoother, lump-free batter.
- Let your cake cool fully before frosting. This keeps your oil-based vanilla cake layers sturdy and your frosting from sliding off.
- Taste your batter. A tiny spoonful (no raw egg paranoia here!) will tell you if you’ve nailed the vanilla flavor.
Whether you’re tackling your first homemade vanilla cake or you’re a seasoned baker, these little details make all the difference.
Creative Variations and Ingredient Swaps
Want to shake things up? Here are a few favorite tweaks—for classic vanilla cake or whenever you’re craving something new:
- Citrus Burst: Add the zest of a lemon or orange to your batter for a bright twist.
- Almond Joy: Swap out half the vanilla for almond extract (hello, wedding cake vibes).
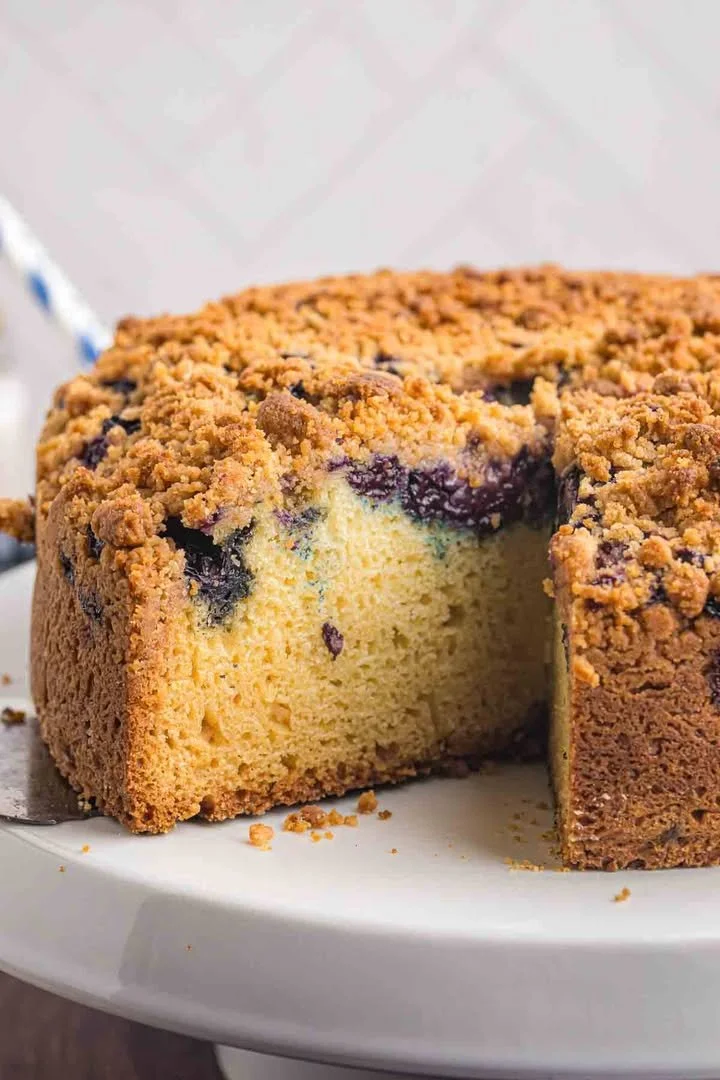
- Berry-Licious: Fold in a handful of fresh blueberries or raspberries just before baking for a fruity, moist vanilla cake.
- Dairy-Free: Use almond milk (or oat milk) and a dairy-free margarine for the frosting—still dreamy, still classic.
- Gluten-Free: Swap in a cup-for-cup gluten-free flour blend (make sure it includes xanthan gum).
However you personalize it, this recipe adapts beautifully (and nobody ever guesses how easy it is).
How to Serve and Store Your Oil-Based Vanilla Cake
Here’s the deal: This classic vanilla cake is at its best within a day or two, but storing leftovers is a breeze!
- Serving: Slice thick wedges, maybe with a scoop of vanilla ice cream or a handful of fresh berries (simple joys, right?).
- Room Temperature: Keep your vanilla cake covered on the counter for up to 2 days.
- Refrigerating: For longer storage (up to a week), pop it in an airtight container in the fridge. Bring to room temp before serving for best texture.
- Freezing: Unfrosted cake layers freeze beautifully! Wrap tightly in plastic and foil—thaw overnight at room temp.
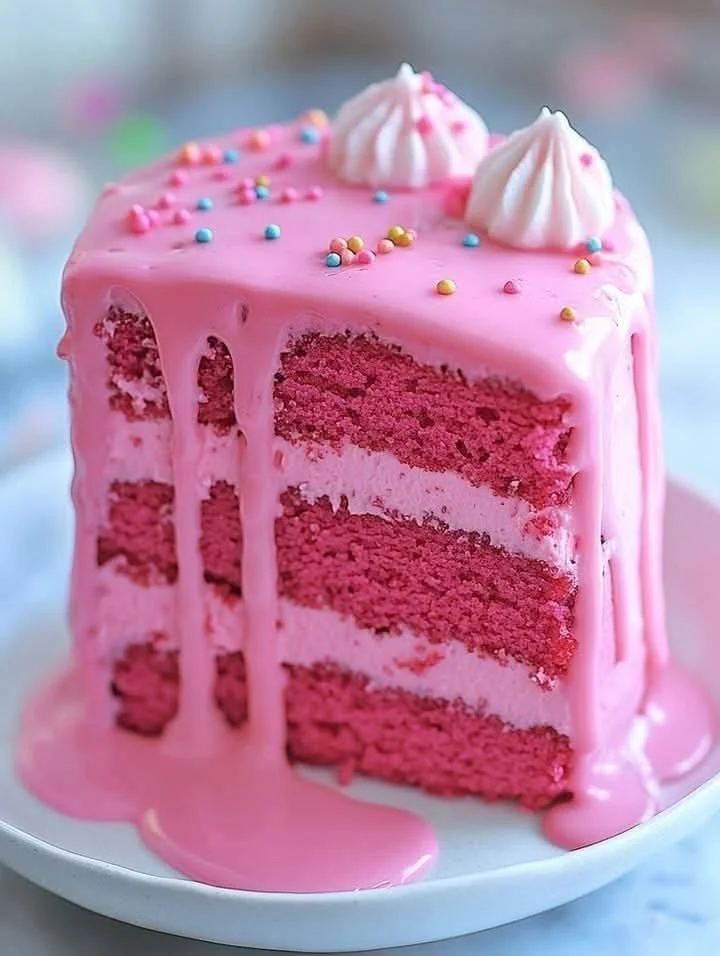
A quick tip: If you’re serving at a party, decorate with sprinkles, edible flowers, or even a drizzle of chocolate—anything goes with this classic!
FAQs: Your Top Questions About Oil-Based Vanilla Cake Answered
Can I use a different oil for this recipe?
Absolutely! Any neutral-flavored vegetable oil works. Canola, sunflower, or even light olive oil (for a slightly richer flavor) will keep your cake perfectly moist.
Can I make cupcakes instead of layer cake?
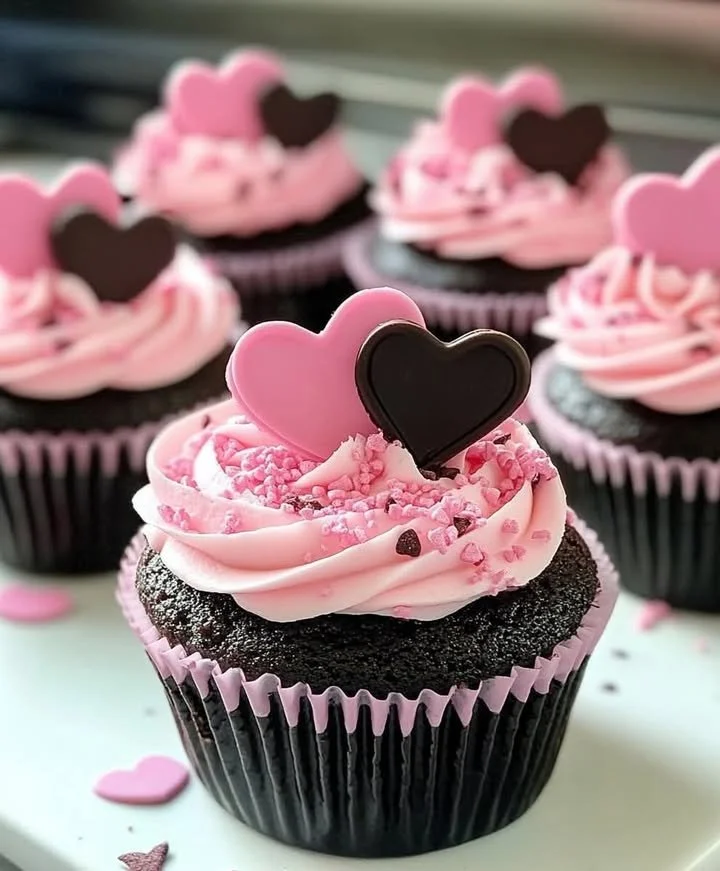
Of course! Just fill cupcake tins 2/3 full and bake for 18–22 minutes. Check with a toothpick for doneness.
Is this oil-based vanilla cake good for stacking and decorating?
Definitely. It bakes up sturdy but still tender—great for birthday cakes, wedding cakes, or anything that needs a little extra “wow” (and plenty of icing).
What’s the secret to a moist vanilla cake?
Using oil instead of all butter keeps every crumb fresh and moist for days. Don’t overbake, and add the hot water for an extra-tender crumb.
Can I make this cake ahead of time?
You bet! Bake the layers a day or two ahead, wrap them well, and frost on the day you want to serve.
There you have it, friend—my favorite oil-based vanilla cake recipe, full of warmth, nostalgia, and all the tips you need for foolproof baking. Whether it’s for a celebration or just an ordinary afternoon, I hope you’ll find as much comfort and joy
