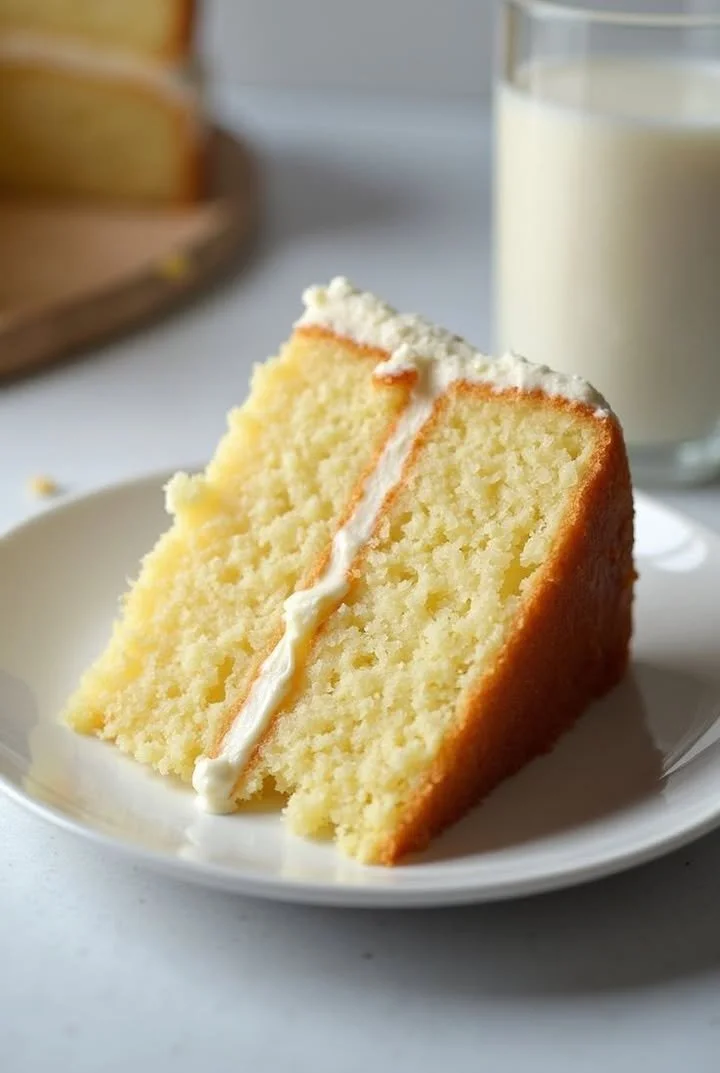
Oil-Based Vanilla Cake
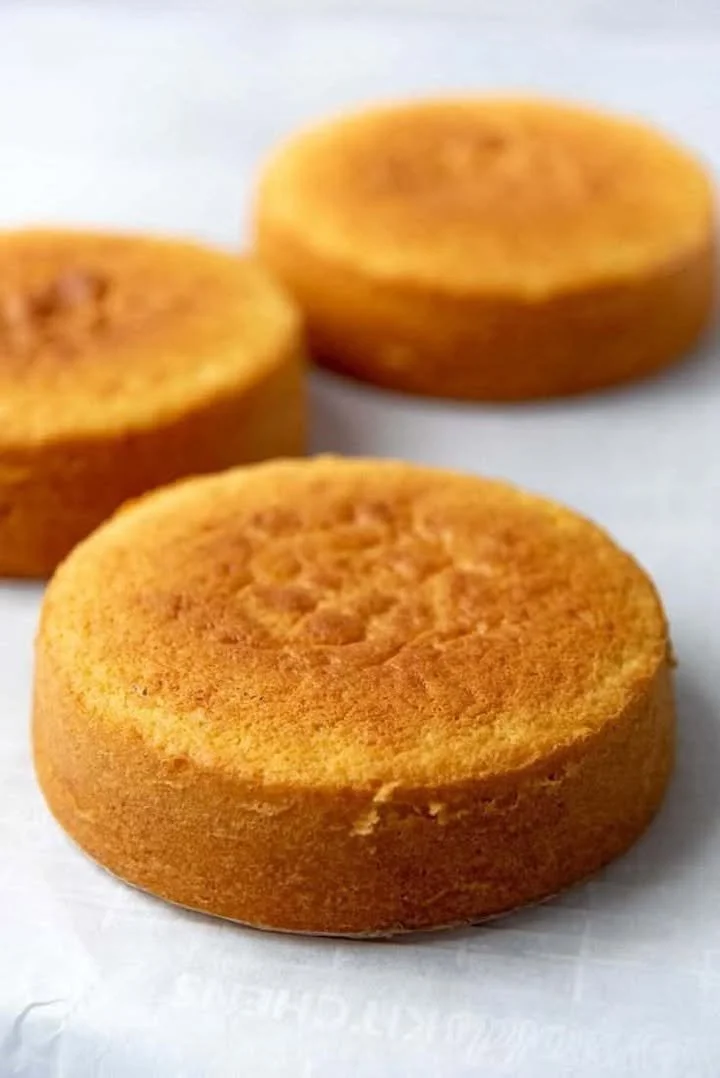
A Slice of Comfort: My Journey to the Perfect Oil-Based Vanilla Cake
Sometimes, it’s the simplest things—like a single bite of homemade vanilla cake—that unlock vivid memories, isn’t it? I’ll never forget the first time I baked this oil-based vanilla cake with my grandmother on a rainy Sunday afternoon. The kitchen was warm and fragrant, rain tapping at the windows, and our laughter mingled with the cozy scent of vanilla and sugar swirling in the air. Every time I make this recipe, I find myself back in that little kitchen, hands dusted with flour and heart full.
If you’re searching for an easy vanilla cake recipe that’s tender, plush, and uncomplicated, you’ve just found your new go-to. This oil-based vanilla cake is everything I crave in a classic dessert—soft, full of vanilla flavor, and so much easier (and moister!) than a butter-based cake. Trust me, once you try it, you’ll be hooked.
Why You’ll Adore This Oil-Based Vanilla Cake
Let me share a few reasons why this homemade vanilla cake is constantly on repeat in my kitchen:
- Effortless, Every Time: No need to fuss with beating butter or waiting for ingredients to soften. Just whisk and go! For me, the oil-based method means less stress and more cake.
- Incredibly Moist: The vegetable oil keeps the cake delightfully moist, even days after baking. (Perfect for those who hate dry cakes—don’t we all?)
- Pure Vanilla Flavor: Using real vanilla extract packs in that classic, sweet aroma we all adore. Each bite tastes nostalgic but somehow elevated.
- Crowd-Pleasing and Versatile: It’s the everyday vanilla cake you can dress up or down—frost it, layer it, or snack on a naked slice with coffee. I can never resist a sliver after dinner (okay, maybe two).
Ingredients You’ll Need for Oil-Based Vanilla Cake
Here’s what you’ll need to make this fluffy, easy vanilla cake at home:
- All-Purpose Flour (2 1⁄2 cups): Stick with plain flour—you probably have it in your pantry! Measure carefully for a soft crumb.
- Granulated Sugar (1 1⁄2 cups): White sugar keeps things light and classic.
- Vegetable Oil (1 cup): I recommend a neutral oil like canola or sunflower. It’s key to the cake’s ultra-moist texture.
- Milk (1 cup, room temp): Whole milk or 2% both work well. Make sure it’s at room temperature for even mixing.
- Eggs (3 large, room temp): Room temperature eggs blend more easily for a fine, tender crumb.
- Vanilla Extract (1 tablespoon): Don’t hold back—the vanilla is the star!
- Baking Powder (2 1⁄2 teaspoons): Gives the cake an airy lift.
- Baking Soda (1⁄2 teaspoon): Helps with browning and rise.
- Salt (1⁄2 teaspoon): Just a pinch for balance.
Tip: Bring your cold ingredients to room temperature. Your batter will combine more smoothly—no lumps or overmixing dramas!
Step-by-Step Guide: Making the Perfect Oil-Based Vanilla Cake
Ready to whip up your own classic vanilla cake? Here’s how I do it:
- Prep the Pan: Grease and line one 8-inch round pan, or two 6-inch rounds. (I love using parchment on the bottom for stress-free release.)
- Mix Dry Ingredients: In a big bowl, whisk the flour, baking powder, baking soda, and salt. Set that aside.
- Combine Wet Ingredients: In another large bowl, whisk together the oil, granulated sugar, eggs, milk, and vanilla extract until the mixture’s smooth and glossy.
- Bring It All Together: Gradually add the dry ingredients to the wet bowl. Gently stir until just combined—a few lumps are totally okay! Overmixing leads to a tough cake.
- Bake: Pour into your prepared pan(s), smoothing the top. Bake at 175°C (350°F) for 30–35 minutes. Your kitchen will smell heavenly!
- Check for Doneness: Insert a toothpick into the center—if it comes out clean or with a few moist crumbs, you’re golden.
- Cool: Let the cake rest in the pan for 10 minutes, then carefully transfer to a wire rack to cool completely.
This process is so forgiving. The first time I tried it, I was chasing toddlers and lost count of my flour scoops—still turned out fab! See? Anyone can nail this.
My Secret Tips and Tricks for Oil-Based Vanilla Cake Success
Over the years, I’ve picked up a few hacks for the best easy vanilla cake (shh—don’t tell Grandma!):
- Don’t Overmix: Stop mixing once the flour streaks disappear. Overmixing makes the cake dense, and we’re aiming for ultra-light and fluffy.
- Room Temperature Matters: Warm eggs and milk blend more naturally, so take the chill off before starting.
- Flavor Boost: For a twist, add a teaspoon of almond or coconut extract (great for birthdays!).
- Lining the Pan: Parchment paper on the bottom equals worry-free release—no more stuck cakes.
Creative Variations and Ingredient Swaps
Want to make this homemade vanilla cake your own? Here are a few ideas:
- Dairy-Free Vanilla Cake: Swap the milk for your favorite plant-based milk (like almond, oat, or soy) and you’re all set—no compromise on taste.
- Chocolate-Vanilla Marble: Gently fold in some cocoa powder to half the batter for a swirl effect (family favorite!).
- Citrus Zest: Toss in orange or lemon zest with your wet ingredients for a zingy, bright twist.
- Egg-Free Version: Try substituting eggs with 3/4 cup unsweetened applesauce or mashed banana for a vegan-friendly cake.
- Frosting Pairings: Spread with cream cheese frosting, chocolate ganache, or simply dust with powdered sugar for a classic finish.
Honestly, making vanilla cake from scratch means you can cater to almost any craving or dietary need—get creative in your kitchen!
How to Serve and Store Your Oil-Based Vanilla Cake
I love serving this easy vanilla cake with a scoop of vanilla ice cream, a dollop of whipped cream, or a handful of fresh berries. If you’re feeling fancy, go top it with a simple glaze or your favorite buttercream frosting.
Storing Tips:
- Room Temp: Cover leftovers tightly and keep at room temperature for up to 2 days.
- Fridge: For longer storage, wrap in plastic and refrigerate for up to 5 days—just let it come to room temp before enjoying.
- Freezing: Freeze leftover slices (wrapped well in cling film and foil) for up to 2 months—perfect for sweet cravings anytime!
FAQs: Your Top Questions About Oil-Based Vanilla Cake Answered
Can I use this recipe for cupcakes?
Absolutely! Just fill cupcake liners about 2/3 of the way and bake for 18–22 minutes. The texture stays just as light and fluffy.
Can I replace vegetable oil with another oil?
Yes! Canola oil or even light olive oil (not extra virgin) are great options for a moist vanilla cake.
Why use oil instead of butter?
Oil-based cakes stay softer and moister longer because oil is liquid at room temperature, unlike butter. Plus, you don’t have to cream anything—so much easier!
Does this vanilla cake freeze well?
Definitely. Wrap cooled cake layers tightly and freeze for up to 2 months. Thaw overnight in the fridge or at room temp before serving.
What’s the secret to a fluffy cake?
It’s all about not overmixing and using the right amount of leavening (our trusty baking powder and soda duo).
If you try this oil-based vanilla cake, I’d love to hear your story in the comments below. Did you swap in a favorite extract, bake it for a special occasion, or simply want the “perfect” everyday cake? However you enjoy it, I hope it brings a sprinkle of comfort and joy to your own kitchen. Happy baking, friends!

