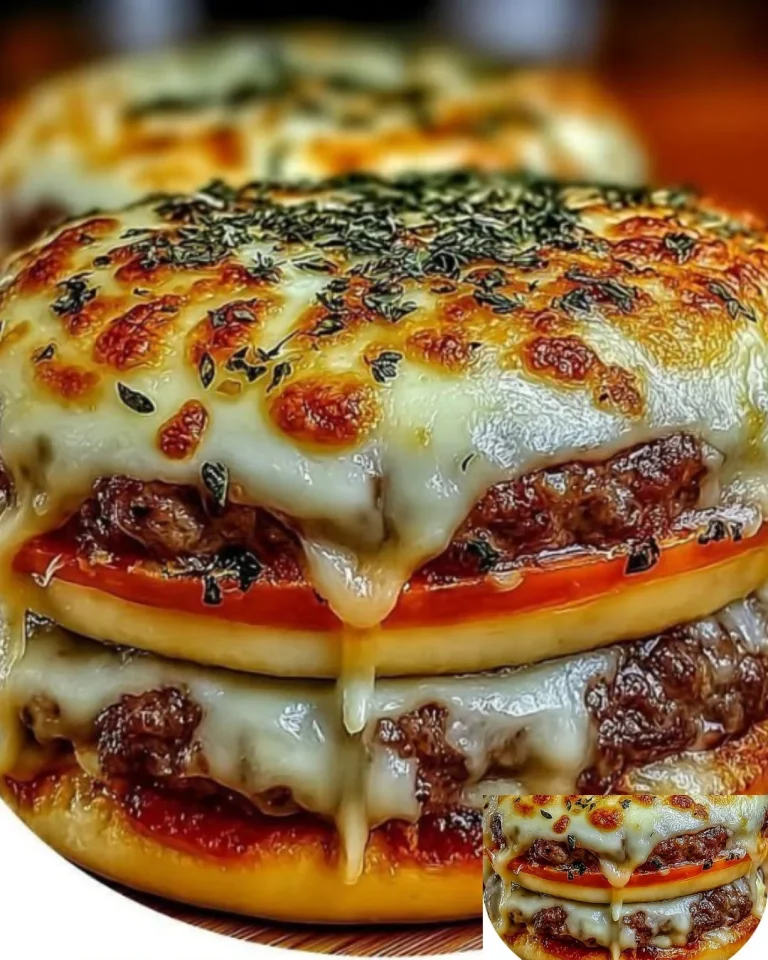
Pillsbury Biscuit Garlic Butter Cheese Bombs


Easy Homemade Pillsbury Biscuit Garlic Butter Cheese Bombs — A Cozy, Traditional Crowd-Pleaser
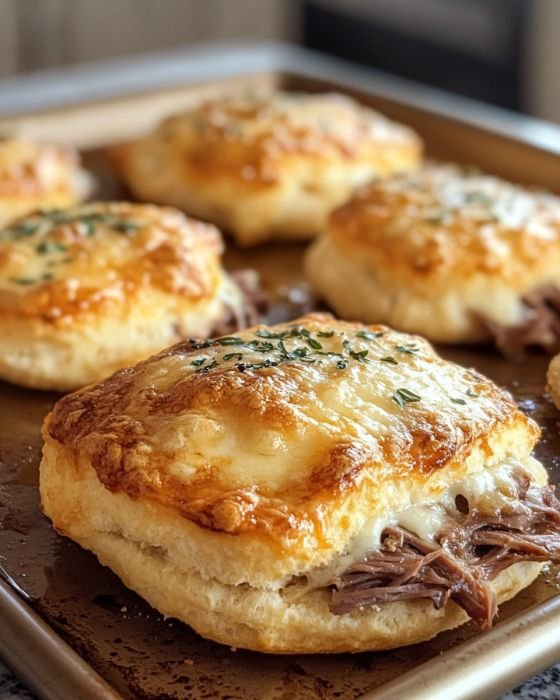
Pillsbury Biscuit Garlic Butter Cheese Bombs are the kind of comfort food that fills a house with buttery, garlicky warmth and makes everyone at the table grin. I first made these for a chilly Sunday football game and haven’t stopped since — they’re an easy, homemade crowd-pleaser that feels traditional but a little bit fancy.
Serve them as a weeknight dinner side, an appetizer for holidays and parties, a snack for movie night, or a warm treat at brunch. They come together fast, disappear faster, and are perfect whenever you want something cozy and shareable.
Note: This post may contain affiliate links — if you buy through them I may earn a small commission at no extra cost to you. Thank you for supporting the recipes!
🧂 Ingredients
- 1 can (8-count or 10-count) Pillsbury refrigerated biscuits (buttermilk or Grands, depending on size)
- 8–12 oz cheese (choose one or a mix): shredded mozzarella, sharp cheddar, or small cubes of pepper jack
- 4 tbsp unsalted butter, melted
- 2–3 cloves garlic, minced (or 1 tsp garlic powder if preferred)
- 1 tbsp fresh parsley, finely chopped (or 1 tsp dried parsley)
- 1/4 tsp salt (for garlic butter)
- 1/8 tsp black pepper
- Optional finishing: flaky sea salt, extra parsley, red pepper flakes
Dipping sauces (optional)
- Warm marinara, ranch dressing, or garlic aioli
Substitutions note: For smaller bites, use 2–3 tsp cheese per bomb; for ooey-gooey bombs, use a full tbsp of cheese.
👩🍳 Directions
- Preheat oven to 375°F (190°C). Line a baking sheet with parchment paper or lightly grease it.
- In a small bowl, mix melted butter, minced garlic, parsley, salt, and pepper. Set aside.
- Open the biscuit can and separate the biscuits. On a clean surface, gently flatten each biscuit into a 4–5 inch circle with your fingers or a small rolling pin.
- Place 1–2 tbsp of cheese (or a cube) in the center of each flattened biscuit. Fold the edges up and pinch to seal completely so the cheese is enclosed. Roll gently to form a smooth ball.
- Place the sealed balls seam-side down on the prepared baking sheet, leaving a little space between each.
- Brush the tops of each ball generously with the garlic butter mixture. (Reserve a little butter for after baking.) Sprinkle with a pinch of flaky sea salt or garlic powder if you like.
- Bake for 12–16 minutes, or until golden brown and puffed — larger biscuits may need up to 18 minutes. Keep an eye near the end so they don’t over-brown.
- Remove from oven and immediately brush with the remaining garlic butter for extra gloss and flavor. Let cool 2–3 minutes.
- Serve warm with your favorite dipping sauces. Enjoy!
Tip: If a few cheese bombs leak, re-seal by pinching again before baking — a little steam release is normal.
💡 Tips & Variations
- For a crowd: Use two cans and bake on two racks, rotating halfway through.
- Make them spicy: Add a small cube of jalapeño or a sprinkle of crushed red pepper inside with the cheese.
- Add protein: Tuck in a small piece of cooked bacon, ham, or shredded rotisserie chicken for a heartier bite.
- Herb twist: Swap parsley for chopped chives, basil, or a pinch of Italian seasoning.
- Finish like a pro: Brush with melted butter mixed with a pinch of grated Parmesan for an extra savory crust.
Healthy swaps
- Low-carb: Use low-carb biscuit dough (store-bought or homemade almond flour biscuits) and opt for part-skim cheese.
- Vegan: Use plant-based butter and dairy-free shredded cheese, and choose a vegan biscuit or make your own with a gluten-free flour blend.
- Gluten-free: Use a gluten-free refrigerated biscuit or make quick gluten-free biscuit dough and follow the same assembly steps.
Storing leftovers
- Fridge: Store cooled bombs in an airtight container for up to 3 days. Reheat in a 350°F (175°C) oven for 8–10 minutes to crisp.
- Freeze: Freeze unbaked, sealed balls on a tray until solid, then transfer to a freezer bag for up to 2 months. Bake from frozen at 375°F for 16–22 minutes (watch for browning).
🩺 Health & Lifestyle Tie-in
Made at home, these cheese bombs let you control ingredients and portions — swapping to part-skim cheese or adding veggies can make them more balanced. Cooking at home often saves money compared to takeout and can contribute to better long-term health outcomes, which ties into financial well-being and even healthcare costs down the road. Small swaps (olive oil, whole-grain or gluten-free biscuit options, lean proteins) can make this treat fit nicely into many lifestyles.
❤️ Conclusion
If you try these Pillsbury Biscuit Garlic Butter Cheese Bombs, please tell me how they turned out — drop a comment, rate the recipe, or tag me on social so I can see your cheesy creations! They’re one of my favorite easy, homemade comfort recipes and I can’t wait to see your twist on them.
Happy baking — and may your cheese be stretchy and your bites be buttery!


Pillsbury Biscuit Garlic Butter Cheese Bombs
Ingredients
Method
- Preheat oven to 375°F (190°C). Line a baking sheet with parchment paper or lightly grease it.
- In a small bowl, mix melted butter, minced garlic, parsley, salt, and pepper. Set aside.
- Open the biscuit can and separate the biscuits. On a clean surface, gently flatten each biscuit into a 4–5 inch circle with your fingers or a small rolling pin.
- Place 1–2 tbsp of cheese (or a cube) in the center of each flattened biscuit. Fold the edges up and pinch to seal completely so the cheese is enclosed. Roll gently to form a smooth ball.
- Place the sealed balls seam-side down on the prepared baking sheet, leaving a little space between each.
- Brush the tops of each ball generously with the garlic butter mixture. (Reserve a little butter for after baking.) Sprinkle with a pinch of flaky sea salt or garlic powder if you like.
- Bake for 12–16 minutes, or until golden brown and puffed — larger biscuits may need up to 18 minutes. Keep an eye near the end so they don’t over-brown.
- Remove from oven and immediately brush with the remaining garlic butter for extra gloss and flavor. Let cool for 2–3 minutes.
- Serve warm with your favorite dipping sauces. Enjoy!
