Pink Velvet Cake
Pretty in Pink: My Best Pink Velvet Cake Memory
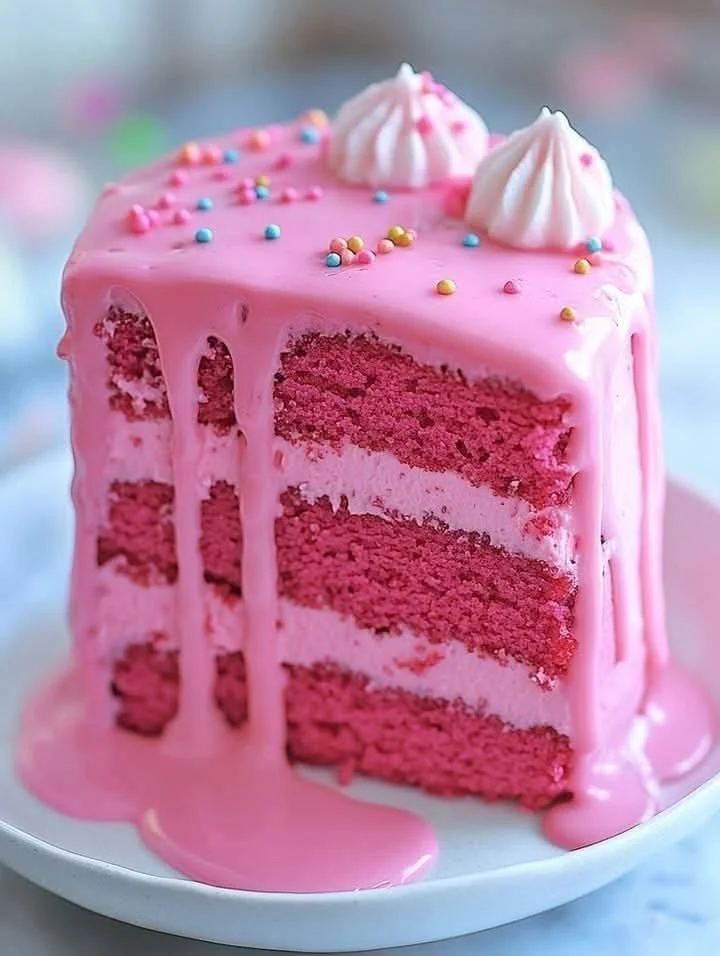
There’s something absolutely magical about baking a pink velvet cake—it never fails to turn an ordinary day into a celebration. I still remember the first time I whipped up this perfectly blushing beauty for my little niece’s birthday. The sheer delight in her eyes (and, let’s be honest, mine!) when she saw that gorgeous, fluffy pink layered masterpiece… Well, it’s a memory I’ll never forget. Whether you’re making a birthday extra special or just looking for a tender, colorful dessert to brighten someone’s day, this homemade pink velvet cake is guaranteed to sprinkle a bit of happiness into your routine.
Why You’ll Adore This Pink Velvet Cake
Let me tell you, dear baker, there’s so much to love about this charming pink velvet cake:
- It’s Gorgeous and Fun: That soft, rosy hue makes every occasion feel special (and, honestly, it’s the prettiest thing on the dessert table).
- Super Light & Tender Crumb: Thanks to buttermilk and just the right blend of butter and oil, every bite is moist—not too dense, not too light. Just perfect.
- Dreamy Pink Buttercream: We’re not skimping—the creamy frosting melts in your mouth and sings with a kiss of vanilla.
- Makes Anyone Smile: This cake is a total showstopper. Every time I serve it, there are smiles all around, from kids to grown-ups! (Who doesn’t love a pink dessert?)
Ingredients You’ll Need for Pink Velvet Cake
Gather your favorite mixing bowl, because here’s what you’ll want for this classic, flavorful cake (and a few personal secrets):
- All-purpose flour (2 1/2 cups): Go for quality flour, especially if you want that soft, fine crumb.
- Baking powder & baking soda (2 tsp & 1/2 tsp): These little guys work together for rise and texture.
- Salt (1/2 tsp): Don’t skip it—salt keeps the flavor balanced.
- Unsalted butter (1/2 cup for cake & 1 cup for frosting): Make sure it’s room temperature. Soft butter creams beautifully!
- Vegetable oil (1/2 cup): For extra moisture—trust me, this is the secret to that “velvet” texture.
- Granulated sugar (1 3/4 cups): Sweetness and that tender crumb.
- Large eggs (4): Let them come to room temp for better mixing.
- Vanilla extract (2 tsp in cake, 1 tsp in frosting): Splurge on pure vanilla—it makes a difference.
- Buttermilk (1 cup): Buttermilk is non-negotiable! It’s what makes this cake ultra-tender and subtly tangy.
- Pink food coloring (1-2 tbsp for cake, as needed for frosting): Gel food coloring gives a vibrant but soft pink; adjust to make it as pastel or bold as you wish.
- Powdered sugar (4 cups): For a frosting as dreamy as a candy cloud.
- Heavy cream (1/4 cup): Gives your frosting that rich, luxurious texture.
- Pinch of salt (for frosting): Just a little bit brings all the flavors together.
(Have everything out and measured before you start—life-saver tip!)
Step-by-Step Guide: Making the Perfect Pink Velvet Cake
Ready? Here’s how I always bake up the prettiest pink velvet cake you’ve ever seen:
- Preheat & Prep: Set your oven to 350°F (175°C). Grease and flour three 8-inch round cake pans—parchment helps with easy removal!
- Mix Your Dry Ingredients: In a medium bowl, whisk together the flour, baking powder, baking soda, and salt. Set aside.
- Cream the Butter, Oil & Sugar: In a big mixing bowl, beat the softened butter, oil, and sugar until it’s light and super fluffy. (Think “whipped marshmallow.”)
- Add Eggs & Vanilla: Beat in the eggs, one at a time. Don’t rush—this step makes the batter so smooth. Mix in that vanilla extract.
- Combine Wet & Dry: Add the dry ingredients in three parts, alternating with buttermilk. Start and end with the dry. Mix until just smooth—don’t overdo it!
- Make It Pink: Add food coloring a little at a time until you reach your dream shade of pink. The batter should be both beautiful and delicious-looking!
- Bake: Evenly divide the batter between your pans. Bake 25–30 minutes (mine are usually perfect at 28!), or until a toothpick comes out with a few moist crumbs.
- Cool Down: Let cakes cool in pans for 10 minutes—then gently tip out onto a wire rack. Let them cool totally before frosting.
- Whip Up That Pink Frosting: The fun part! Beat the butter until creamy and smooth. Slowly add powdered sugar, then the cream, vanilla, and salt. Crank up the speed until it’s light and fluffy. Add pink food coloring to match your cake’s vibe.
- Assemble: Place your first cake layer on a stand, frost, repeat with the next layer, and finish with a generous hand around the sides and top. I love adding swirls or sprinkles—go wild!
Baking should always be fun, not fussy—so enjoy the process (and maybe sneak a spoonful of frosting… I won’t tell!).
My Secret Tips and Tricks for Pink Velvet Cake Success
After making (and, let’s be honest, eating) more pink velvet cakes than I can count, here are my tried-and-true secrets:
- Gel Food Coloring Works Best: It packs more color punch with less liquid (so your cake stays velvety, not watery).
- Don’t Overmix: Working the batter too much makes cake tough (nobody wants a chewy pink cake!).
- Room Temperature Everything: Eggs, butter, even buttermilk. It all mixes in smoother for a uniform crumb.
- Chill the Layers: Popping the cake layers in the fridge before frosting helps keep crumbs at bay while you slather on buttercream.
- Love Your Tools: An offset spatula makes frosting so much easier and gives that bakery-look finish.
Whether you’re an experienced home baker or just getting started, these little tweaks turn an ordinary homemade cake into something swoon-worthy.
Creative Variations and Ingredient Swaps
Sometimes, you’ve just gotta shake things up! Here’s how you can switch up this pink velvet cake recipe to make it your own:
- For Dairy-Free Pink Velvet Cake: Try using almond milk plus a tablespoon of lemon juice instead of buttermilk, and dairy-free butter for both cake and frosting.
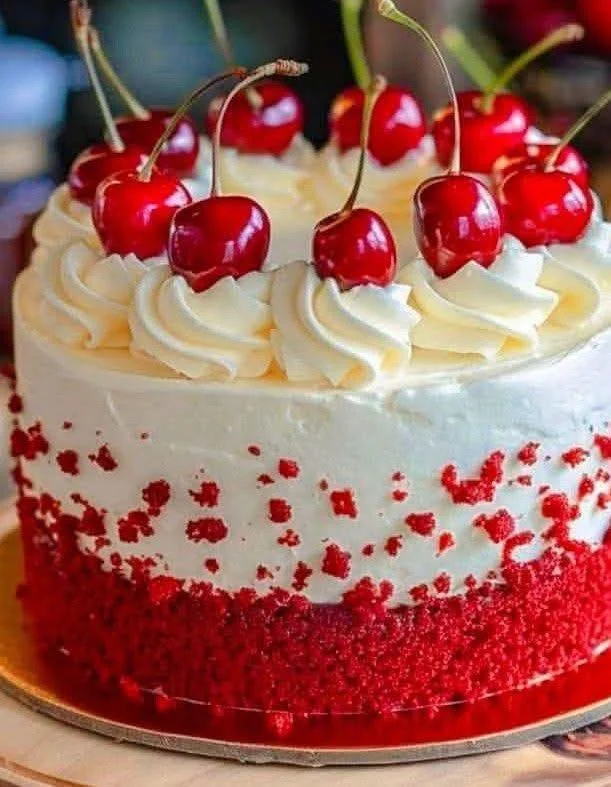
- Red Velvet Twist: Swap pink food coloring for red for a classic take, or use natural beet powder for a subtle color and flavor boost.
- Flavor Fun: Add a teaspoon of almond extract for a cherry-like twist, or a dash of rose water for a floral touch.
- Lighter Pink Frosting: Use whipped cream in place of some butter for a cloud-like finish.
- Gluten-Free: Use your favorite 1:1 gluten-free flour blend (just keep an eye on moisture).
There’s no wrong way to personalize your cake—just swap, mix, and enjoy!
How to Serve and Store Your Pink Velvet Cake
This cake loves a celebration! Slice generous layers and serve on a special plate—don’t forget a sprinkle of cute toppings (edible flowers, anyone?). It’s perfect for birthdays, showers, or just a Tuesday that needs cheering up.
- Leftovers? Pink velvet cake stays moist for days! Cover well and tuck in the fridge for up to 4 days—just bring slices to room temp before serving.
- Freezing: Unfrosted cake layers freeze like a dream for up to 2 months. Just wrap tightly in plastic and foil.
- Frosted Cake: You can freeze whole or sliced frosted cake, but I recommend a double-layer wrap and defrosting slowly in the fridge.
And if you sneak a forkful straight from the fridge? You’re among friends here.
FAQs: Your Top Questions About Pink Velvet Cake Answered
Q: Can I make pink velvet cake ahead of time?
Absolutely! Bake the layers up to two days ahead. Keep them wrapped and cool, then whip up that gorgeous pink frosting when you’re ready to assemble.
Q: Can I use natural food coloring?
Yep! A little beet powder or strawberry puree can give a rosy hue (though it’ll be subtler than gel food coloring).
Q: What’s the difference between pink velvet cake and red velvet cake?
It’s mostly the color—pink velvet cake is lighter, pretty, and less intense than the deep red. Both share that signature “velvet” texture and tang from buttermilk.
Q: Can I use a different pan size?
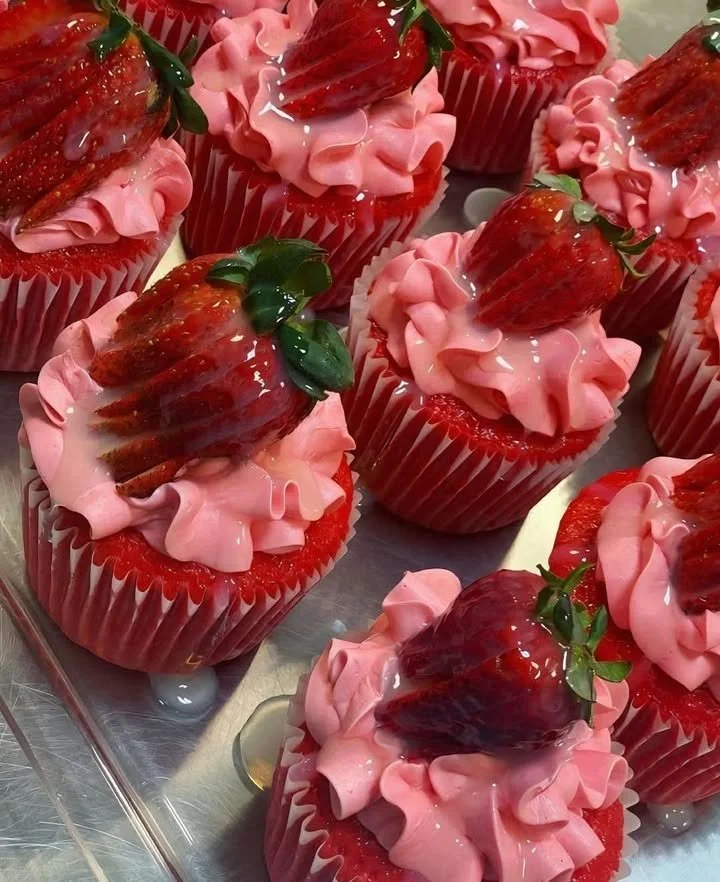
Sure! You can bake this in two 9-inch pans or even as cupcakes (bake time will be shorter for cupcakes).
Q: Is there a way to make the cake even moister?
Try brushing cooled layers with a simple syrup before frosting, or add a tablespoon of mayonnaise to the batter (I know—it sounds weird, but it’s an old baker’s secret for extra-tender crumb!).
If you’ve never tried making a pink velvet cake before, I hope this guide inspires you to tie on your apron and dive in. There’s so much joy to be found in a homemade, lovingly frosted cake—especially when it’s as
