Golden Hue Cake

Golden Hue Cake – A Delightful Afternoon Treat
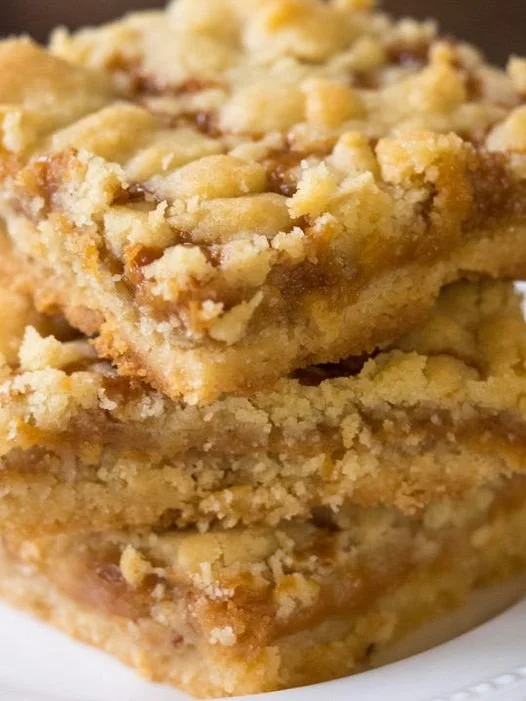
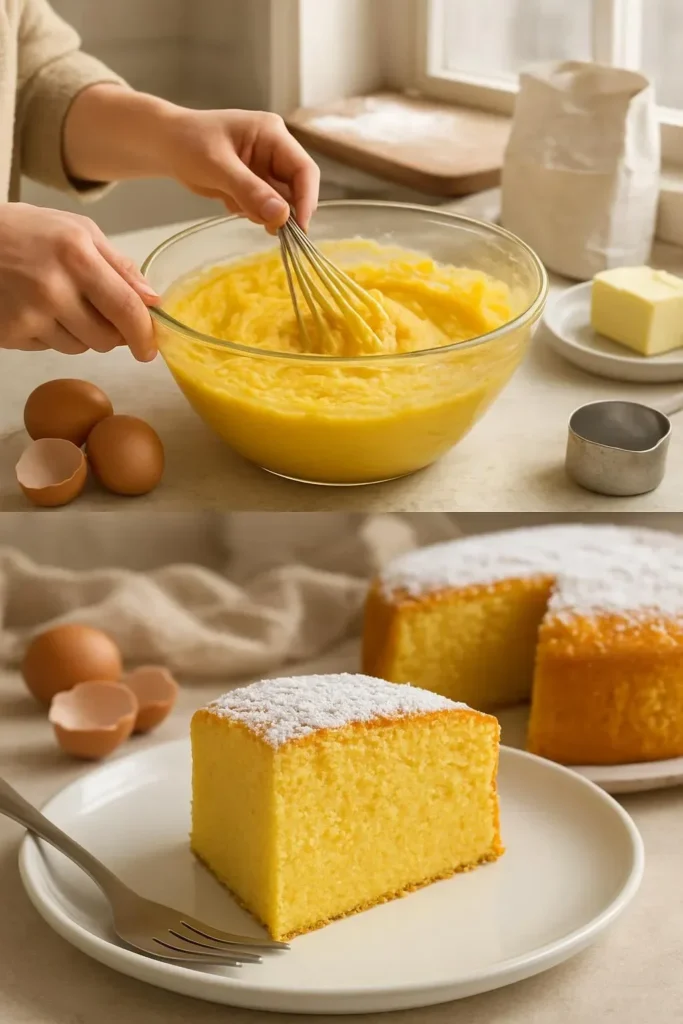
There’s nothing quite like the smell of something sweet baking in the oven, and when it comes to delightful comfort food, my Golden Hue Cake is the star of the show! This cake fills the kitchen with a warm, buttery aroma as it bakes, and it has a soft, tender texture that just melts in your mouth. Imagine a cozy family dinner with everyone gathered around the table, smiles all around, while this golden treasure sits proudly at the center. Let me warn you, however—it might get a little chaotic in the kitchen! The countertop may end up a tad messy (who knew flour could fly so much?), but that’s all part of the fun of baking.
This cake is perfect for those busy weekday evenings when you feel like you need a little sugar boost to get through the week. Luckily, this recipe is simple to whip up, so let’s dive into why I adore it and how you can make it too!
Why This Recipe Works
What sets the Golden Hue Cake apart is its simplicity and versatility. It’s not just a cake; it’s a lovely treat that fits well into various settings—family gatherings, potlucks, or even just when you want to pamper yourself. Here’s why this cake is beloved among home cooks:
- Weeknight Cooking: The prep time is minimal, making it a go-to choice after long, busy days.
- Family Meals: Baking this cake together can be a wonderful family activity, letting kids mix, pour, and lick the bowl (the best part, of course!).
- Meal Prep: You can bake it ahead of time and have a sweet treat for a couple of days.
- Beginner Cooks: If you’re just starting out in the world of baking, this recipe is straightforward and forgiving. Trust me, even if your eggs crack, the cake will still taste delicious!
Ingredients
Let’s gather what you’ll need to make this lovely cake:
- 4 large eggs
- 1 cup granulated sugar
- 1/2 cup unsalted butter, softened (make sure it’s nice and creamy for the best results)
- 1 cup all-purpose flour
- 1 teaspoon baking powder
- 1/2 teaspoon salt
- 1 teaspoon vanilla extract (because vanilla elevates everything!)
- 1/2 cup milk (whole milk will give the best flavor)
Helpful Notes:
- If you’re in a pinch, you can substitute the butter with margarine.
- You can also use almond or soy milk for a dairy-free version—yum!
- Want a bit more flavor? Consider adding some lemon zest or a splash of orange juice for a citrusy twist.
Step-by-Step Instructions
Now that we have our ingredients lined up, let’s jump into creating this goldeny goodness!
Preheat your oven: Begin by preheating your oven to 350°F (175°C). While it warms up, grease your cake pan with a bit of butter or cooking spray to ensure an easy release later.
Mix the eggs and sugar: In a mixing bowl, beat the eggs and sugar together until the mixture becomes light and fluffy. You should see it start to change color and thicken a bit—this usually takes about 3-5 minutes. Don’t rush this step; it’s what will give your cake that nice texture!
Add the softened butter and vanilla: Next, add in the softened butter and the lovely vanilla extract. Mix until you have a smooth, creamy batter. This is where everything starts to come together beautifully!
Combine dry ingredients: In another mixing bowl, combine your flour, baking powder, and salt. Give it a quick whisk to blend everything evenly. Now, just a reminder: don’t skip the baking powder! It’s what makes the cake rise beautifully.
Alternate wet and dry ingredients: Gradually add the dry mixture into the wet ingredients, alternating with the milk. Start and finish with the flour mixture, mixing until just combined. Be careful not to overmix—this cake isn’t about perfection; it’s about comfort.
Pour and smooth: Pour the batter into your prepared cake pan and smooth the top with a spatula. It’s okay if it’s not perfectly even—remember, a little rustic charm is what we’re going for!
Bake: Place your cake in the preheated oven and bake for 25-30 minutes. It’s ready when the top is golden brown and a toothpick inserted in the center comes out clean. Ah, there’s nothing like the sight of a freshly baked cake!
Cool and serve: Let the cake cool in the pan for about 10 minutes before transferring it to a wire rack. Patience is key here! Allow it to cool completely before slicing; the task of cutting into a warm cake can sometimes be too tempting!
Helpful Cooking Tips
Baking is a science, but don’t feel intimidated by it! Here are some friendly tips for nailing this recipe:
- Improving Flavor: Always use high-quality vanilla extract. It seriously elevates your cake’s overall flavor.
- Improving Texture: Make sure your butter is truly softened. If it’s too hard, you won’t get that fluffy batter. If you forgot to take it out of the fridge, you can microwave it for a few seconds to soften—just don’t melt it!
- Avoiding Mistakes: Double-check that you have the right measurements—baking is all about precision. Also, ensure your baking powder isn’t expired; a dead leavening agent won’t work wonders in your cake.
Variations
Looking to switch things up? Here are some fun variations you can try:
- Lower-Carb Version: Replace the sugar with a sugar substitute and use almond flour instead of all-purpose flour for a keto-friendly option.
- Higher-Protein Version: Swap half of the flour for protein powder. This adds a protein kick while keeping the cake’s structure.
- Vegetarian Option: This recipe is already vegetarian, but making it vegan is as easy as substituting eggs with flax eggs (1 tablespoon ground flaxseed mixed with 2.5 tablespoons water per egg).
- Kid-Friendly Version: Have fun decorating the cake with sprinkles, or you can add chocolate chips to the batter for a more decadent treat!
Serving Ideas
This cake can stand alone, but pairing it with the right accompaniments makes it even better! Here are some serving ideas:
- Presentation: Dust the cooled cake with a bit of powdered sugar for a simple yet elegant touch.
- Side Dishes: Serve it alongside a scoop of vanilla ice cream or a dollop of whipped cream.
- Drink Pairings: A cup of hot tea or a glass of milk will make for a classic pairing. If you’re feeling fancy, a little prosecco would be delightful too!
Storage and Meal Prep
If you end up with leftovers (which I hope you do), follow these tips for keeping your cake fresh:
- Storing in the Refrigerator: Place slices in an airtight container and store them in the fridge for up to 4-5 days.
- Freezing: You can freeze the cake. Wrap individual slices in plastic wrap and then place them in a freezer bag. They’ll keep for about three months—great for those days when you want something sweet but don’t want to bake!
- Reheating: Reheat in the microwave for about 10-15 seconds—just enough to warm through but not so long that it becomes dry.
- Preparing Ahead: This cake can be made a day in advance; just wrap it up well to keep it moist.
Nutrition Overview
As a guideline, here’s a simple overview of the nutritional content of this cake (based on a standard slice):
- Calories: Approximately 200 per slice
- Protein: About 4-5 grams
- Carbs: 30 grams
- Fats: 8-9 grams
Remember, cakes are treats; enjoy them in moderation!
FAQ
To help ensure your baking adventure goes smoothly, here are some frequently asked questions:
Can Golden Hue Cake be made ahead?
Absolutely! It keeps well in the fridge for a few days.Can it be frozen?
Yes! It freezes beautifully for up to three months.How do you make it creamier?
Using whole milk and adequate blending of the butter and sugar will yield a creamier texture.What substitutions work best?
Almond flour or a sugar substitute for lower-carb options work great!
Health Benefits
Believe it or not, this cake can fit into a balanced diet. It has protein from the eggs and contains carbs for energy. Remember, moderation is key! A slice of cake can also bring joy and be part of a satisfying meal if balanced with healthier options.
Useful Kitchen Tools
Here are a few handy tools that will make your baking adventures easier:
- Stand Mixer: Makes whisking eggs and sugar a breeze, giving your cake that light and fluffy texture.
- Spatula: Perfect for scraping down the sides of your mixing bowl and smoothing the batter.
- Cake Tester or Toothpick: Essential for checking if your cake is done baking without awkwardly poking at it!
Final Thoughts
I hope you’ll give this Golden Hue Cake a shot! It’s become one of my go-to recipes for a reason. I’d love to hear how it turns out for you! Feel free to leave a comment below sharing your experience or any variations you tried. Have you got a favorite moment in the kitchen? Let’s chat! Happy baking, friends!
Golden Hue Cake
Ingredients
Method
- Preheat your oven to 350°F (175°C) and grease your cake pan.
- In a mixing bowl, beat the eggs and sugar together until light and fluffy.
- Add the softened butter and vanilla extract, mixing until smooth.
- In a separate bowl, combine flour, baking powder, and salt. Whisk together.
- Gradually mix the dry ingredients into the wet ingredients, alternating with the milk.
- Pour the batter into the prepared cake pan and smooth the top.
- Bake for 25-30 minutes until golden brown and a toothpick comes out clean.
- Let the cake cool in the pan for 10 minutes before transferring to a wire rack.