Scones

Warm Childhood Memories Baked into Every Scone
I’ll never forget the aroma that used to drift from my granny’s kitchen—warm, buttery, and ever-so-inviting, coaxing all of us straight out of bed on Sunday mornings. For our family, nothing says “home” quite like the smell (and taste!) of freshly baked scones still warm from the oven. Just the word "scones" brings instant comfort, doesn’t it? If you’ve ever wanted to try your hand at a batch of classic scones, or just need a cozy breakfast treat, you’re in the perfect spot. Let’s make these melt-in-your-mouth delights together—straight from my kitchen to yours.
Why You’ll Adore This Scone Recipe
There are so many reasons these homemade scones have a permanent place in my baking routine, and I bet they’ll earn a spot in yours, too!
- Nostalgic Comfort: Every bite of this easy scone recipe feels like a little edible hug—soft inside, golden and tender outside (just how we love them).
- Simple Ingredients, Big Flavor: You probably have most of the basics already in your pantry. And the secret star? Amasi, which lends the scones an irresistibly light crumb (trust me, it’s worth hunting down if you can!).
- Customizable and Crowd-Pleasing: Whether you serve them plain, with a dollop of jam, or sneak in some vanilla custard, these scones are a guaranteed hit for breakfast, tea time, or a sweet afternoon snack.
- Bake Once, Enjoy All Week: One big batch means you’ll have plenty to share (or, you know, to keep sneaking throughout the day).
Ingredients You’ll Need for Perfect Scones
Here’s exactly what you need to gather for this classic scone recipe (with a few of my personal tips tossed in):
- 10 cups flour – All-purpose works best for a tender crumb. Be sure to sift to avoid those flour lumps!
- 1 cup sugar – Adjust to your sweet tooth, but don’t skip it; scones love that subtle kiss of sweetness. (Brown sugar? Adds a mild caramel flavor!)
- 10 tsp baking powder – It may sound like a lot, but it’s key for achieving that beautiful puff.
- 2 cups amasi – This fermented milk lends tang and tenderness. Can’t find amasi? Buttermilk or plain yogurt work just as well.
- 500 grams Rama or Woodenspoon (margarine) – My granny always swore by Rama, but any good baking margarine or unsalted butter will do.
- 1 cup vanilla custard (optional) – Adds an extra layer of sweetness and makes the scones so moist. (Instant custard works in a pinch!)
Step-by-Step Guide: Making the Perfect Scones
Ready to create a little magic? Here’s how I make homemade scones, with a few “real life” pointers along the way:
- Preheat your oven to 400°F (200°C). Trust me, a properly hot oven is scone magic.
- Mix the dry ingredients: In a big bowl, combine flour, sugar, and baking powder. I like to use my biggest wooden spoon—less spillage!
- Cut in the margarine: Add your Rama or Woodenspoon. Use your fingertips or a pastry blender to rub it in until the mixture looks like coarse crumbs (the bits of margarine mean extra flakiness).
- Add the amasi: Pour in the amasi (or your buttermilk/yogurt). Gently mix—don’t overwork it! Too much stirring makes the scones tough.
- Fold in custard (if using): This step is optional, but wow, it takes things up a notch for a super-soft scone.
- Knead gently: Turn your dough onto a floured surface. Knead just a few times until it comes together. If it’s a bit sticky, dust with more flour.
- Roll and cut: Pat or roll dough to about 1” thick. Cut your scones—circles, triangles, or whatever speaks to you.
- Bake: Place scones on a parchment-lined baking tray and pop them in the oven. Bake for 15–20 minutes or until they’re puffed and golden.
- Cool slightly: Let scones rest for a few minutes—they’re best served warm with a smear of butter or a spoonful of jam!
My Secret Tips and Tricks for Scone Success
After years of trial (and more than a few delicious “mistakes”), here’s what I always keep in mind for homemade scone perfection:
- Handle Gently: The less you work the dough, the lighter your scones. Think tender-loving care, not an arm workout.
- Cold Ingredients Are Key: Keep your margarine cold—just like with pie dough, it makes for flakier layers!
- Don’t Forget the Rest: If you have time, chill your cut scones before baking for 10–15 minutes. This helps them rise up even higher (plus, it’s a pro baker trick).
- Add-Ins Welcome: Raisins, chocolate chips, or even grated orange zest—all scrumptious in this easy scone recipe.
- Test Bake: I always bake one test scone first. That way, I can adjust bake time for my oven or tweak the sweetness if needed.
Creative Variations and Ingredient Swaps
You know I love to play in the kitchen! Here are a few easy ways to switch up your scone game:
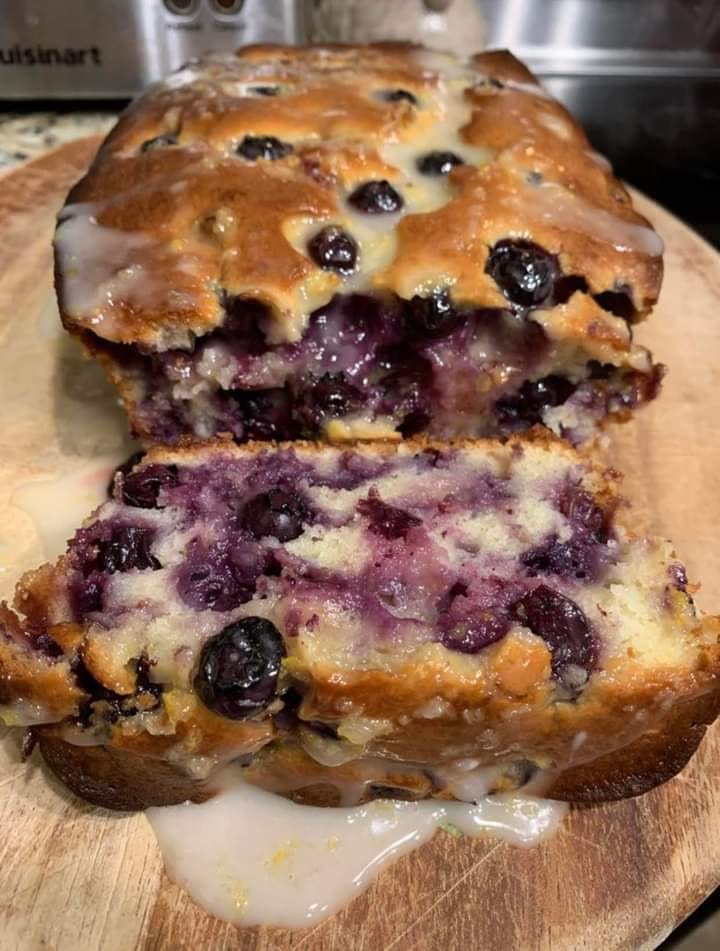
- Fruit Scones: Add a handful of blueberries, cranberries, or chopped dried apricots into the mix.
- Vegan-Friendly: Use plant-based margarine and dairy-free yogurt instead of amasi. Still fluffy, still fabulous!
- Cheese & Herb Scones: Swap the sugar for grated sharp cheese and a sprinkle of chives—wonderful for a savory snack!
- Whole Wheat Scones: Substitute half the all-purpose flour with whole wheat for a heartier bite and subtle nutty undertone.
- Chocolate Swirl: Gently fold in chocolate chunks and a teaspoon of instant espresso powder (major cafe vibes, right at home).
How to Serve and Store Your Homemade Scones
There’s nothing like a fresh, warm scone with a pat of butter melting right in—or maybe a spoonful of berry jam or lemon curd for extra zing (yes, please). If you’re serving these at brunch, arrange them in a pretty basket, cover with a tea towel, and watch them disappear!
For leftovers (if you have any!):
- Store scones in an airtight container on the counter for up to two days.
- To freeze: Pop extras into a zip-top bag and freeze up to 2 months. Reheat from frozen in the oven at 350°F (175°C) for 5–8 minutes for that “just baked” taste and texture.
FAQs: Your Top Scone Questions Answered
Q: Can I use buttermilk instead of amasi in this scone recipe?
A: Absolutely! Buttermilk’s tang works nicely in classic scones. Even plain yogurt thinned with milk does the trick—great for an easy breakfast treat.
Q: How do I keep my scones from becoming too dense or heavy?
A: Don’t overmix! Stir just until the dough comes together and handle it as little as possible.
Q: Can I make scones ahead of time?
A: Yes! Prepare and cut the dough in advance, then refrigerate overnight. Bake fresh in the morning for the ultimate homemade scone experience.
Q: What do I serve with scones besides jam and cream?
A: Try lemon curd, honey, or a slather of good quality butter. For a savory twist, herbed cream cheese or tangy chutneys are divine.
Q: My scones spread out and lost their shape—what went wrong?
A: Most likely, the margarine got too warm, or the dough was overworked. Use cold ingredients and chill the shaped scones before baking for best results.
If you bake up a batch of these classic scones, let me know how they turned out—share your creations or questions below! There’s so much joy to be found in simple, homemade baking. Here’s to warm kitchens and even warmer memories. Happy baking, friend!